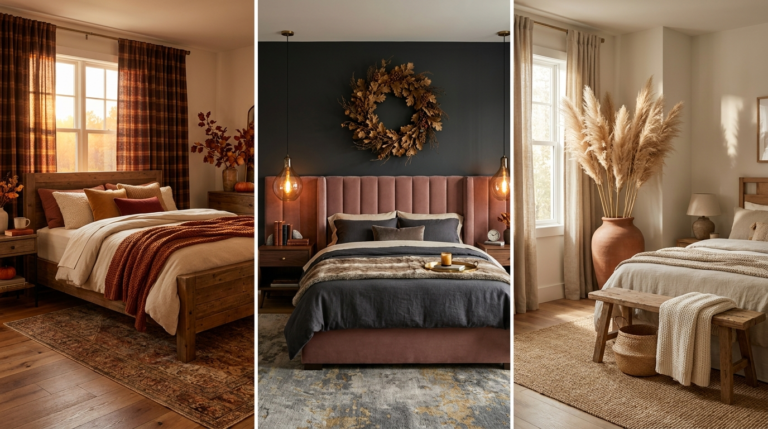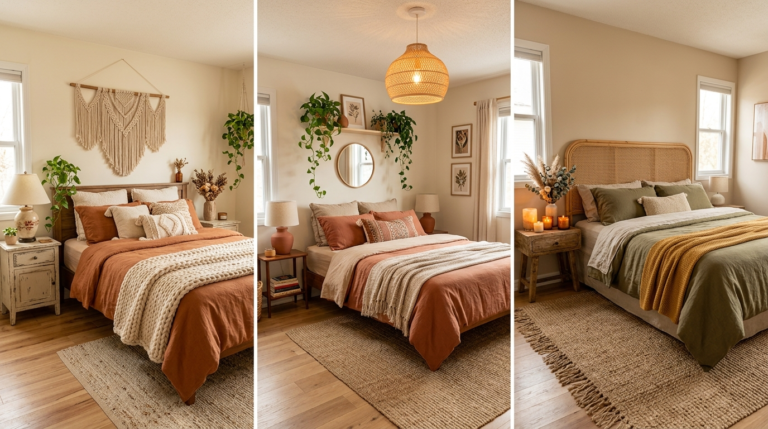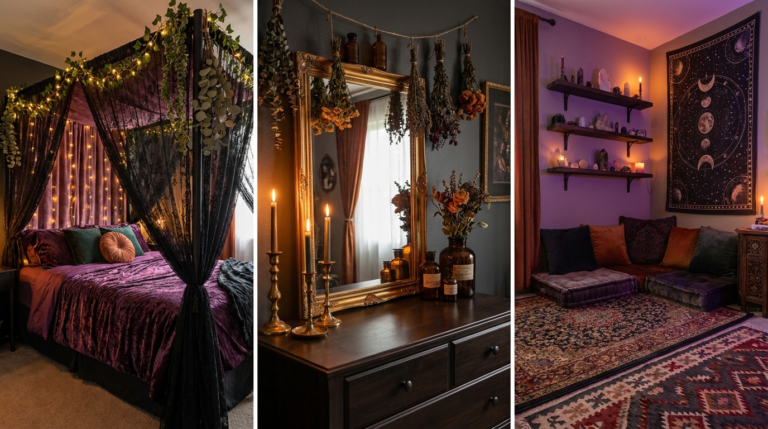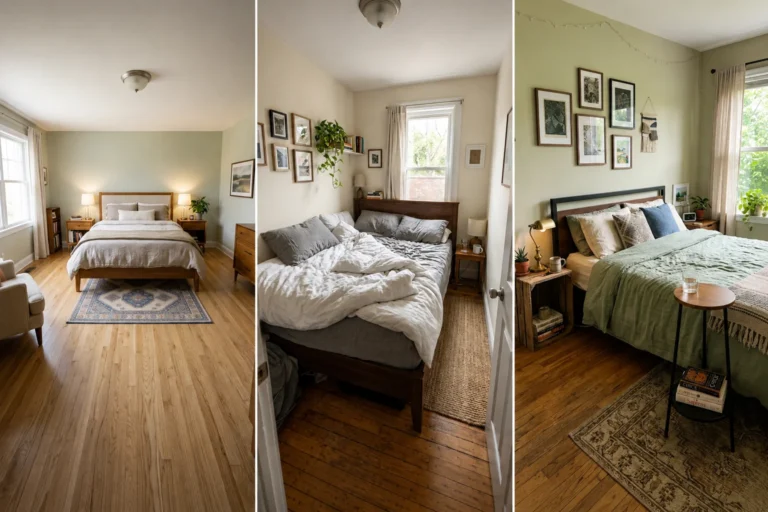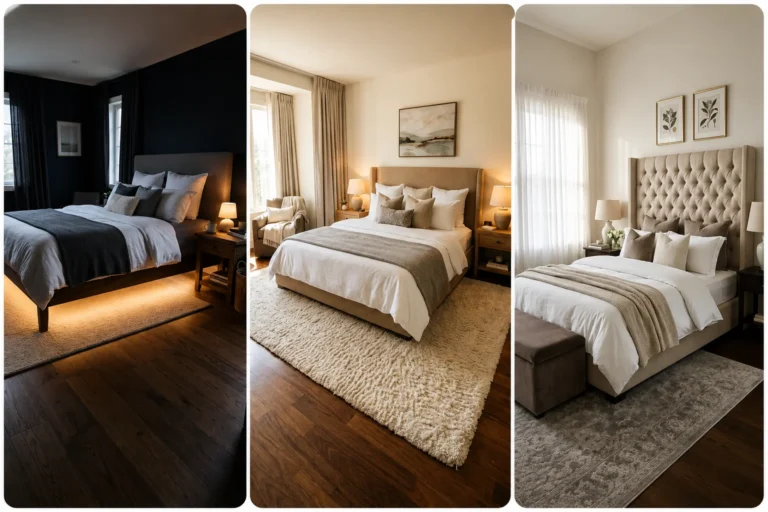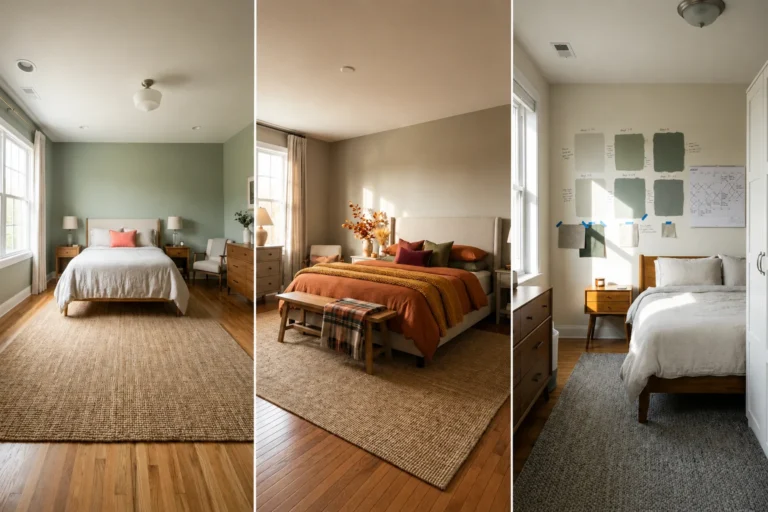
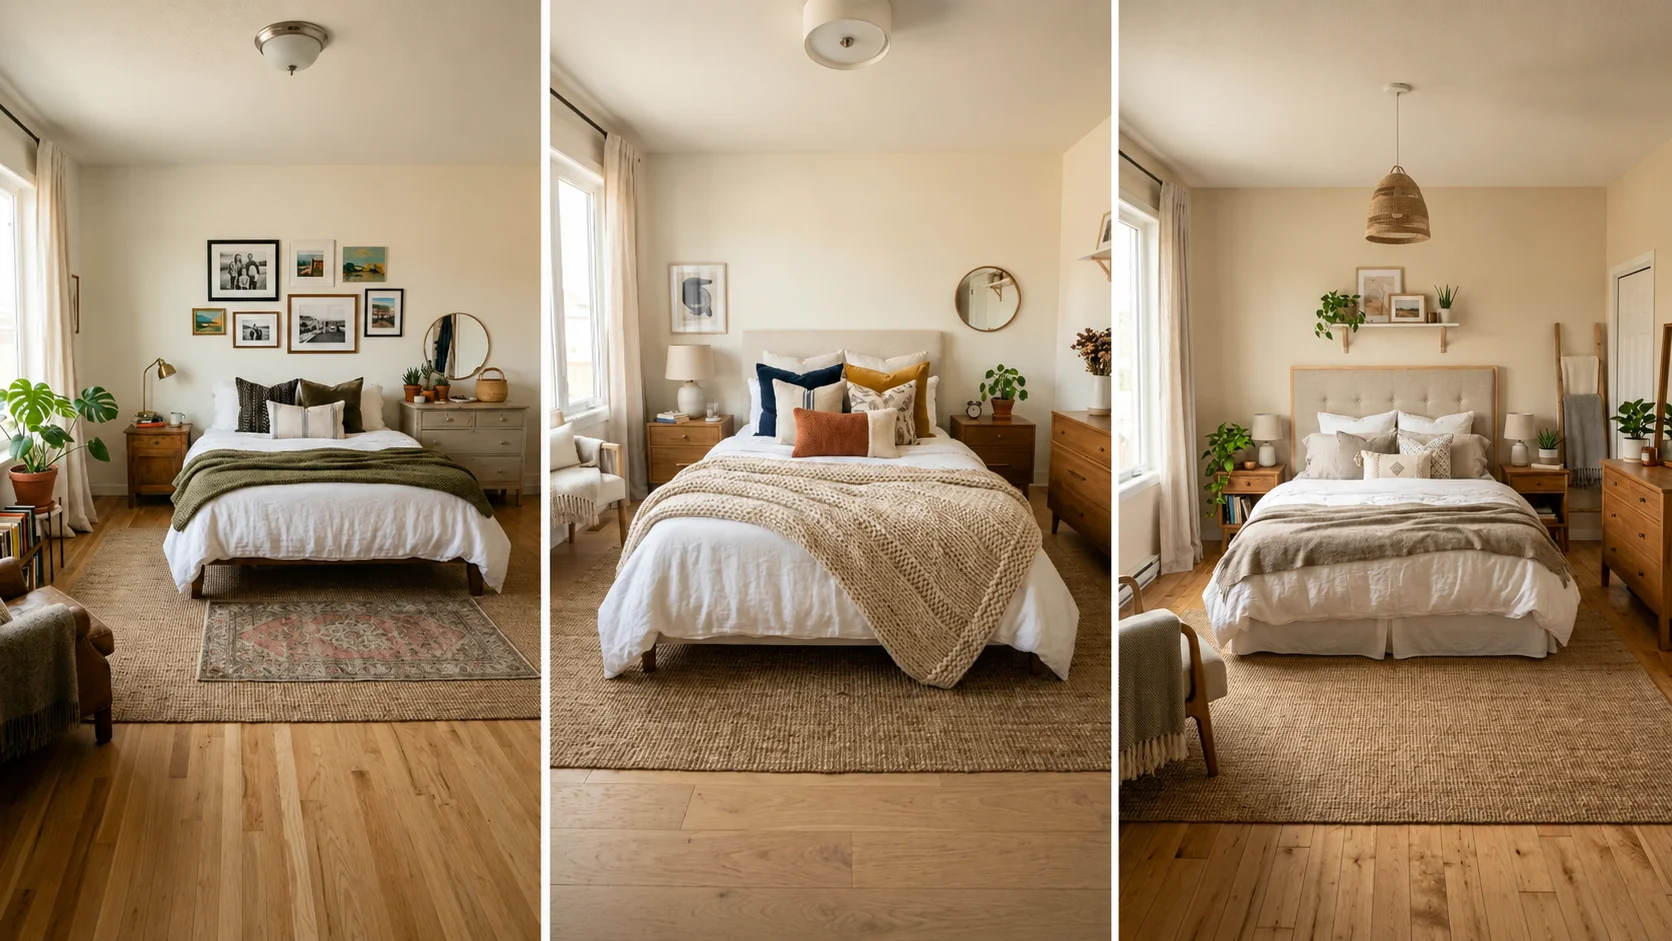
35 How to Do a Bedroom Makeover on a Budget: Full Room Transformation

Introduction
A bedroom makeover doesn’t have to mean a full renovation or a drained savings account. The most successful budget transformations come down to smart choices made in the right order, prioritizing high-impact changes like paint, lighting, and layout before spending money on smaller decorative details.
Whether you’re a renter working within strict limits or a homeowner simply looking to refresh a tired room without a major investment, the 35 ideas below cover everything from free, same-day changes to affordable weekend DIY projects. Work through them in whatever order makes sense for your space and priorities.
Pro Tip: Before buying anything, set a hard spending limit and decide what feels most “wrong” about your room right now. This clarity prevents impulse buying, which remains the single biggest budget killer in any home makeover project.
1. Set a Clear Budget Before You Start
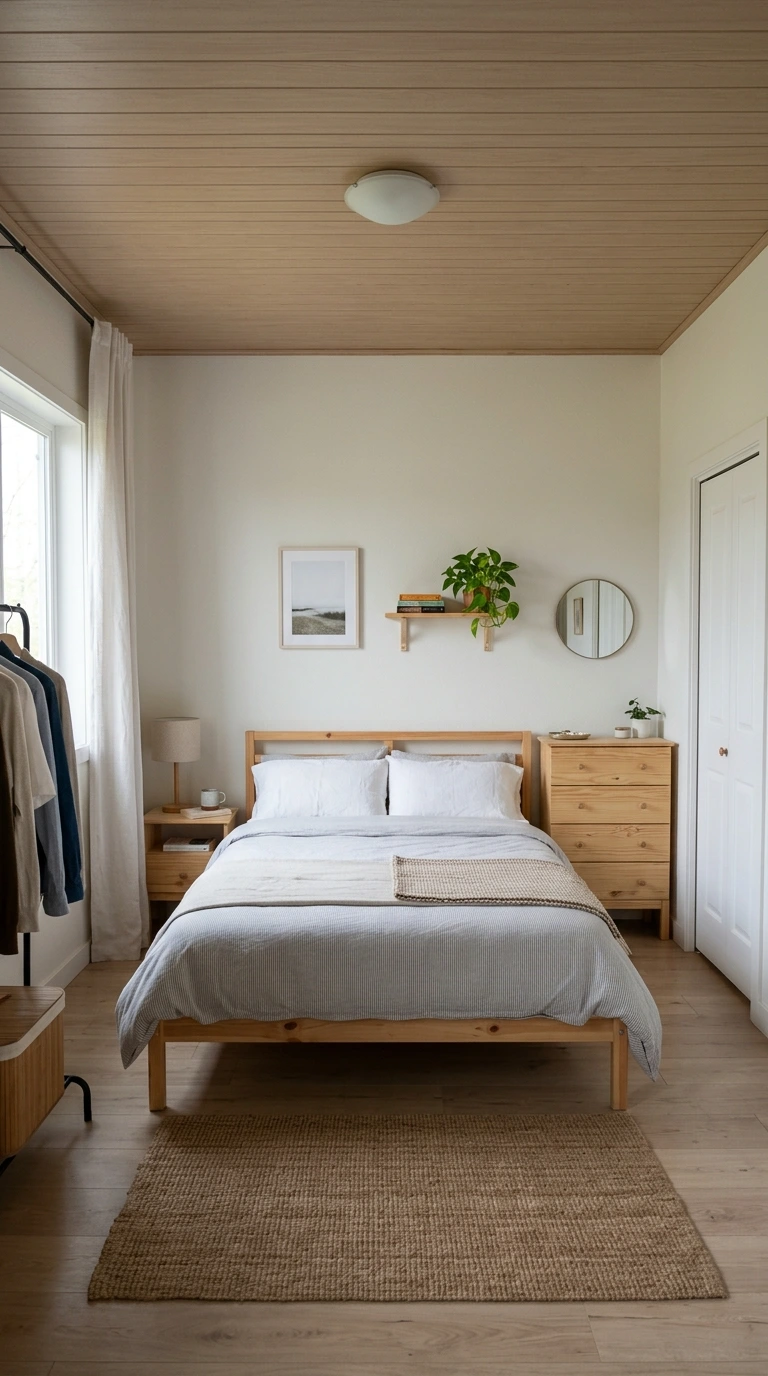
Deciding on a hard spending limit before you begin shopping or planning keeps your entire project on track and prevents impulse purchases that can quietly derail even a well-intentioned budget makeover. A typical refresh focused purely on decor and textiles might run $100 to $250, while a fuller makeover involving paint, lighting, and new bedding often falls between $250 and $500.
Breaking that total budget down into categories, paint, lighting, textiles, and decor, before you shop helps you avoid overspending on one area and running short elsewhere. Knowing your limit in advance also makes it easier to say no to tempting extras that don’t align with your original plan.
2. Declutter Before Spending Any Money
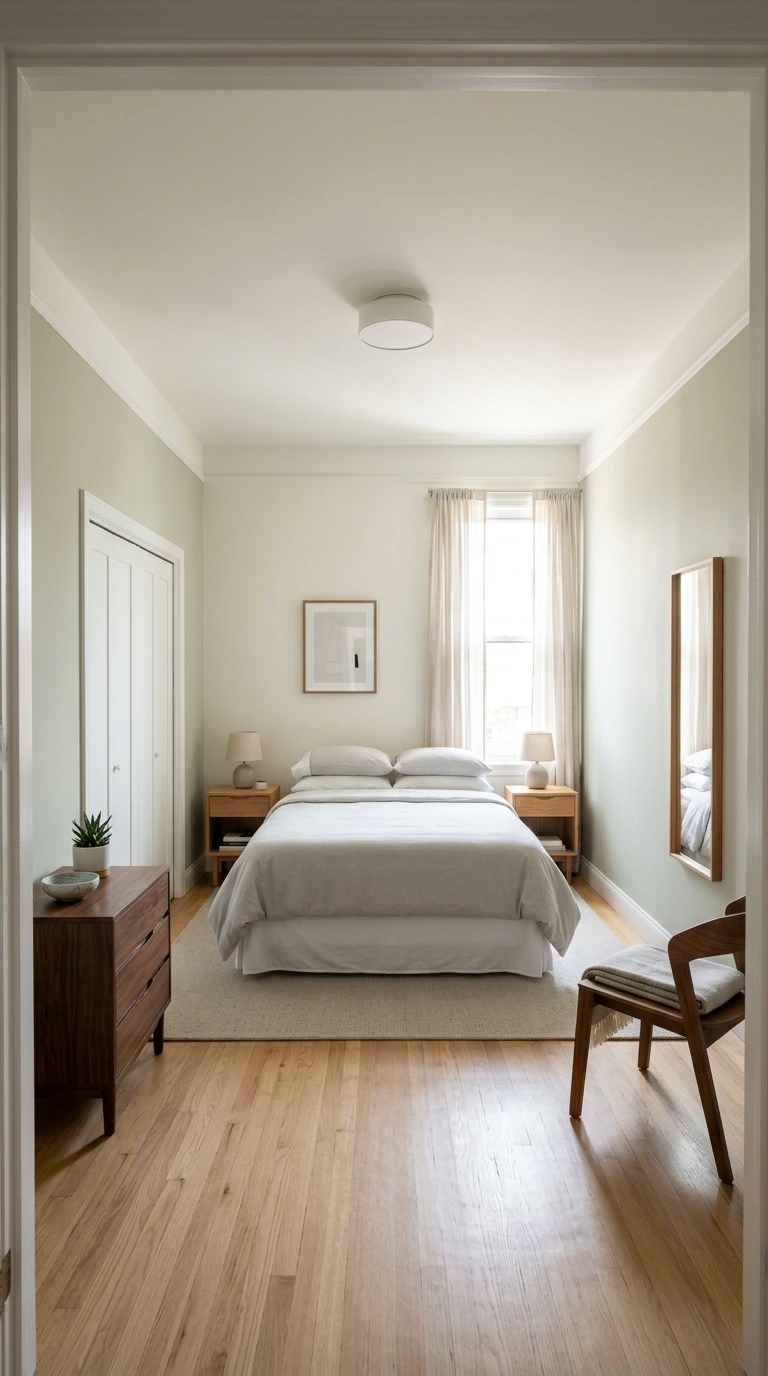
Removing items you no longer need or use is the single most effective free step in any bedroom makeover, immediately making the space feel lighter and more peaceful. A cluttered room makes it nearly impossible to judge what’s actually missing, since your eye is constantly distracted by things that shouldn’t be there.
This step costs nothing beyond your time, yet it often reveals that the room needed far less added to it than you originally assumed. Many successful budget makeovers discover that decluttering alone solves a significant portion of what felt “off” about the room in the first place.
3. Create a Simple Mood Board
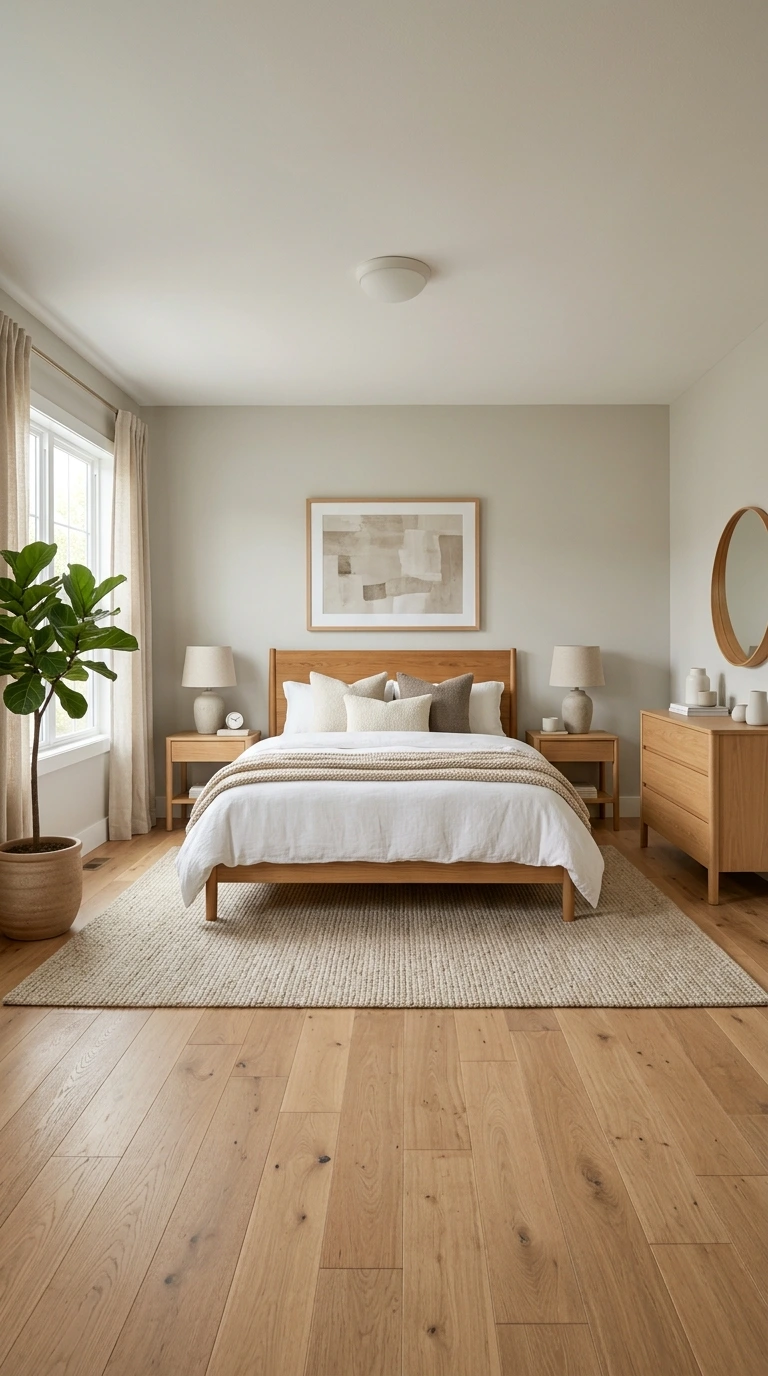
Before making any purchases, put together a free mood board using saved images, paint swatches, and fabric samples to visualize your end result. This step helps keep costs down by ensuring every purchase works toward one cohesive vision rather than being bought in isolation.
A mood board can be as simple or detailed as you like, whether it’s a folder of saved photos on your phone or a printed collage. This planning step prevents the common budget mistake of buying pieces that don’t actually coordinate once they’re all in the room together.
4. Rearrange Your Existing Furniture First
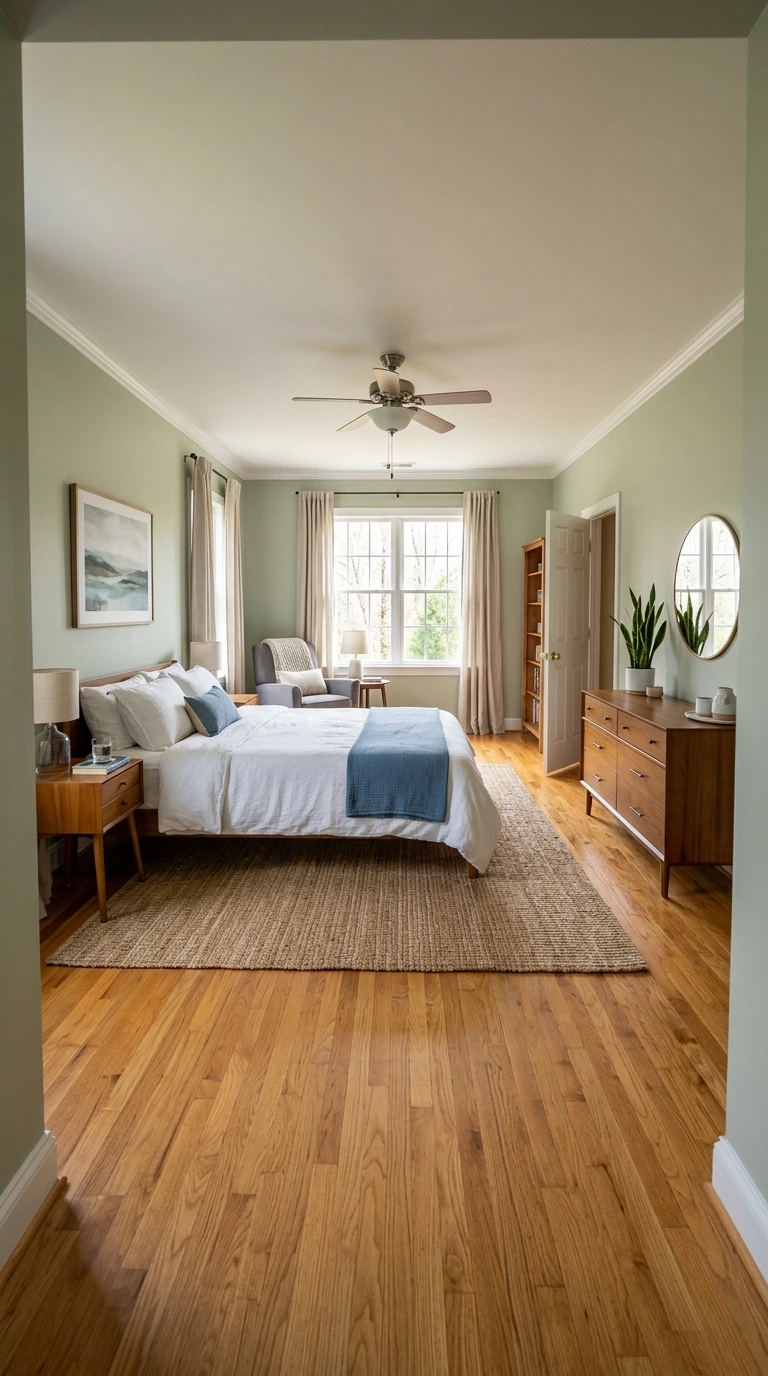
Simply repositioning the furniture you already own, before buying anything new, can dramatically improve a room’s flow and make it feel more open. This is one of the most overlooked budget-friendly steps, since it costs nothing and often reveals a more efficient layout than the one you inherited or fell into by default.
Try placing your bed against the longest wall to open up walking space, and experiment with a few different configurations before settling on one. This step alone frequently makes a room feel noticeably different, even before any new decor is introduced.
5. Repaint the Walls
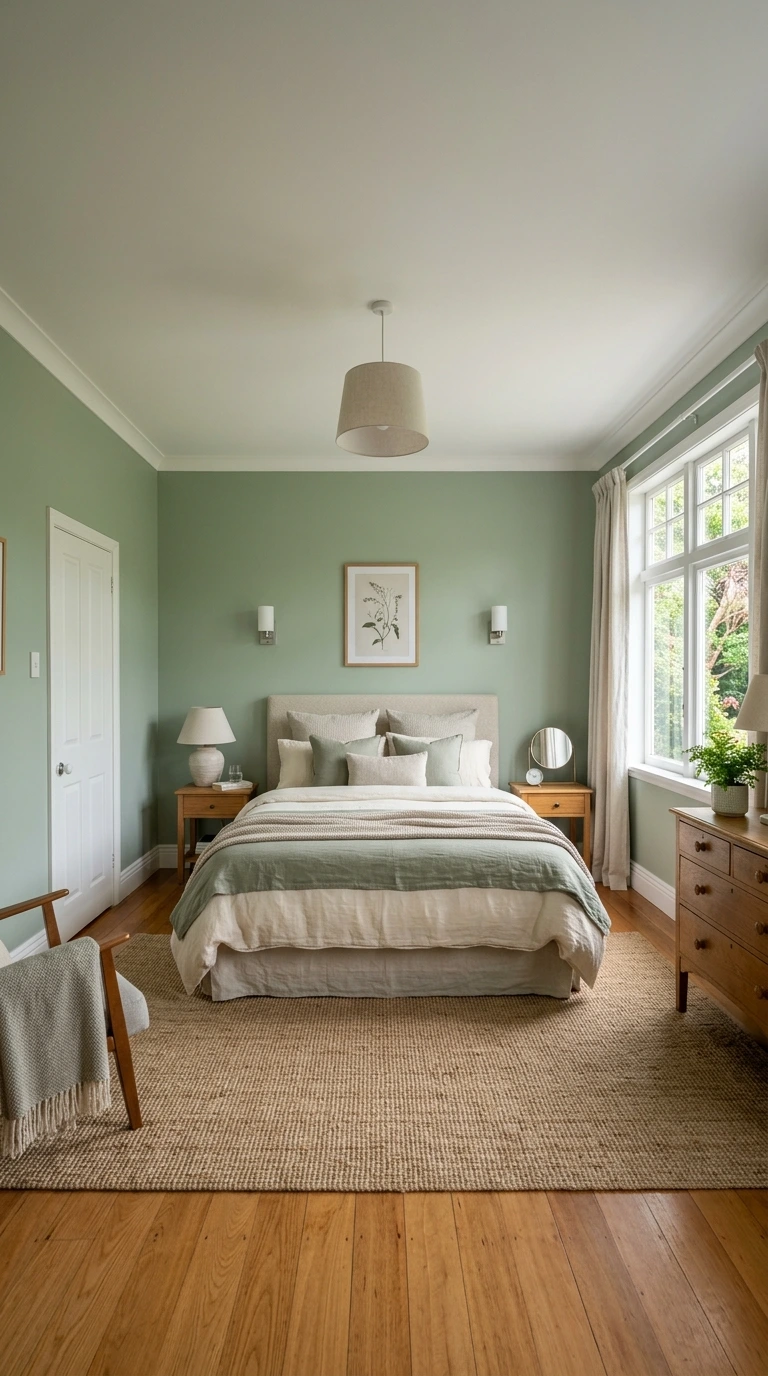
A fresh coat of paint delivers the biggest visual upgrade for the lowest overall cost of any change on this list. Even keeping the same general color family but refreshing worn or faded walls instantly makes a room feel cleaner and more cared for.
Light, soft colors reflect natural light and make smaller bedrooms feel larger, while deeper, richer tones create a cozier, more enveloping atmosphere. Either direction works within a budget makeover, since paint itself remains one of the most affordable materials in home improvement.
Warning: Always test paint samples directly on your walls in different lighting conditions before committing to a full gallon. A color that looks perfect on a small swatch card can read completely differently once applied across an entire wall in your room’s actual light.
6. Try Two-Tone Color Blocking
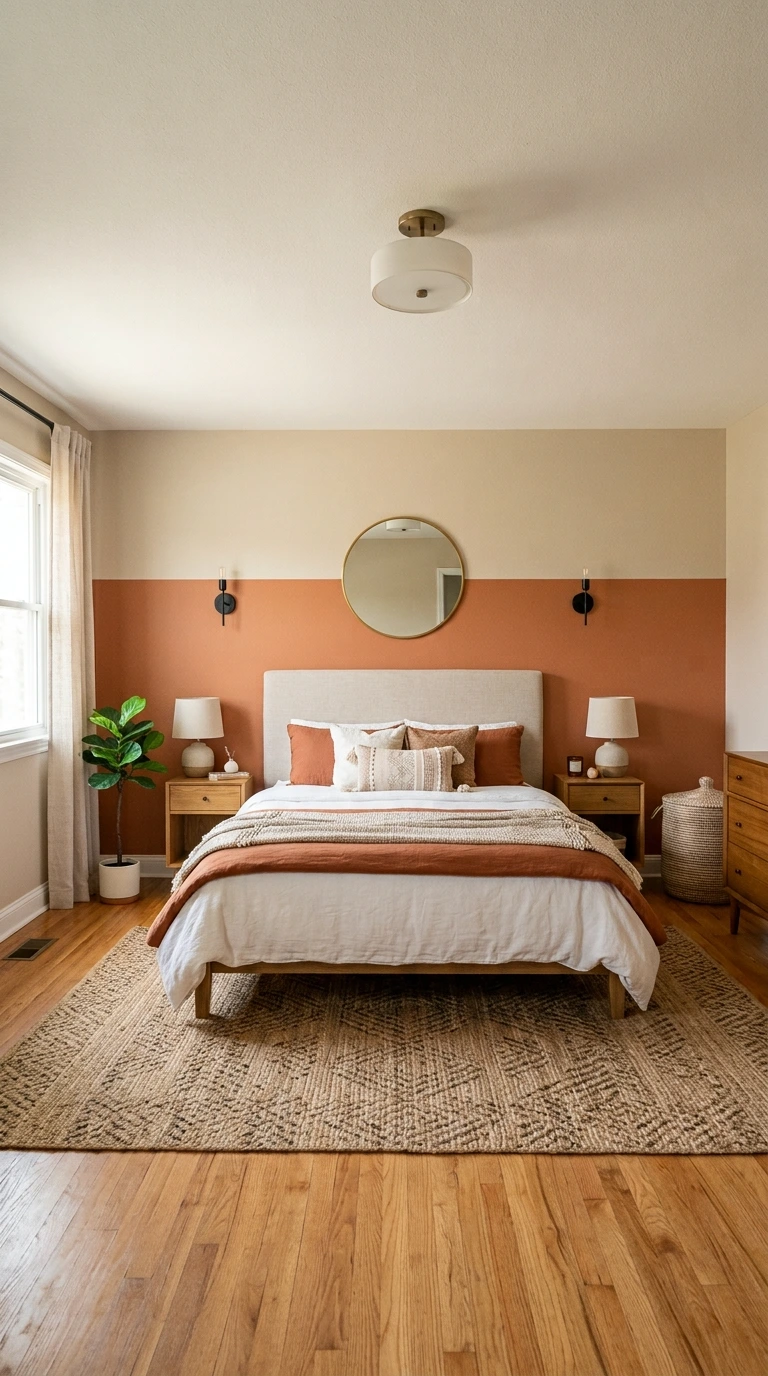
Dividing a wall horizontally into two different paint colors creates a modern, clean contrast without requiring any wallpaper or additional materials beyond paint itself. This technique adds visual interest and a sense of intentional design for essentially the same cost as a standard single-color paint job.
Choosing two complementary tones, rather than high-contrast opposites, keeps this technique looking polished rather than jarring. A painter’s tape line at the desired height ensures a crisp, professional-looking division between the two colors.
7. Experiment with an Ombre Paint Effect
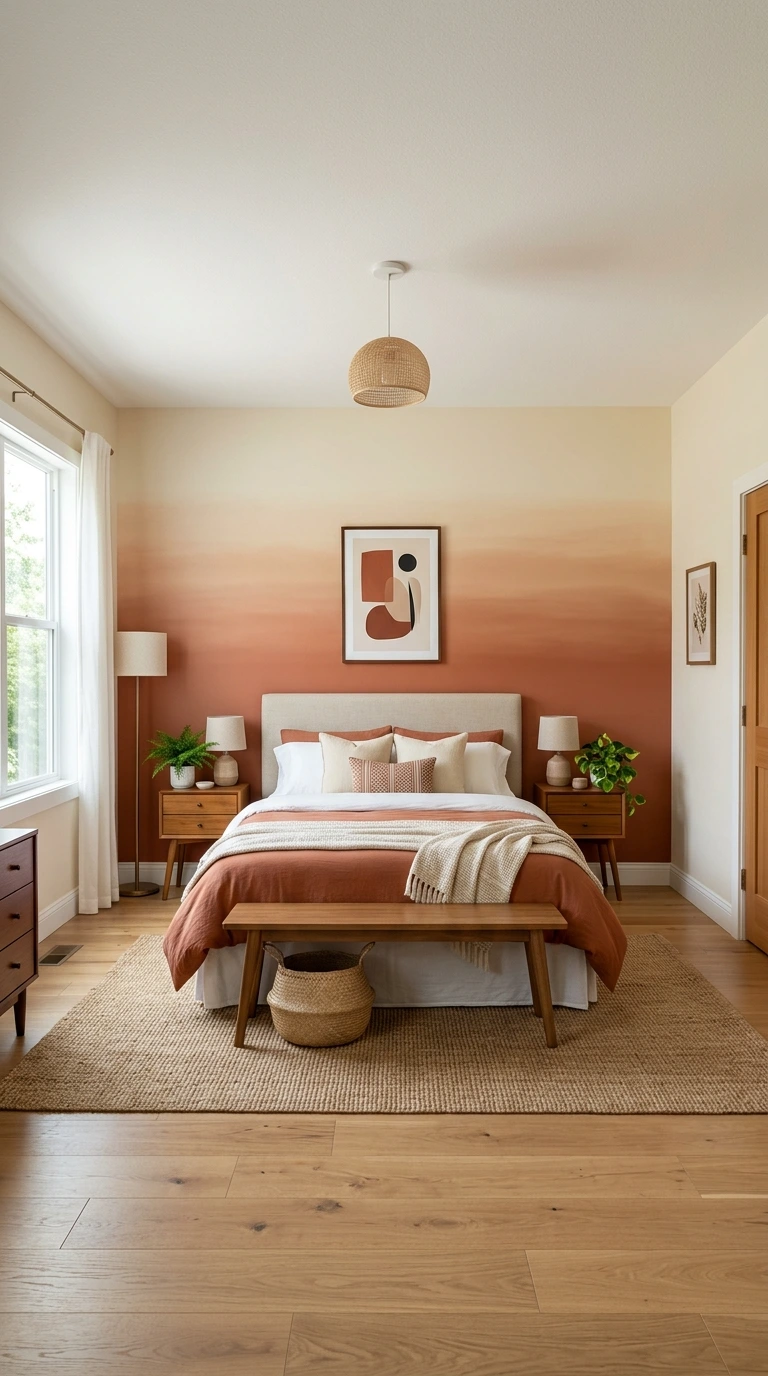
An ombre wall, where color gradually blends from one shade into another, creates a soft, dreamy visual effect using nothing more than a few cans of paint and some blending technique. This approach delivers a custom, high-end look at a fraction of the cost of specialty wallpaper.
This technique takes some practice to blend smoothly, so testing on a scrap board or hidden section of wall first is worth the extra time. An ombre effect works particularly well behind a bed as an unexpected, budget-friendly focal point.
8. Add Horizontal Stripes for Dimension
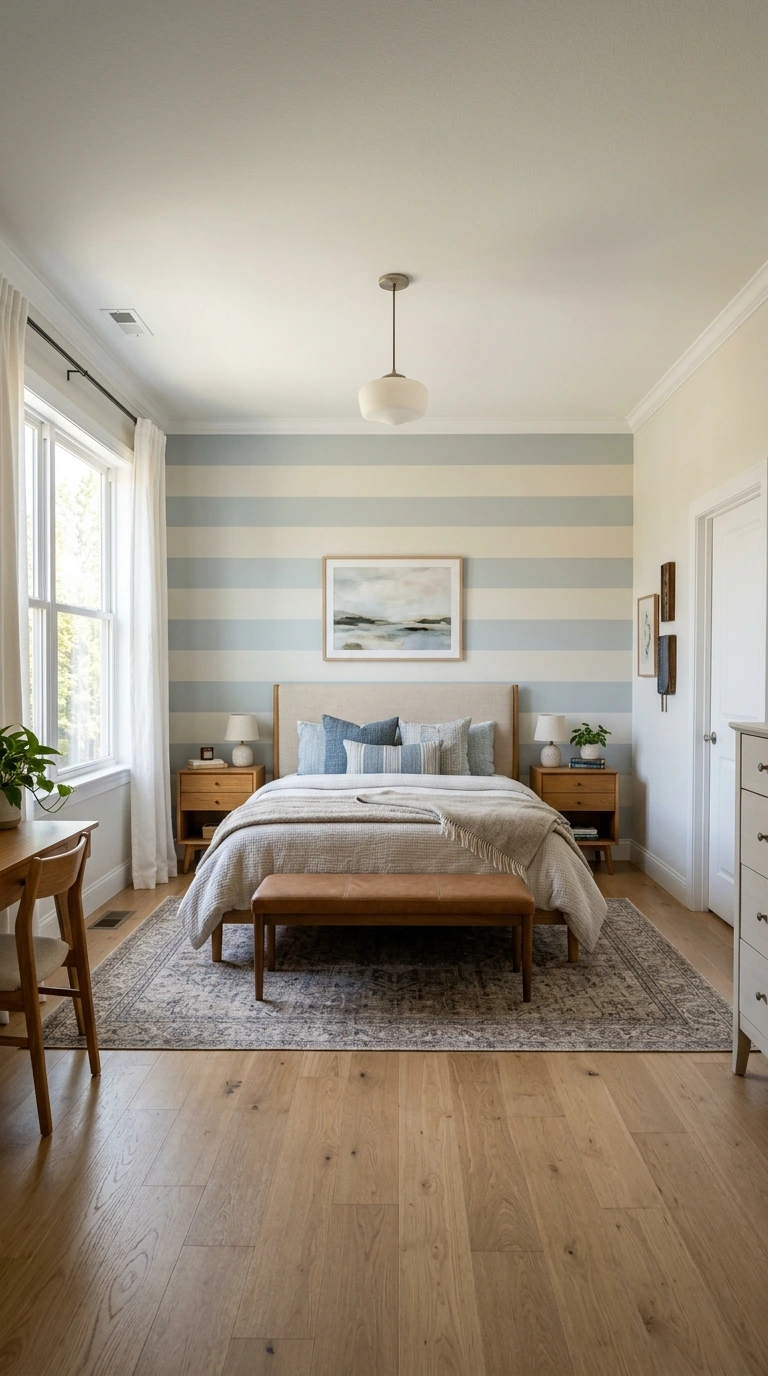
Painted horizontal stripes add visual interest and can make a room feel wider and more open, all using the same paint you’d need for a standard repaint. This technique requires more careful taping than a single flat color but no additional specialty materials.
Choosing stripes in tones close to each other in value, rather than sharply contrasting colors, keeps the effect subtle and sophisticated rather than overwhelming. This is a particularly strong choice for a small bedroom looking to visually expand its proportions.
9. Install Peel-and-Stick Wallpaper
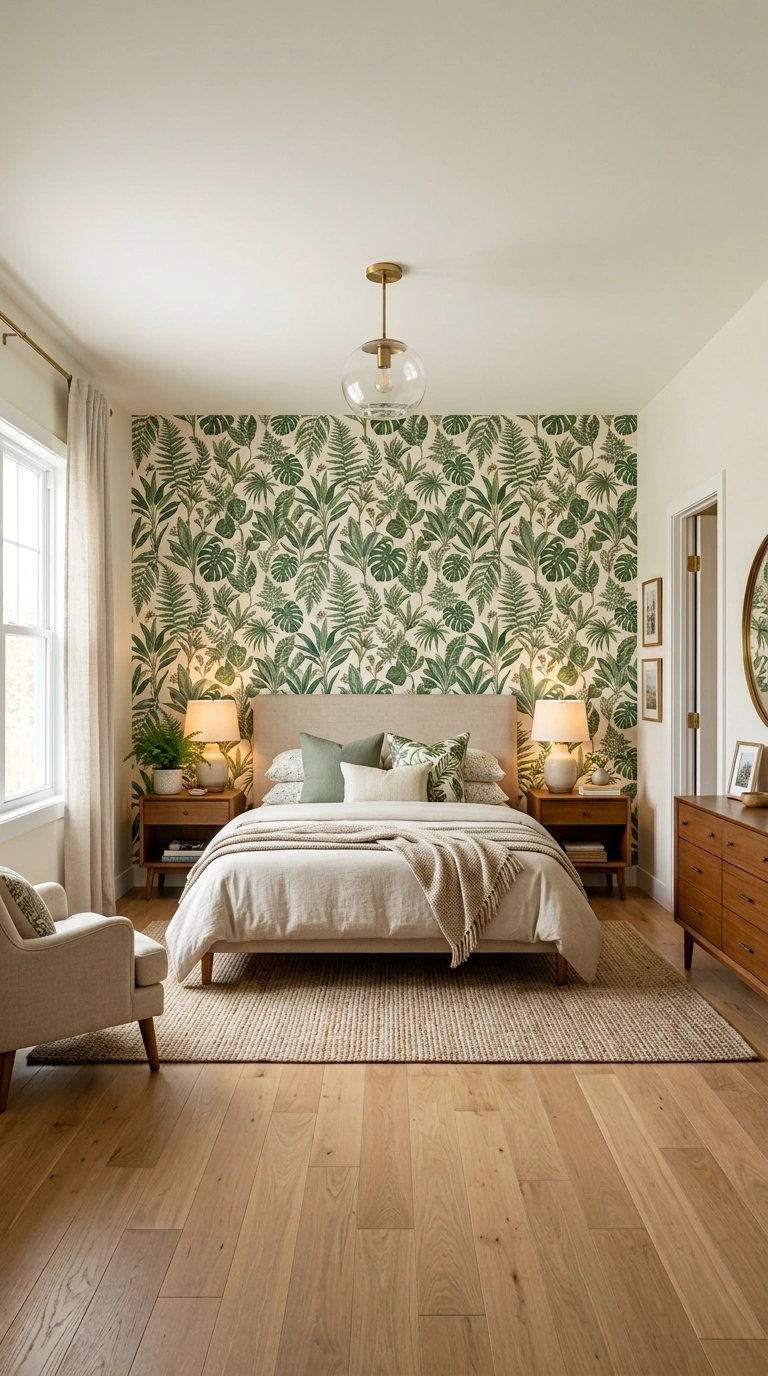
Peel-and-stick wallpaper delivers a dramatic visual update while remaining safe for rentals, since it’s designed to be removed without damaging the wall underneath. This makes it one of the most popular budget options for anyone unable or unwilling to commit to a permanent wall treatment.
Applying it to just one accent wall, behind open shelving, or even along a ceiling creates unexpected visual flair without covering the entire room. Properly cleaning and drying the wall surface first, and taking your time lining up the pattern, makes a significant difference in how professional the final result looks.
Important: Peel-and-stick wallpaper application quality depends heavily on surface prep. Clean the wall thoroughly and let it dry completely before applying, since any dust or moisture trapped underneath can cause bubbling or peeling shortly after installation.
10. Add a Removable Wall Mural
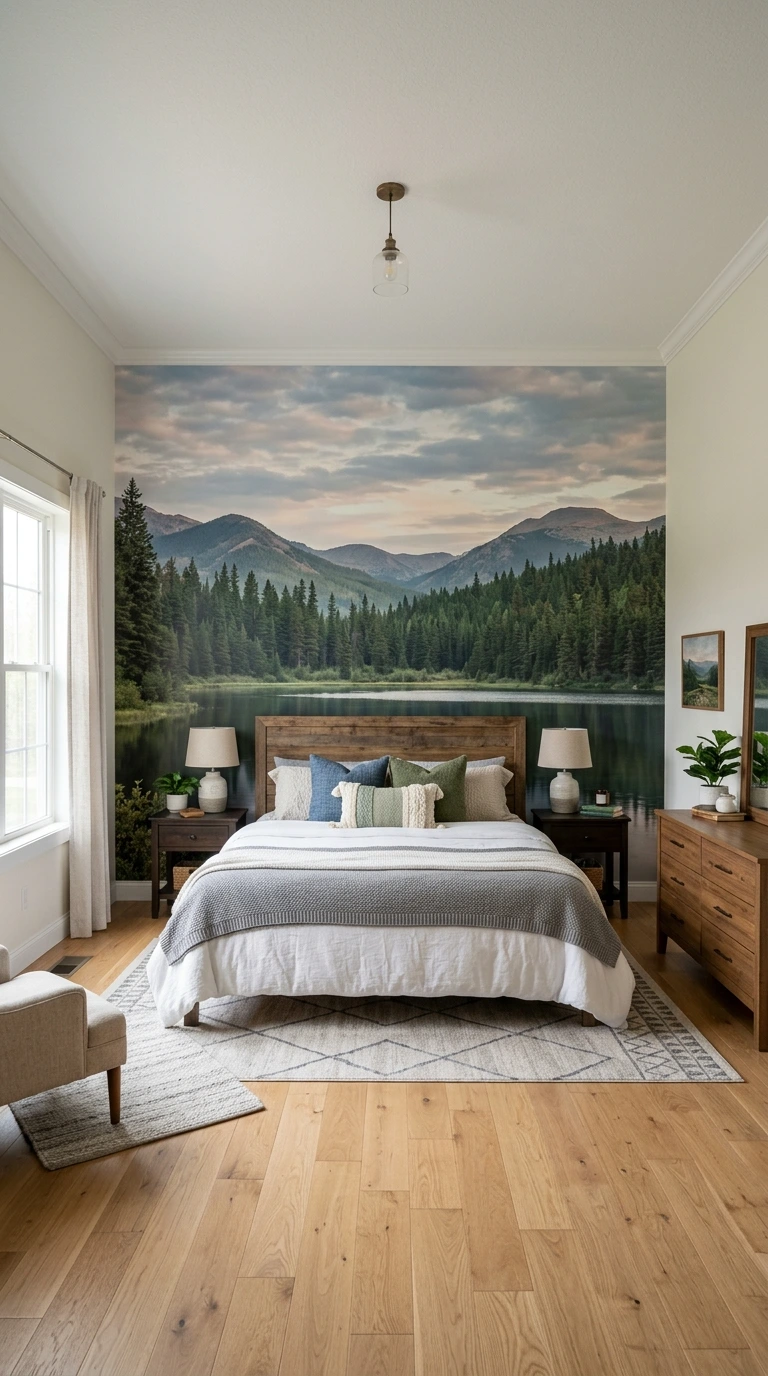
A large-scale removable mural serves as a bold statement piece, delivering the visual impact of custom artwork without the cost of a commissioned mural or expensive wallpaper. This option works particularly well as a focal point behind the bed.
Choosing a mural in a scene or pattern that genuinely resonates with your personal taste, rather than a passing trend, helps ensure you’ll still love it well after the initial installation. This remains one of the highest-impact, lowest-cost single purchases available for a budget bedroom makeover.
11. Add Crown Molding or Picture Frame Molding
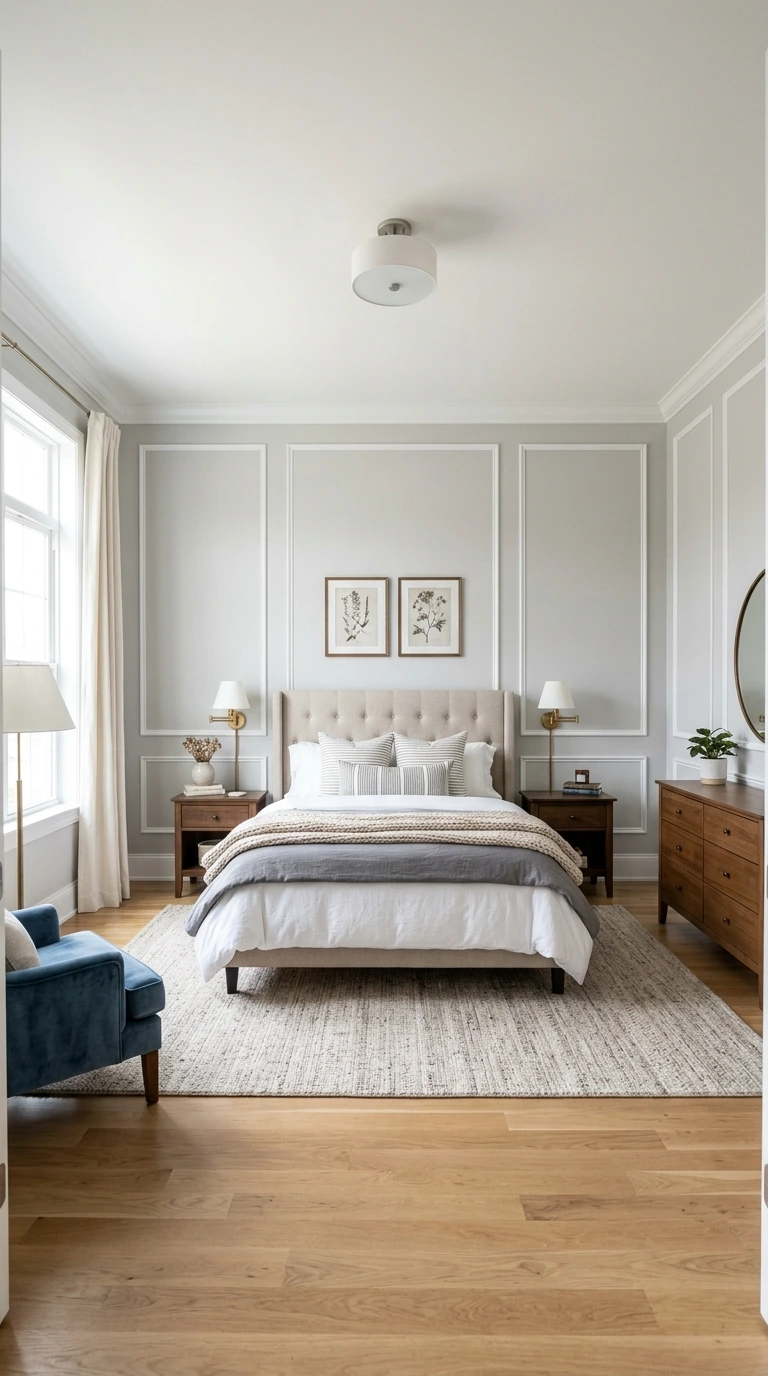
Installing molding around the ceiling or in picture-frame patterns along the walls adds architectural character and a polished, custom feel to a room that otherwise lacks any distinctive detail. This upgrade consistently reads as more expensive than its actual material cost.
Installing the molding yourself, rather than hiring a contractor, significantly reduces the overall cost of this project. Even a single wall treated with picture frame molding can transform a plain, characterless room into one that feels intentionally designed.
12. Add Board and Batten to a Feature Wall
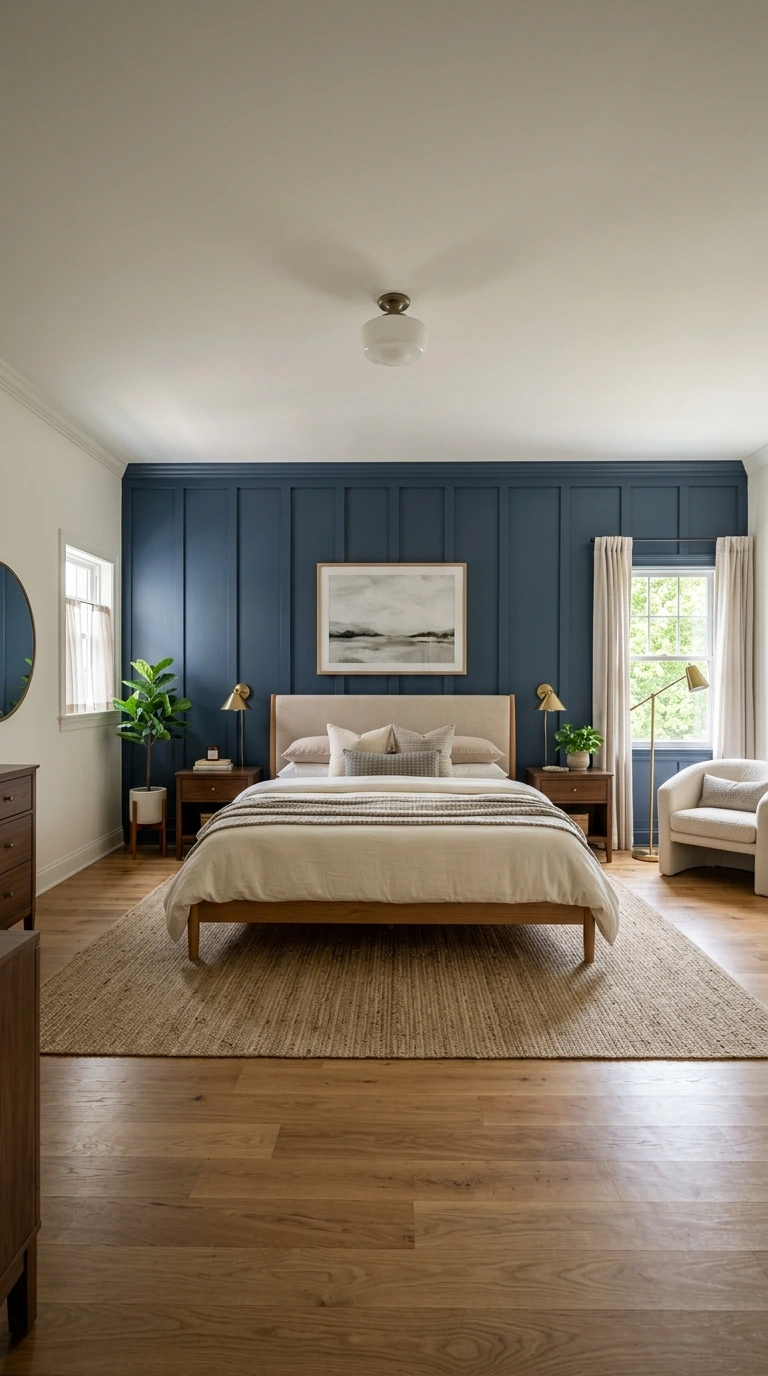
Board and batten paneling, whether applied to the wall behind the bed or another prominent surface, adds texture and architectural interest without requiring you to fill the space with additional artwork. This approach works particularly well on a large, blank wall that would otherwise need several framed pieces to feel complete.
Using PVC boards rather than pine helps prevent warping and knot holes over time, extending the life of your DIY installation. This project requires more time and tools than most on this list, but the visual payoff is often described as looking far more expensive than the actual materials cost.
13. Build a DIY Headboard from Affordable Materials
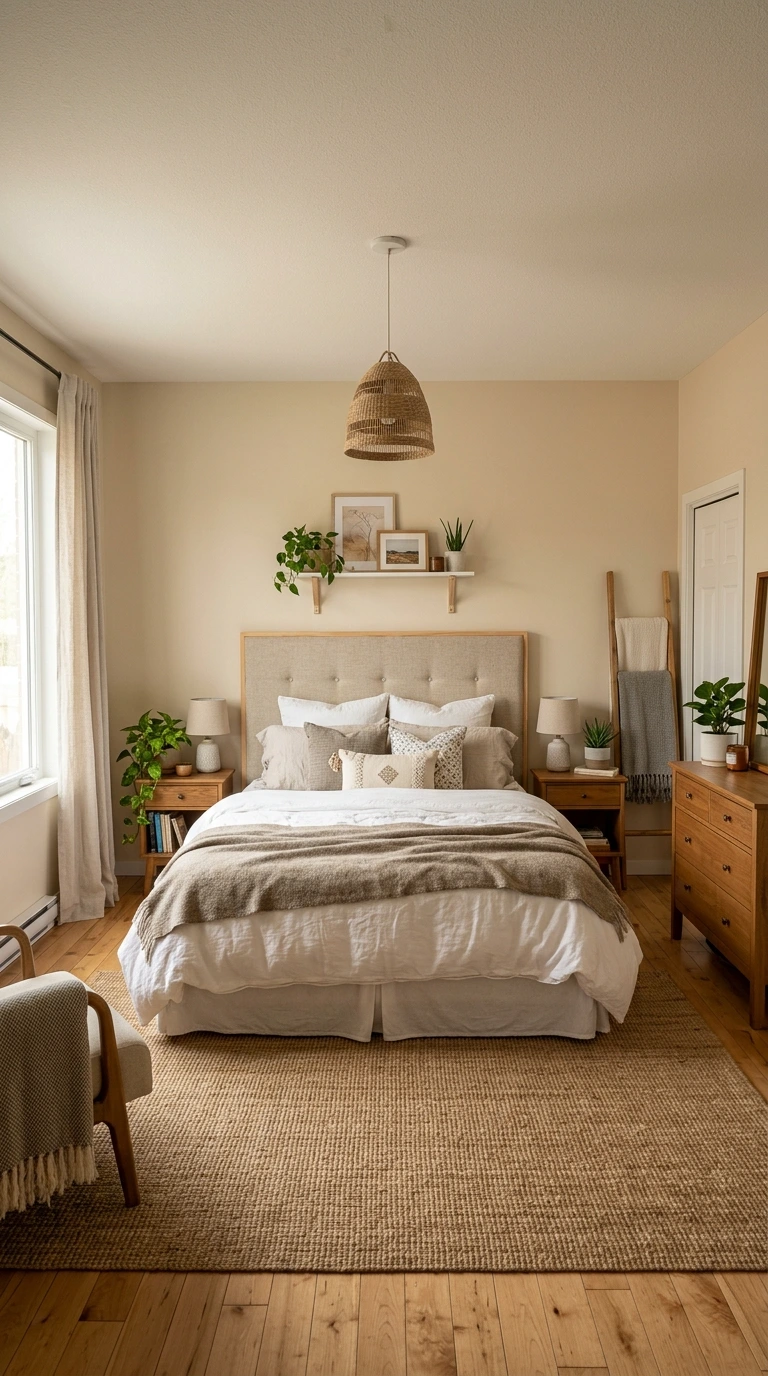
A custom headboard made from inexpensive materials like plywood, pallets, or reclaimed wood creates an instant focal point at a fraction of the cost of a store-bought upholstered version. This single project often anchors the entire room’s redesigned look.
Upholstered headboards in bold shapes and patterned fabrics have seen a significant revival recently, since a statement headboard genuinely helps create a focal point that the rest of the room’s scheme can center around. A DIY version, built and upholstered yourself, achieves much of that same visual impact at a considerably lower cost.
14. Paint Your Existing Furniture Instead of Replacing It
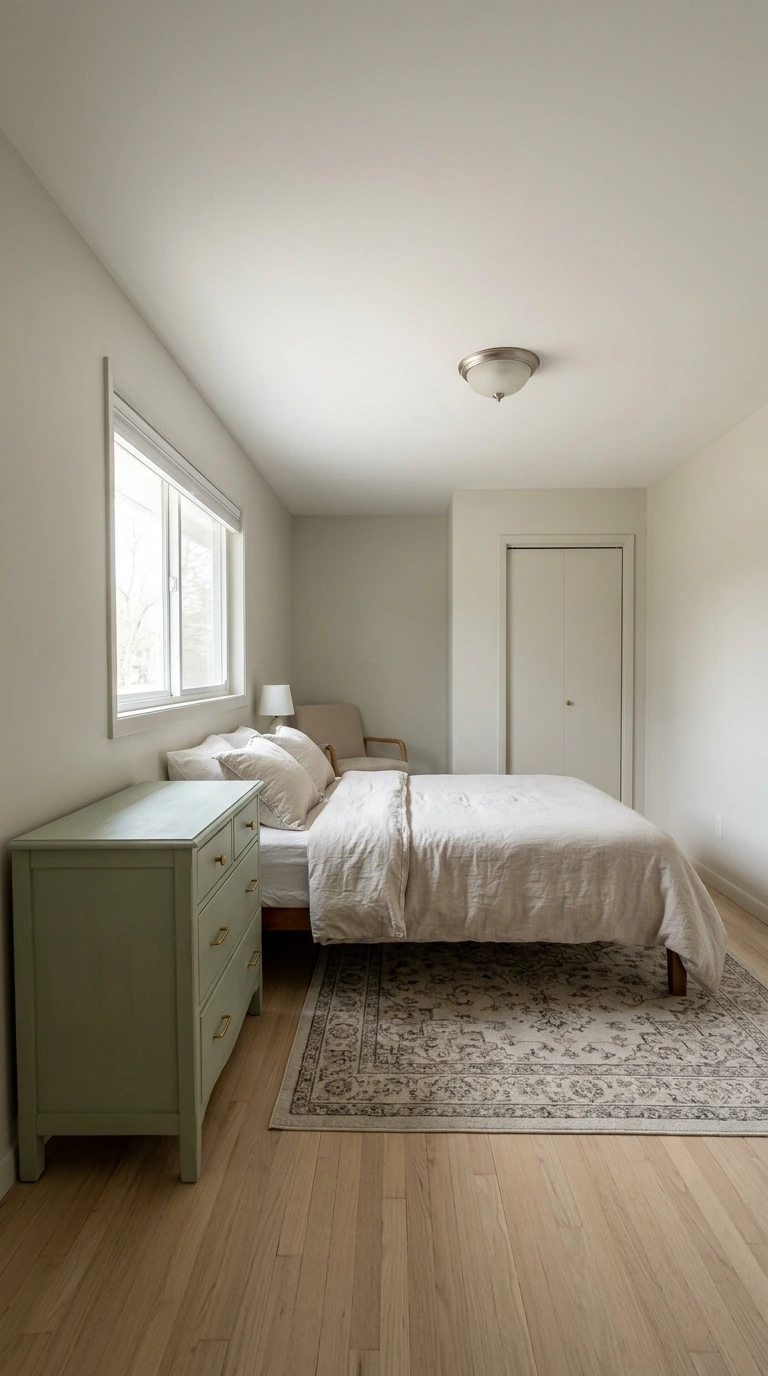
Giving old, dated, or mismatched furniture a fresh coat of paint is widely considered one of the single most effective money-saving techniques in any budget bedroom makeover. A dresser or nightstand with an unappealing finish can look like an entirely different piece with the right paint treatment.
Chalk paint in particular offers an easy, forgiving technique well-suited to furniture makeovers, even for those without extensive DIY experience. This approach also lets you keep furniture with genuine sentimental value while updating its appearance to match your new design direction.
- ✅ Set a firm budget and decide your top priority before shopping for anything
- ✅ Declutter and rearrange existing furniture before buying anything new
- ✅ Test paint samples in your room’s actual lighting before committing to a full gallon
- ✅ Prioritize high-impact changes (paint, lighting, bedding) over small decorative extras
- ✅ Mix thrifted and new pieces rather than buying an entire room’s worth at once
15. Update Furniture Hardware
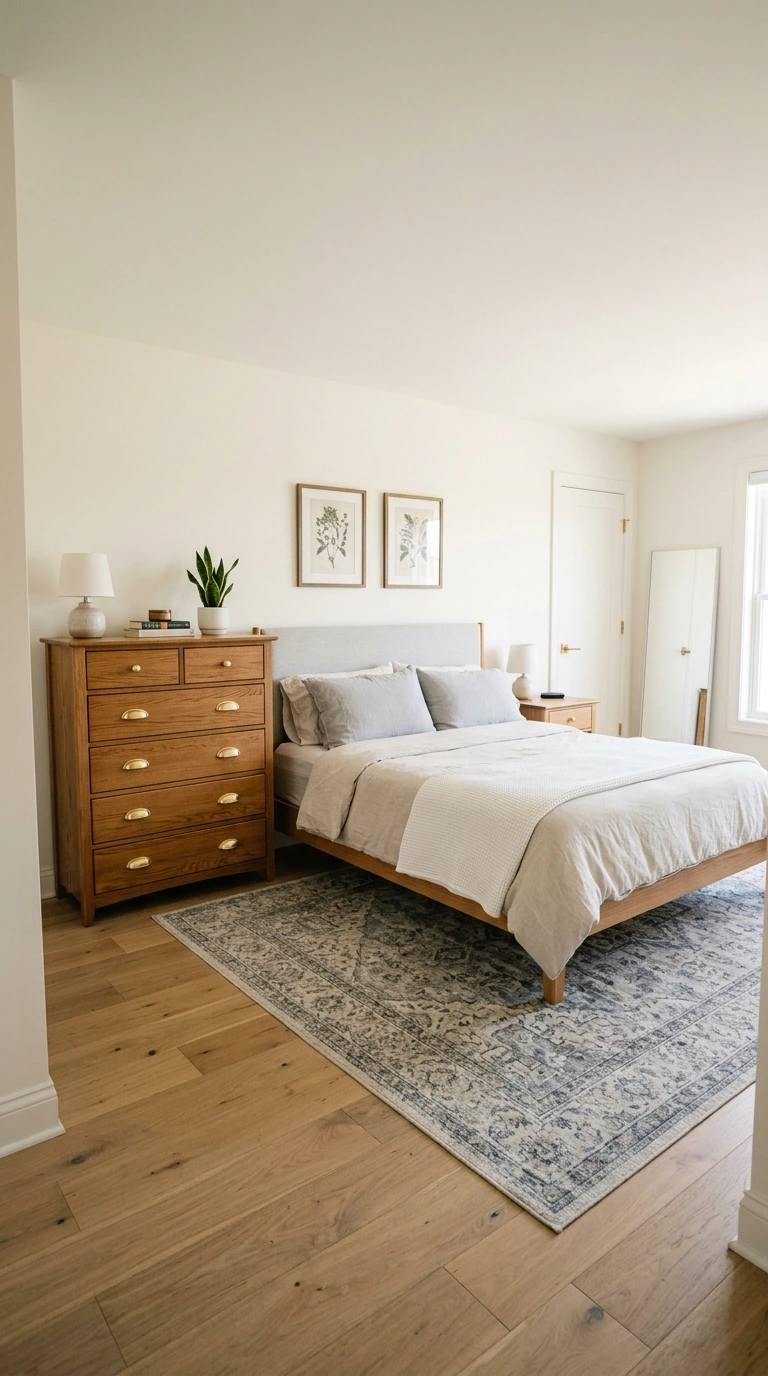
Simply swapping or repainting the knobs and pulls on an existing dresser or nightstand can meaningfully refresh a piece without requiring any new furniture at all. This is one of the smallest, most affordable updates on this list, often costing just a few dollars per piece.
A metallic finish like antique gold or brushed brass instantly elevates a plain or dated piece, tying it visually into your room’s broader color palette. This detail proves that even the smallest changes can meaningfully shift how a room reads overall.
16. Mix Thrifted and New Furniture
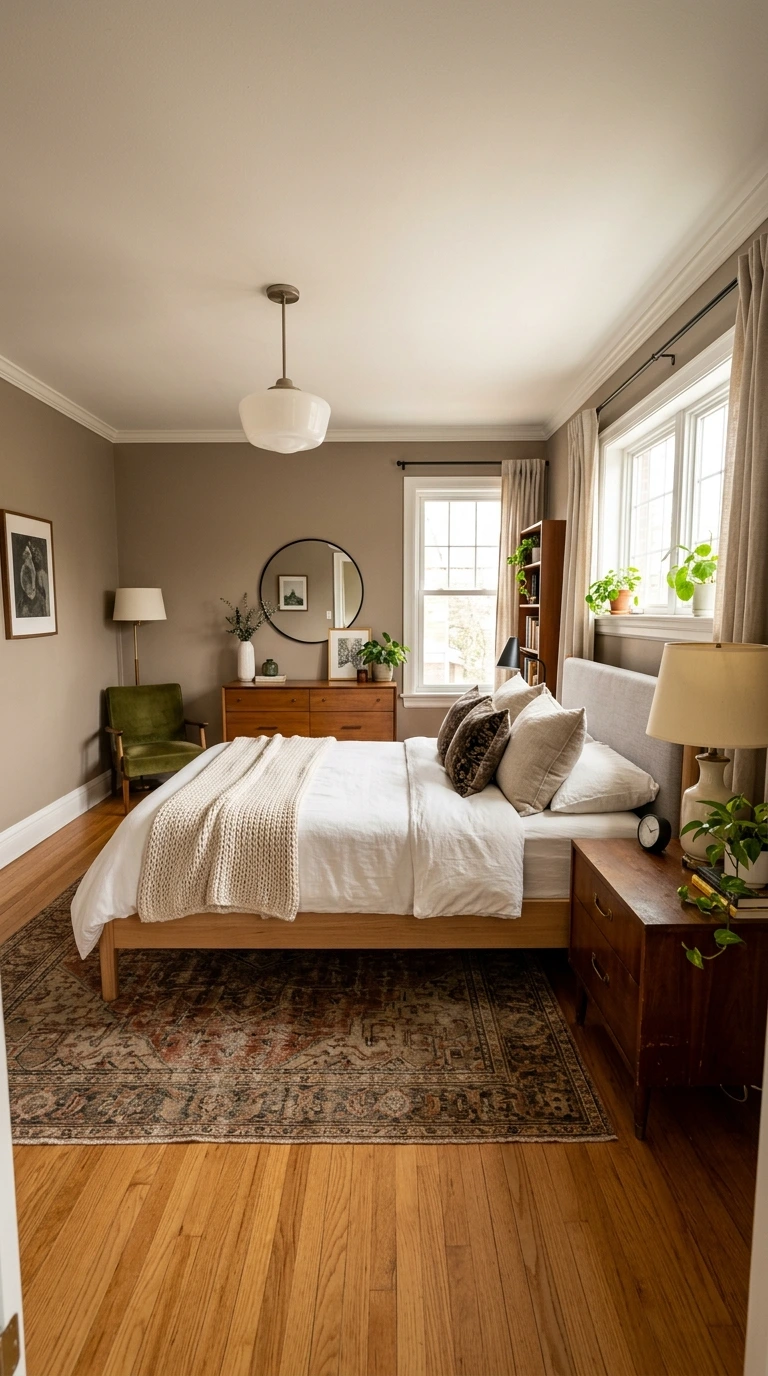
Combining a few secondhand or thrifted pieces with new items creates a unique, collected look while keeping your overall spending down considerably. Old furniture isn’t inherently bad furniture; it often just needs a fresh coat of paint or new hardware to feel current again.
Thrift stores and secondhand marketplaces frequently offer solid wood furniture at a fraction of new retail prices, making them an excellent resource for budget makeovers. This approach also naturally avoids the overly matched, showroom look that can make a room feel impersonal.
17. Upgrade Your Bedding
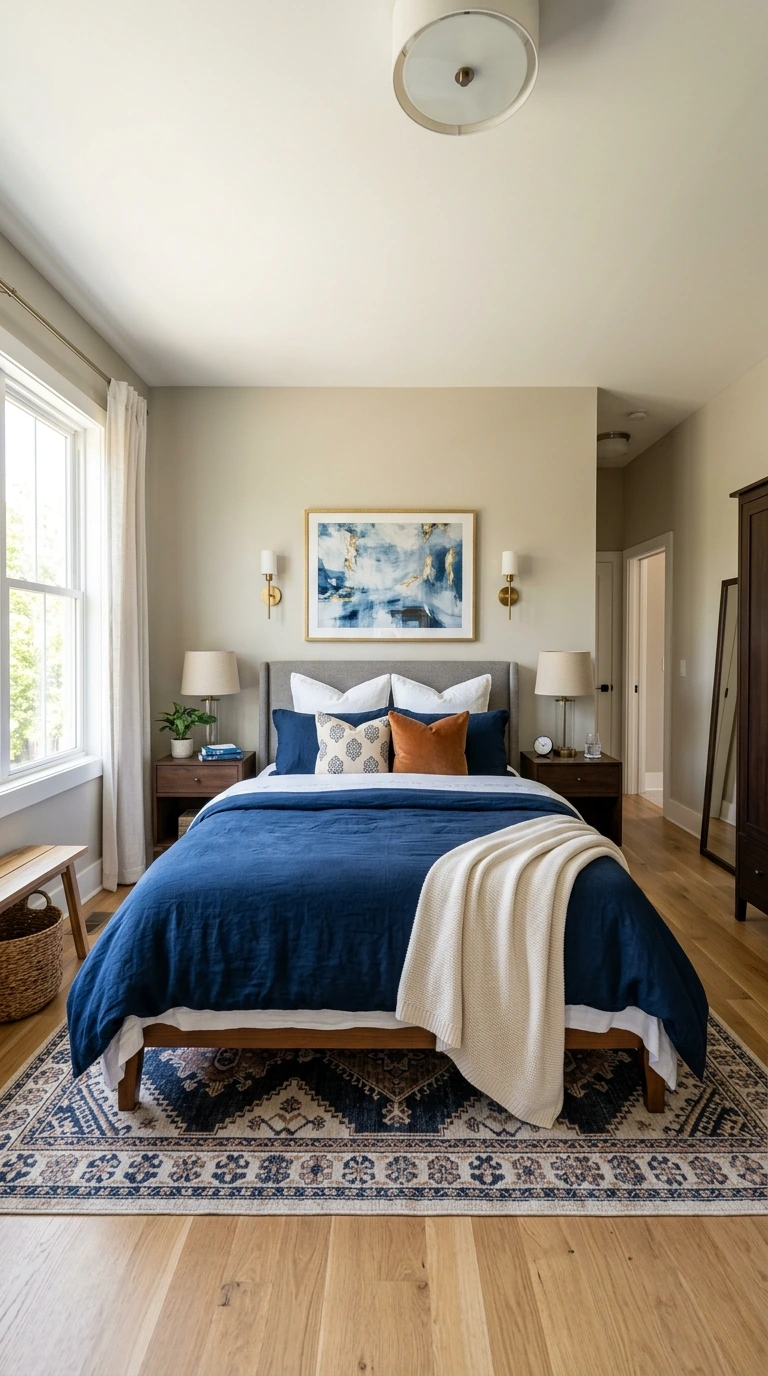
New bedding instantly refreshes the entire look and feel of a bedroom without requiring any tools or DIY skills whatsoever. Choosing a quilt cover or bedspread in a color or texture that contrasts with your current setup delivers an immediate visual update.
Layering is essential here: combining throw pillows, blankets, and quilts adds depth and contrast that a single flat bedding set alone can’t achieve. Shopping seasonal sales for quality bedding is one of the most reliable ways to stretch a limited budget further.
18. Layer Throw Pillows and Blankets for Texture
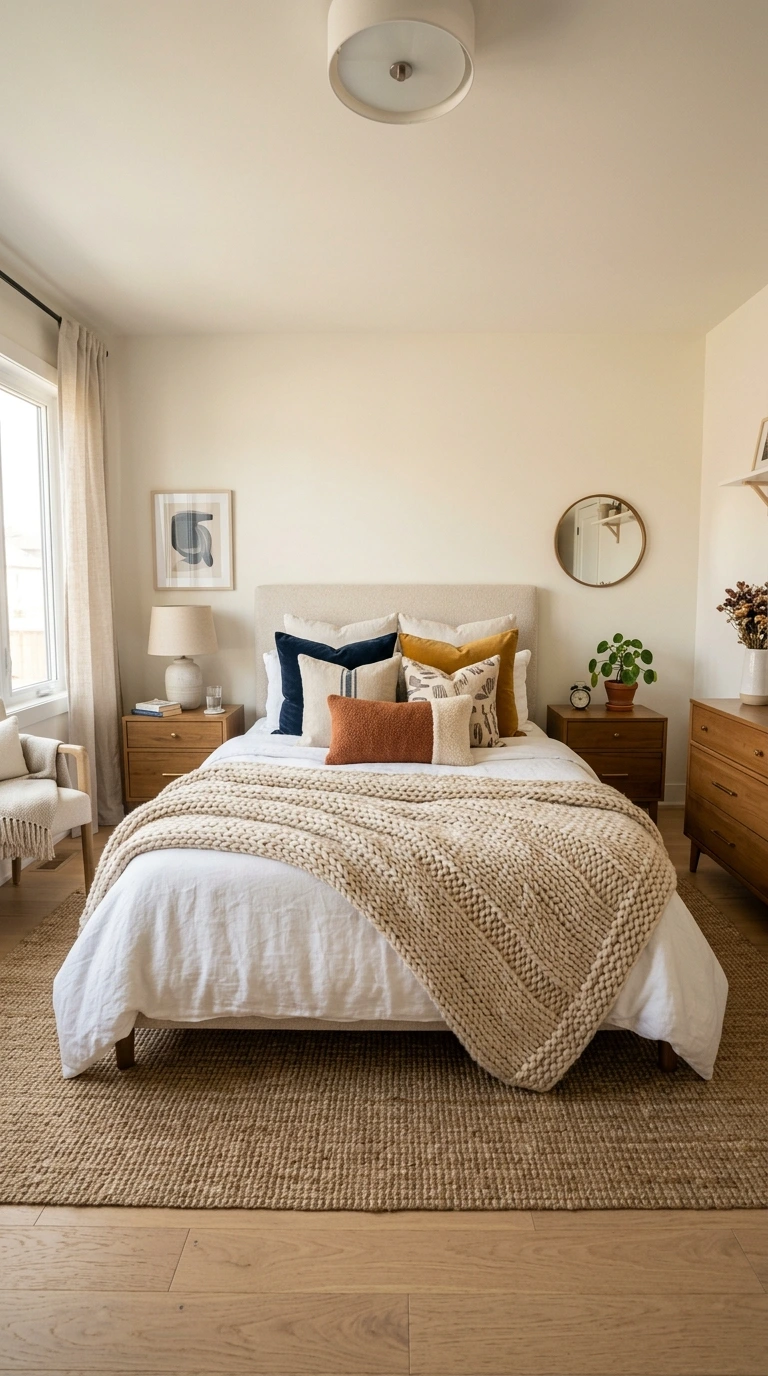
Beyond the bedding itself, adding a mix of throw pillows and blankets in varying textures brings warmth and depth to the bed without a significant additional expense. This detail is one of the most affordable ways to introduce color and personality into an otherwise simple room.
Mixing textures, like a chunky knit throw against smoother pillow covers, keeps the arrangement feeling intentional and layered rather than flat. This approach also allows for easy seasonal updates by simply swapping a few smaller pieces rather than the entire bedding set.
19. Add a Rug to Soften the Space
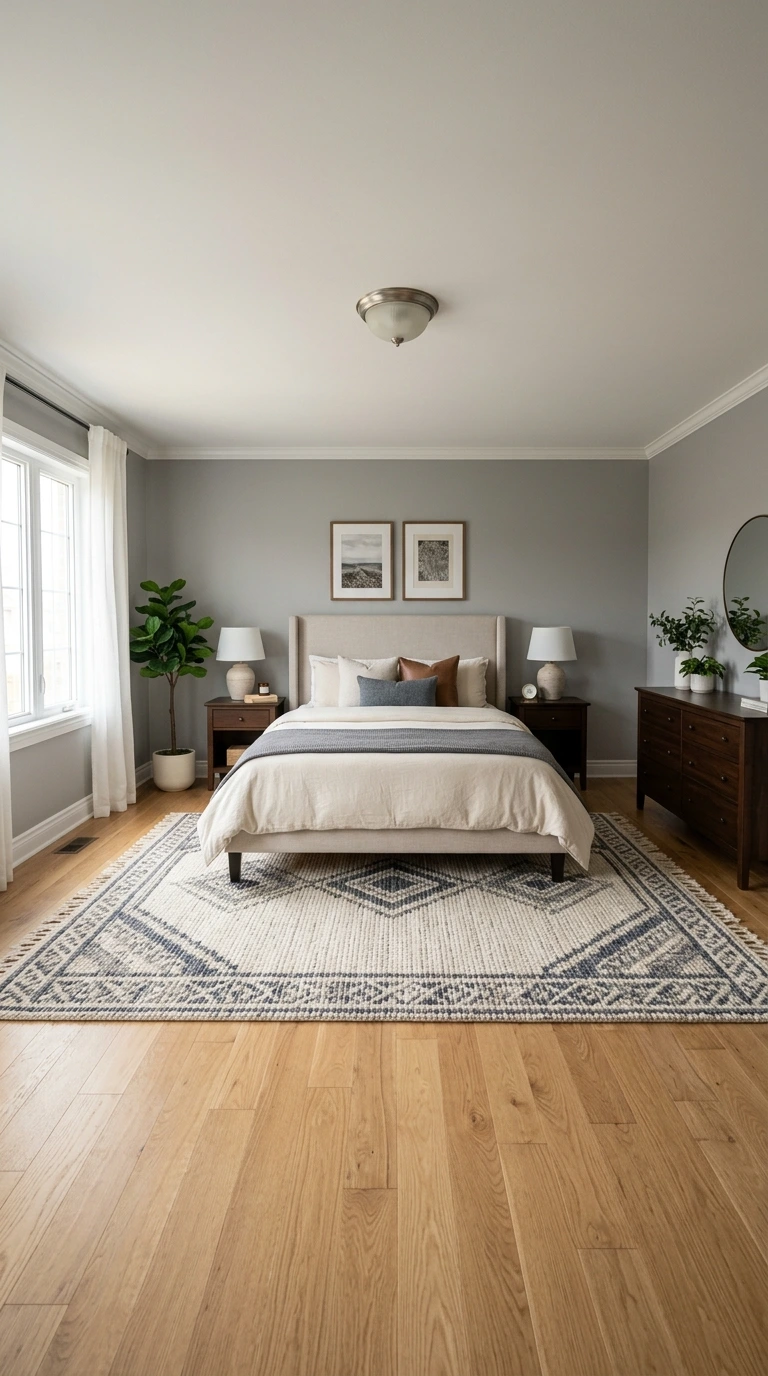
An area rug adds warmth, texture, and a sense of comfort underfoot, softening a bedroom that might otherwise feel cold or unfinished, particularly over hard flooring. This single addition does significant work toward making a room feel genuinely cozy.
Choosing a rug in a color and texture that complements your existing bedding ties the whole room together more cohesively. Even a modestly priced rug can meaningfully change how complete and considered a bedroom feels.
Warning: Skip the temptation to buy an undersized rug purely to save money, since a rug that’s too small for the room often ends up looking like an afterthought rather than an intentional design choice. If budget is tight, prioritize the correct size over a larger, more expensive material or pattern.
20. Hang Curtains Closer to the Ceiling
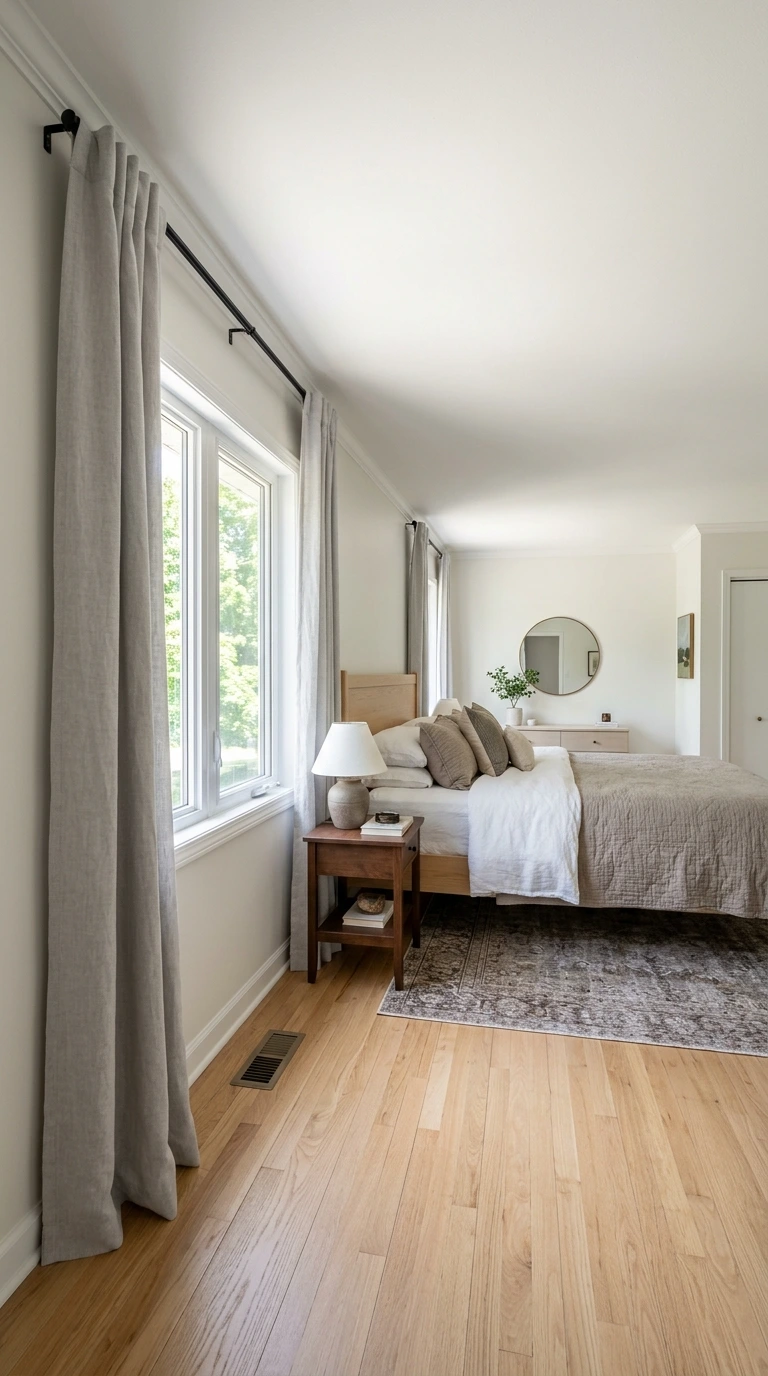
Repositioning your curtain rod higher, closer to the ceiling rather than directly above the window frame, is a completely free trick that makes the entire room feel taller. This simple adjustment requires no new materials if you already own curtains and hardware.
If you do need new curtain panels, choosing longer ones that either graze or slightly puddle on the floor reinforces this height illusion further. This remains one of the most reliably effective, low-cost tricks in budget bedroom design.
21. Swap to Warmer Light Bulbs
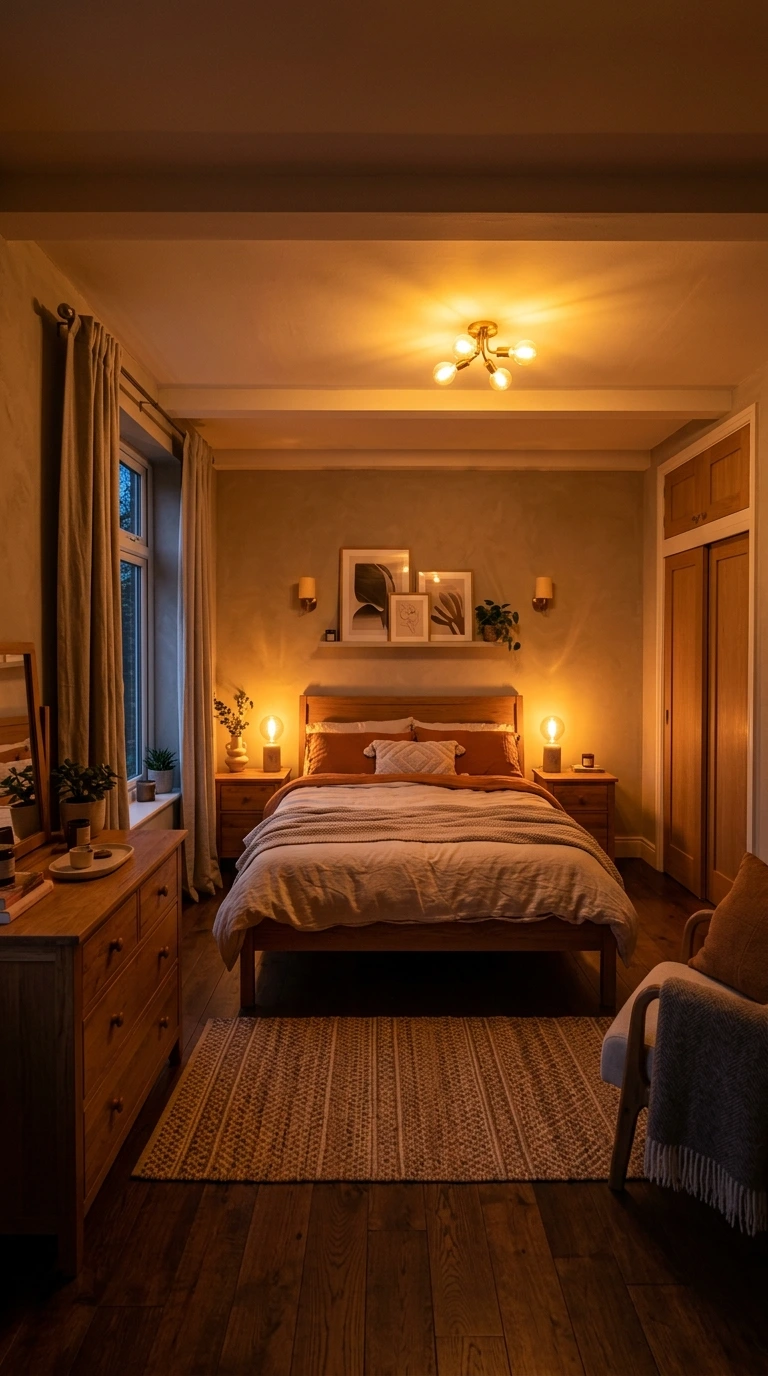
Replacing harsh white or cool-toned bulbs with warm, soft white options is one of the cheapest changes on this list, yet it meaningfully affects both the room’s mood and your own sleep quality. Harsh white lighting can feel clinical and actively works against the cozy atmosphere most bedroom makeovers are trying to achieve.
This swap costs only the price of a few new bulbs, making it one of the highest-value, lowest-cost updates available. Warmer lighting also makes existing warm-toned bedding and furniture read as richer and more inviting than they would under cooler light.
22. Add Layered Lighting Beyond the Ceiling Fixture
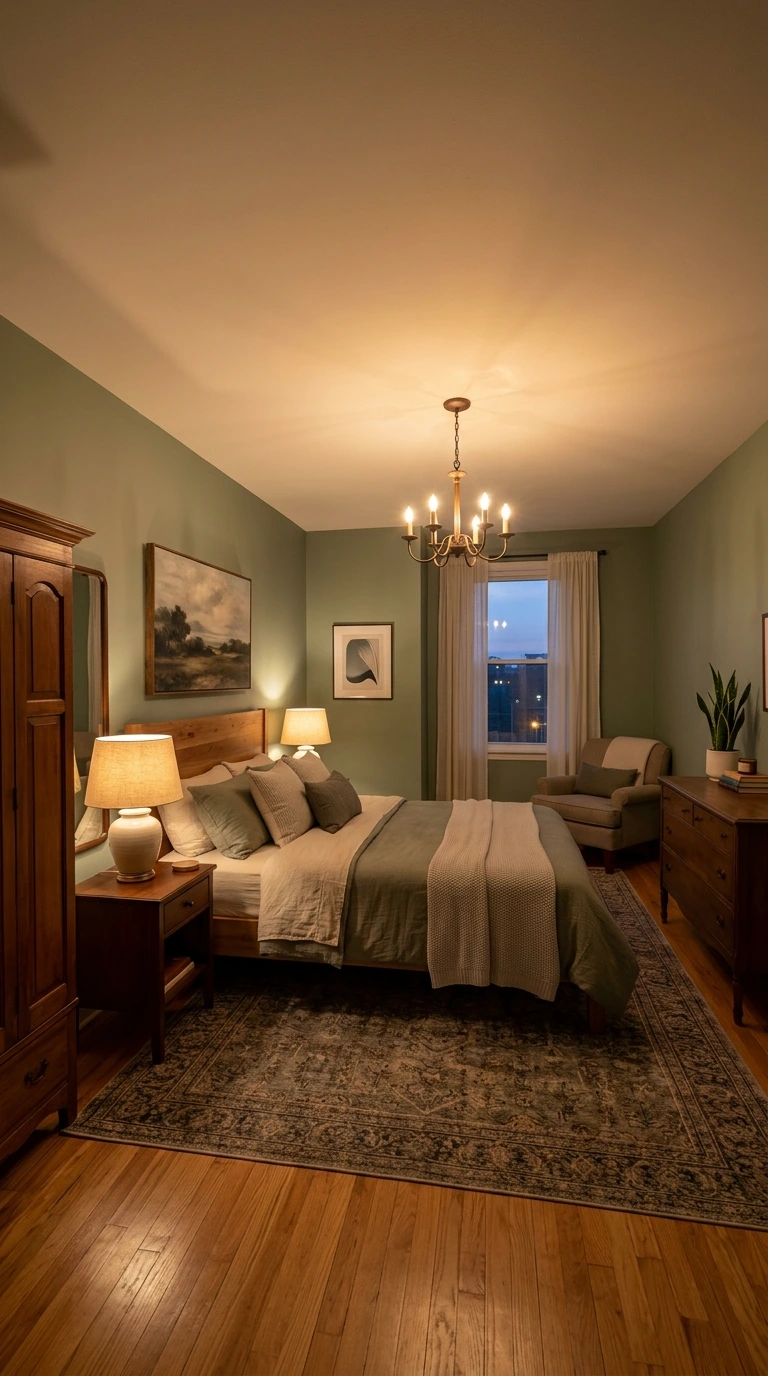
Relying solely on an overhead ceiling light tends to make a bedroom feel flat and one-dimensional. Adding even a single affordable table lamp or plug-in sconce introduces a second light source that immediately adds warmth and depth to the room.
Choosing lighting with a lower wattage or a dimmable bulb allows you to shift between bright, functional light and a softer evening glow. This layered approach is widely considered one of the most impactful, moderately priced upgrades in any bedroom makeover.
23. Use Plug-In Sconces for a Renter-Friendly Lighting Update
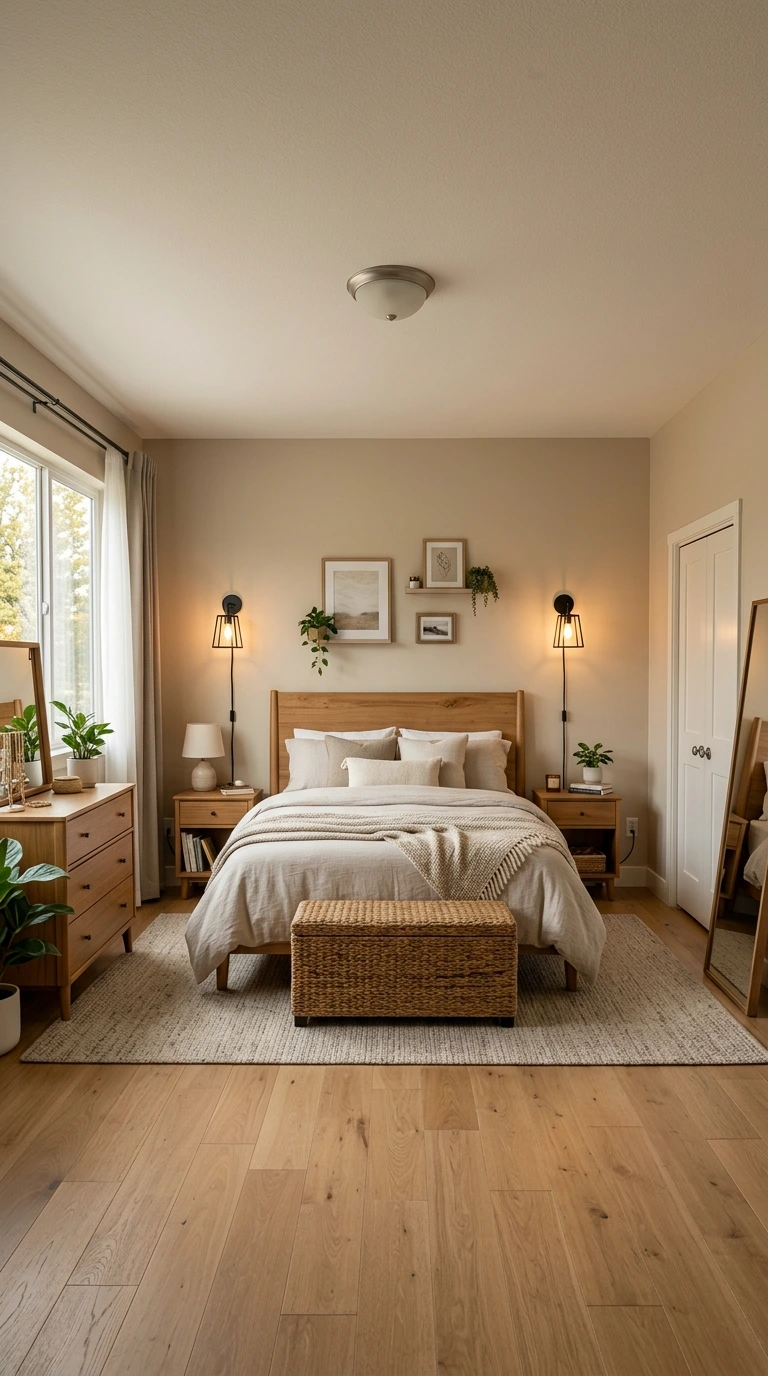
Plug-in wall sconces deliver the visual impact of hardwired wall lighting without requiring any electrical work or wall damage, making them ideal for renters. This detail adds a genuine design feature to the room at a relatively low cost.
Positioning plug-in sconces on either side of the bed frees up nightstand space while still providing convenient reading light. This solution proves that even electrical-feeling upgrades are achievable within a strict rental budget.
24. Add a Large Mirror to Bounce Light
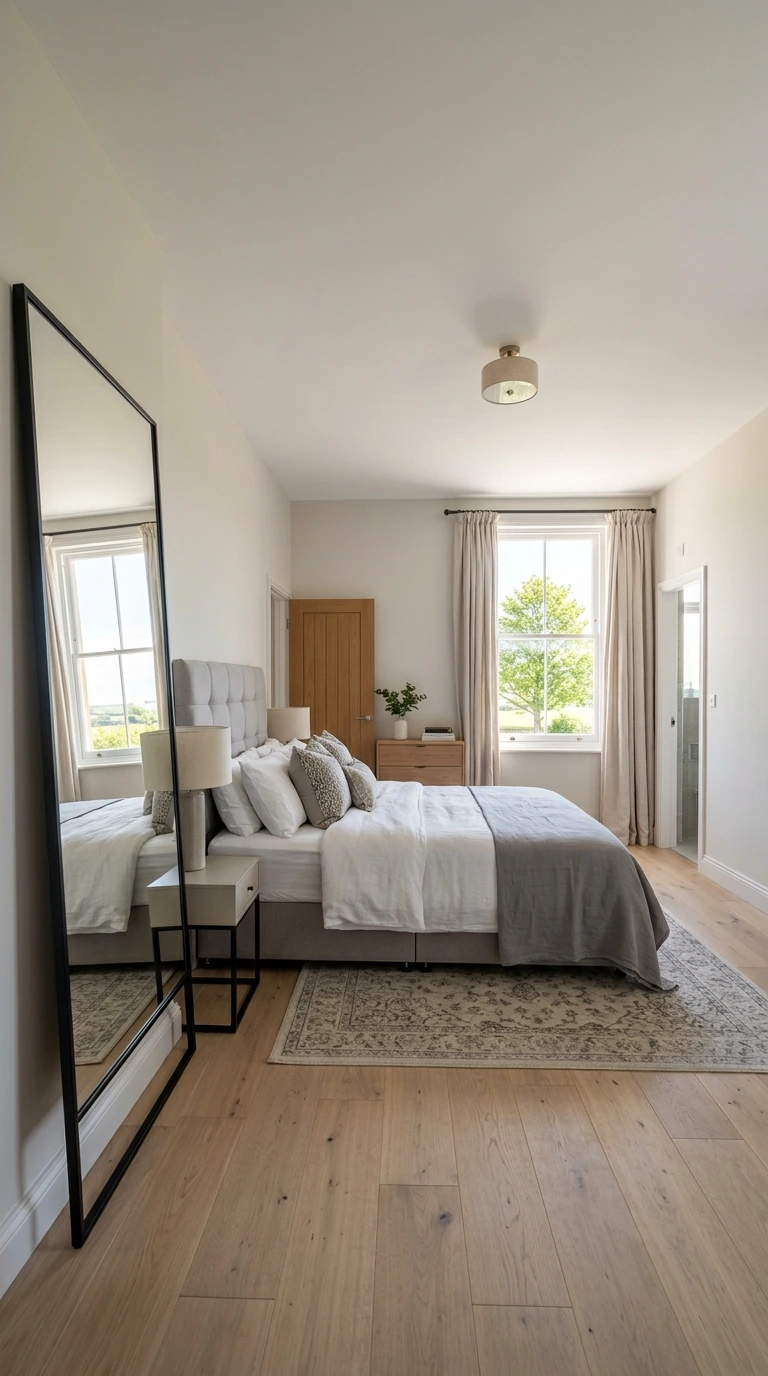
A floor or wall mirror reflects both natural and artificial light around the room, visually doubling the sense of space without any structural changes. This is a particularly high-value purchase for a small or dimly lit bedroom.
Positioning the mirror across from a window maximizes the amount of light it reflects throughout the day. This remains one of the most cost-effective tricks for making a budget makeover feel significantly more spacious and bright.
What’s Your Bedroom Makeover Budget Range?
| Makeover Level | Typical Cost Range | What’s Included | Best For |
|---|---|---|---|
| Refresh Only | $100–$250 | New bedding, decor, textiles | Quick seasonal updates |
| Partial Makeover | $250–$500 | Paint, lighting, bedding | Noticeable full-room change |
| Full Budget Makeover | $500–$800 | DIY furniture, decor, paint, lighting | Complete room transformation |
25. Add Bed Risers for Underbed Storage
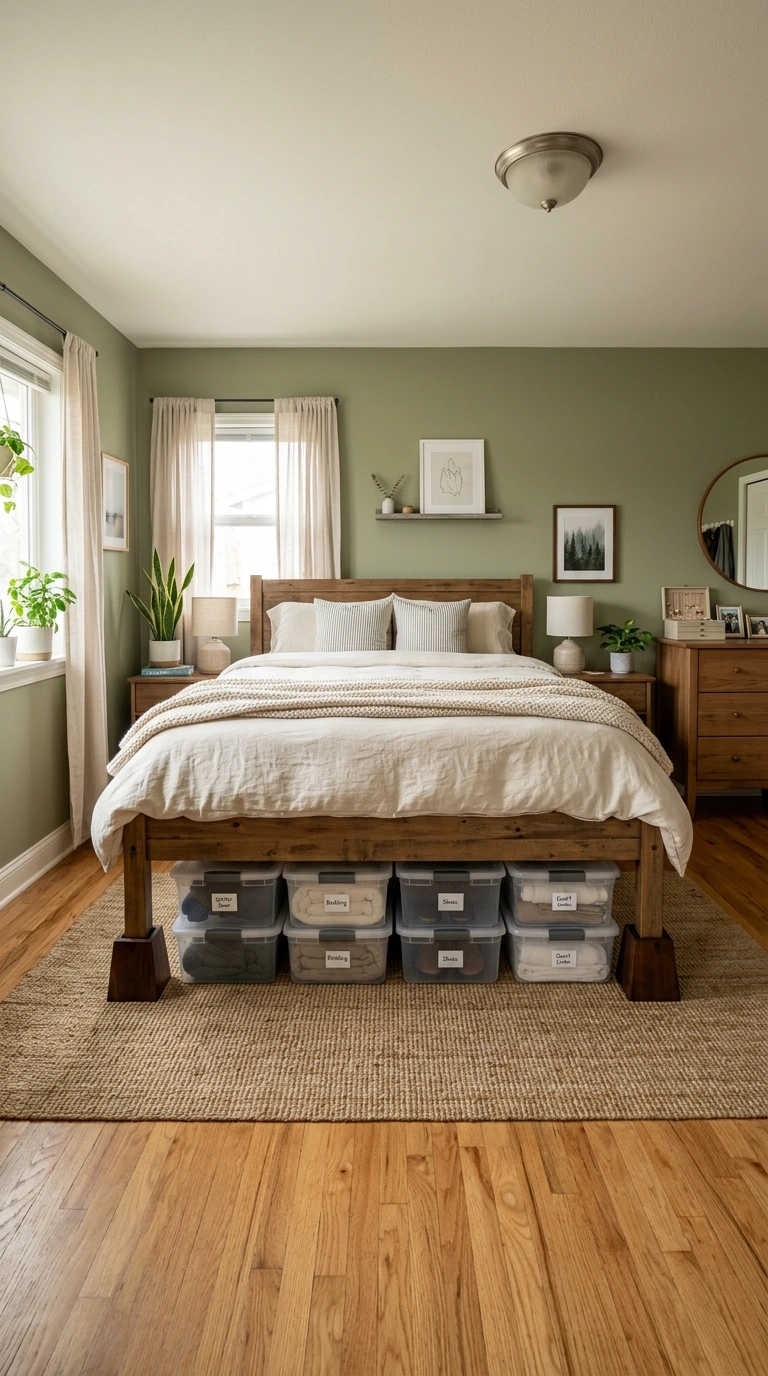
Bed risers installed under each leg raise your existing frame’s height without requiring a full replacement, instantly creating additional storage space underneath. This is a simple, inexpensive solution to a common bedroom storage problem.
Pairing the added height with colorful storage bins or decorated boxes keeps the underbed space both functional and visually cohesive with the rest of the room. This upgrade costs relatively little while meaningfully increasing your room’s practical storage capacity.
26. Add Colorful or Decorated Storage Bins
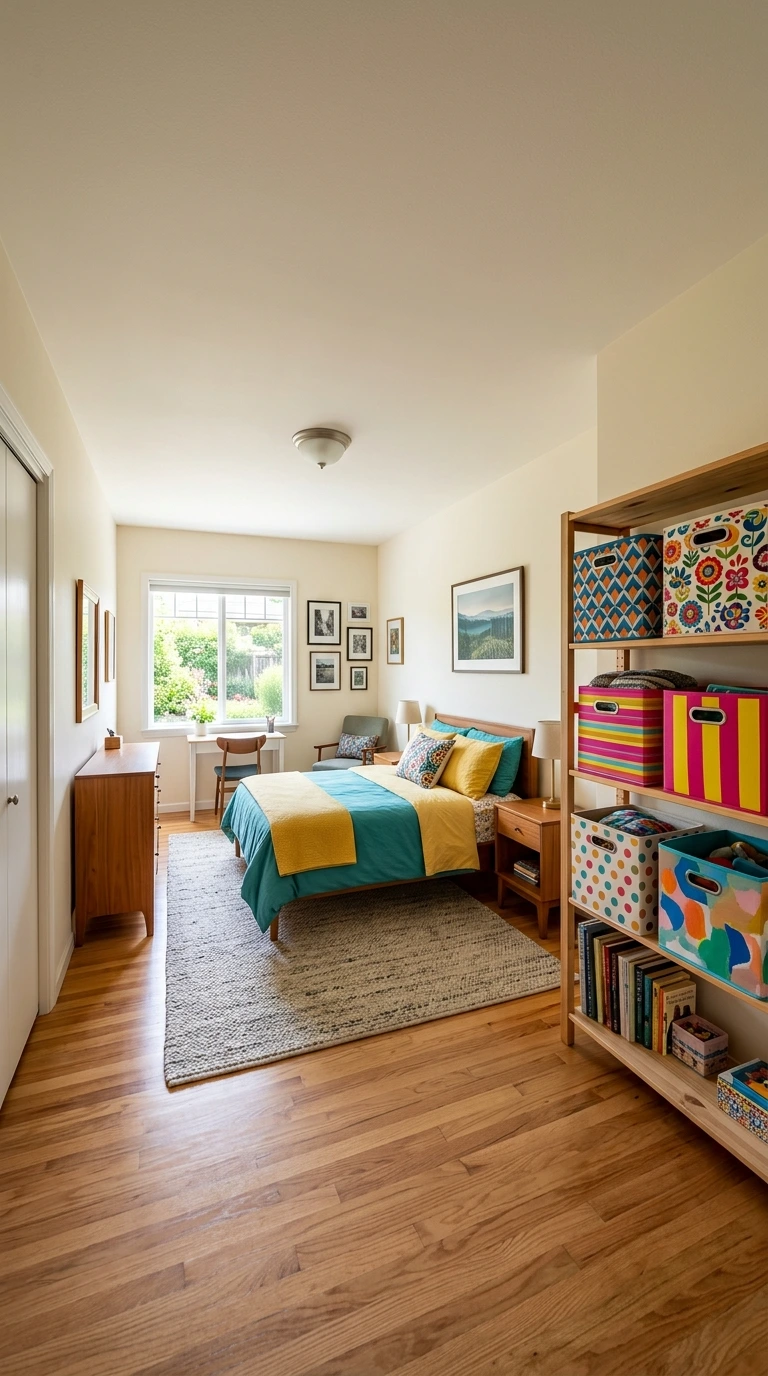
Whether tucked under a raised bed or displayed on open shelving, storage bins in a color or pattern that complements your room keep clutter contained while adding a small decorative touch. Plain cardboard or wooden boxes can also be customized with paint or decorative paper for a personalized, low-cost option.
This detail solves a genuine organizational need while still contributing positively to the room’s overall look. Choosing bins in a consistent color family, rather than a random mismatched assortment, keeps the storage feeling intentional.
27. Add Easy-Care Plants for Life and Color
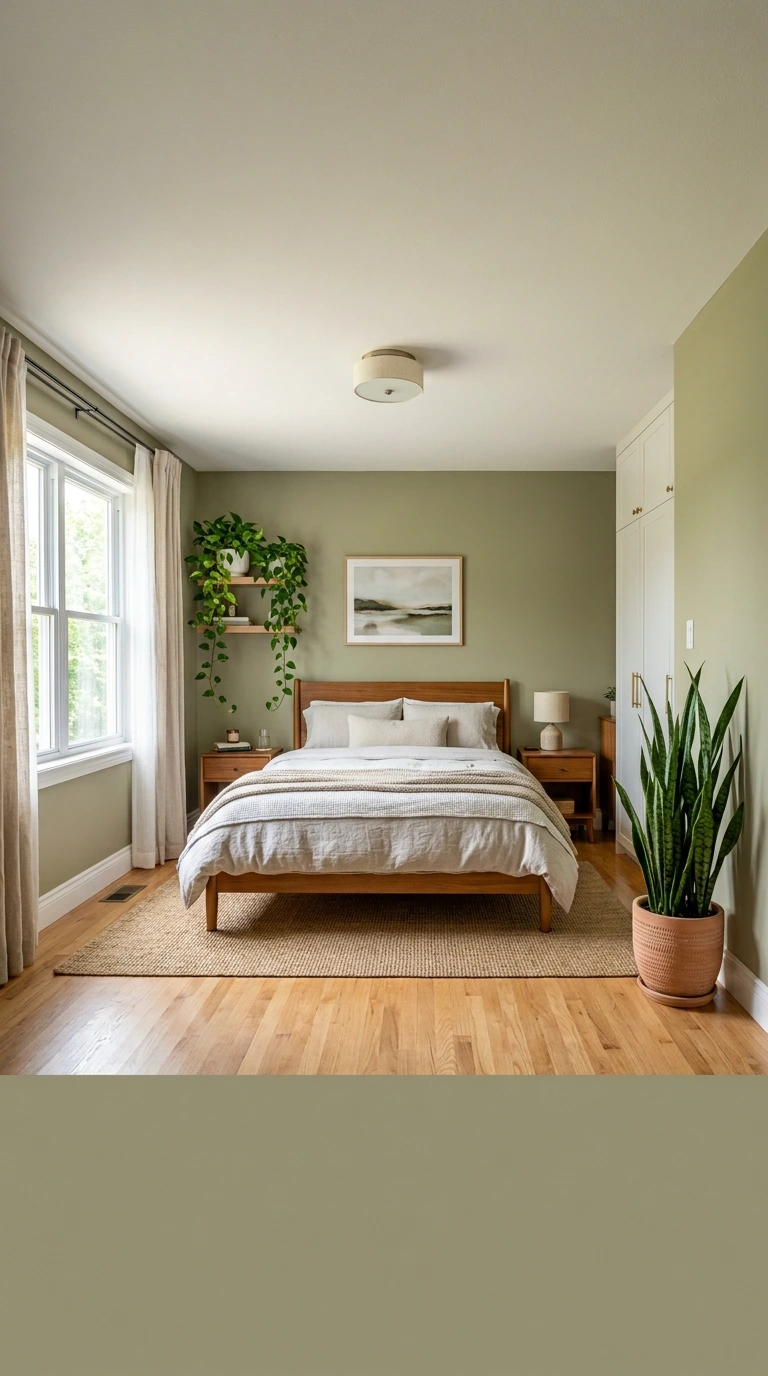
Plants bring genuine life and a refreshing, calming quality to a bedroom, and low-maintenance varieties like pothos, snake plants, or succulents thrive even without extensive gardening experience. This is one of the more affordable ways to add color and texture to a room.
Positioning plants in corners, on floating shelves, or near a window where they can access soft natural light makes their placement look intentional rather than incidental. Even a single well-placed plant can meaningfully soften a room’s overall feel.
28. Create a DIY Canopy from Repurposed Sheets
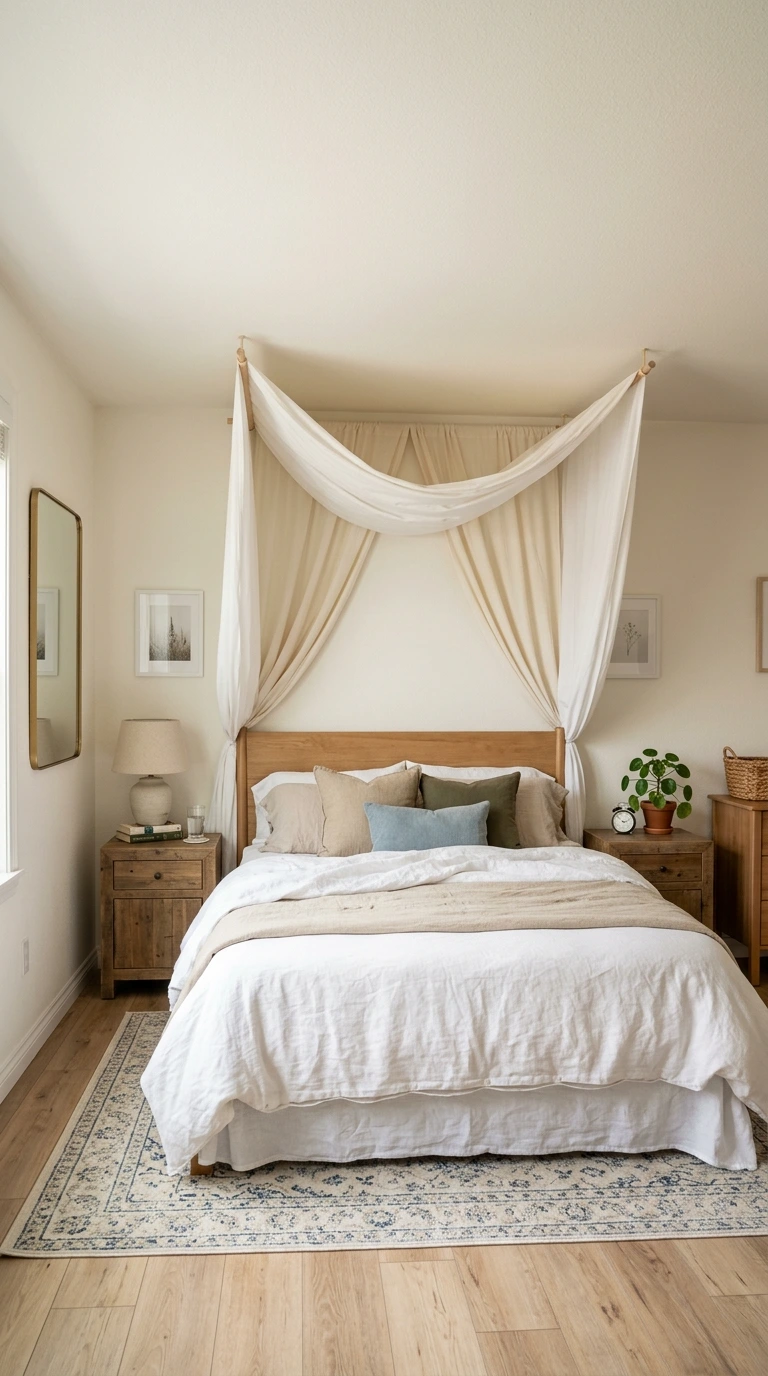
Repurposing old sheets or inexpensive fabric to create a simple canopy above the bed adds a soft, romantic touch without requiring any specialty hardware or store-bought canopy frame. This DIY project delivers a surprisingly dramatic visual effect for very little cost.
Draping the fabric from a simple ceiling hook or curtain rod mounted above the headboard achieves this look with minimal tools. This detail works particularly well for anyone drawn to a softer, more romantic bedroom aesthetic on a limited budget.
29. Refresh Existing Shelving with Paint
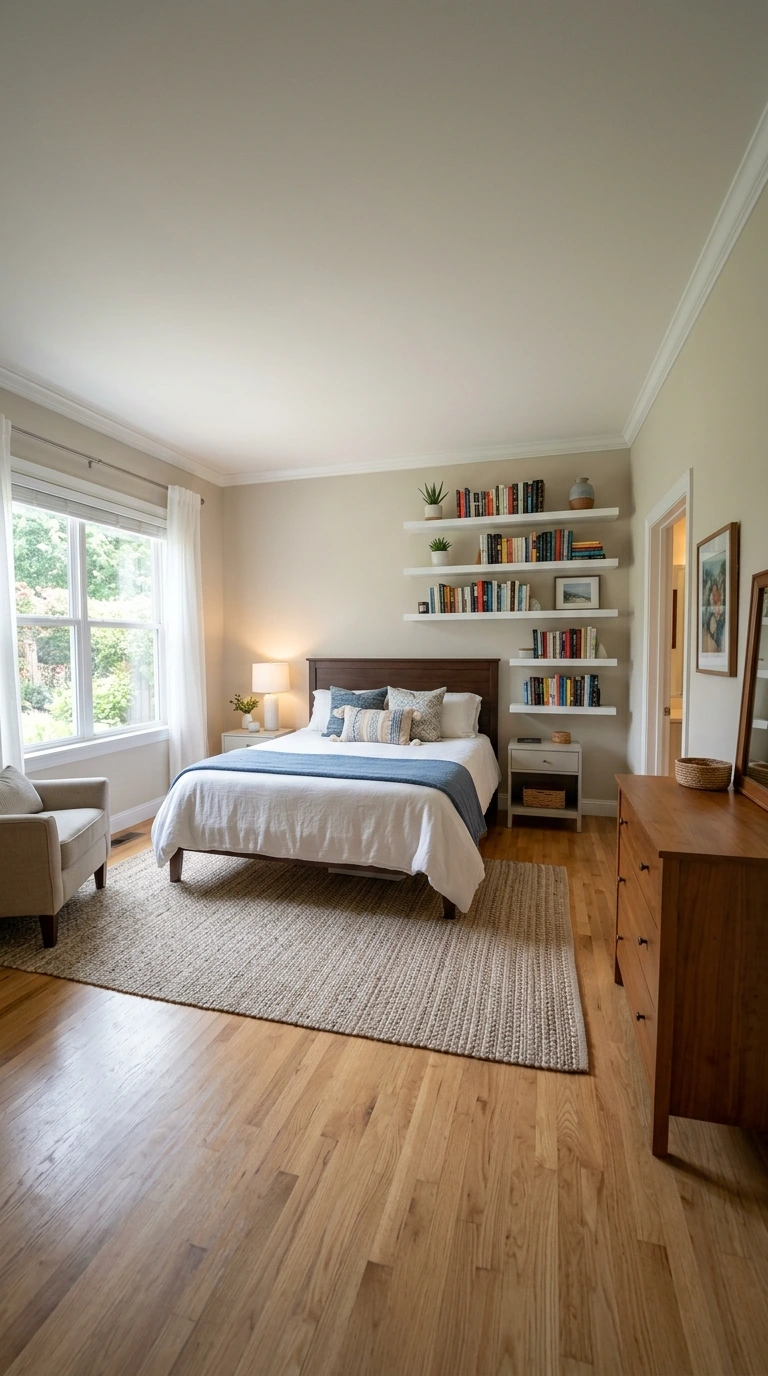
Rather than replacing shelving units entirely, a fresh coat of paint can instantly modernize their look and tie them into your room’s updated color palette. This small project costs very little beyond the paint itself.
Choosing a paint color that either matches your walls for a seamless look or contrasts intentionally for a bolder statement both work well, depending on your overall design direction. This update pairs naturally with restyling whatever is displayed on the shelves themselves.
30. Frame Fabric Instead of Buying Art
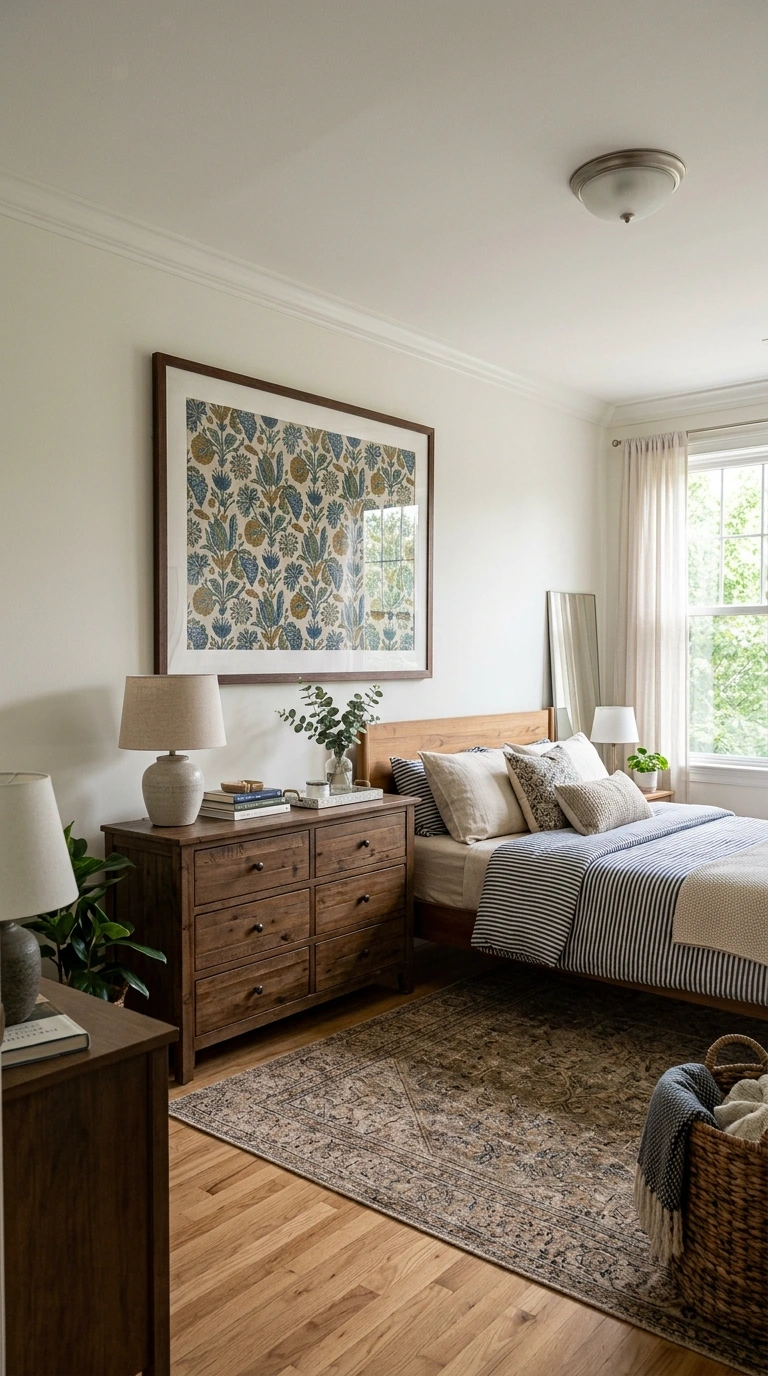
Stretching an interesting piece of fabric over a simple frame, or directly onto the wall, creates a textured, artistic wall feature at a fraction of the cost of framed prints or original artwork. This approach works particularly well for renters or anyone wanting a large-scale piece without a large-scale price tag.
Choosing a fabric pattern or color that complements your bedding ties this DIY art piece into the room’s broader palette. This detail proves that meaningful wall decor doesn’t require an expensive art purchase.
Important: When stretching fabric for wall art, choose a taut, even application to avoid visible wrinkles or sagging once it’s mounted. A slightly heavier fabric weight generally holds its shape better over time than something very thin or lightweight.
31. Build a DIY Frame Around Your TV
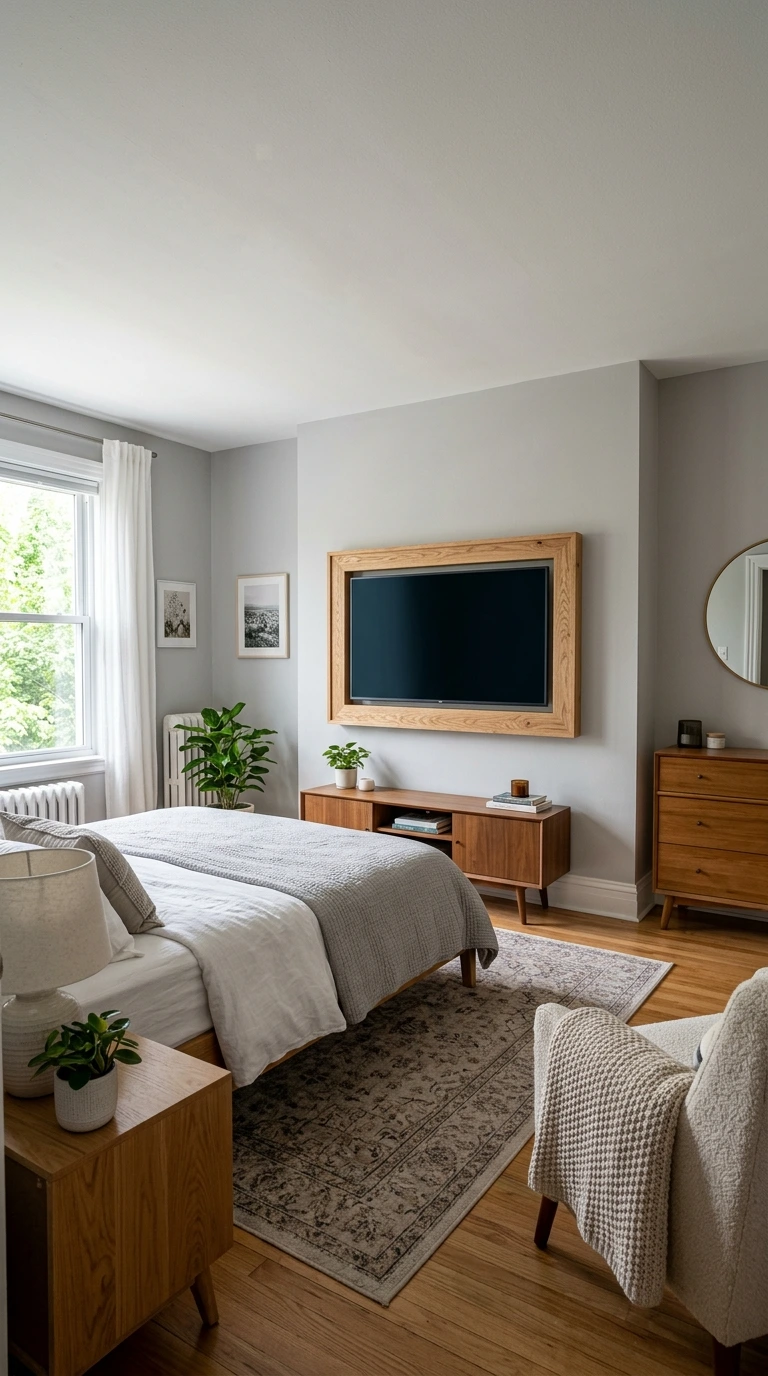
If your bedroom includes a wall-mounted television, building a simple picture frame around it disguises the screen as a piece of art when not in use, adding a polished, custom touch. This project costs considerably less than purchasing a specialty framed television.
Choosing a frame finish that matches your other wood tones or metal accents in the room ties this detail cohesively into your overall design. This is a particularly clever way to make a functional item feel more intentional and less like an obvious electronic device.
32. Use Adhesive Hooks and Tension Rods for Renter-Friendly Updates
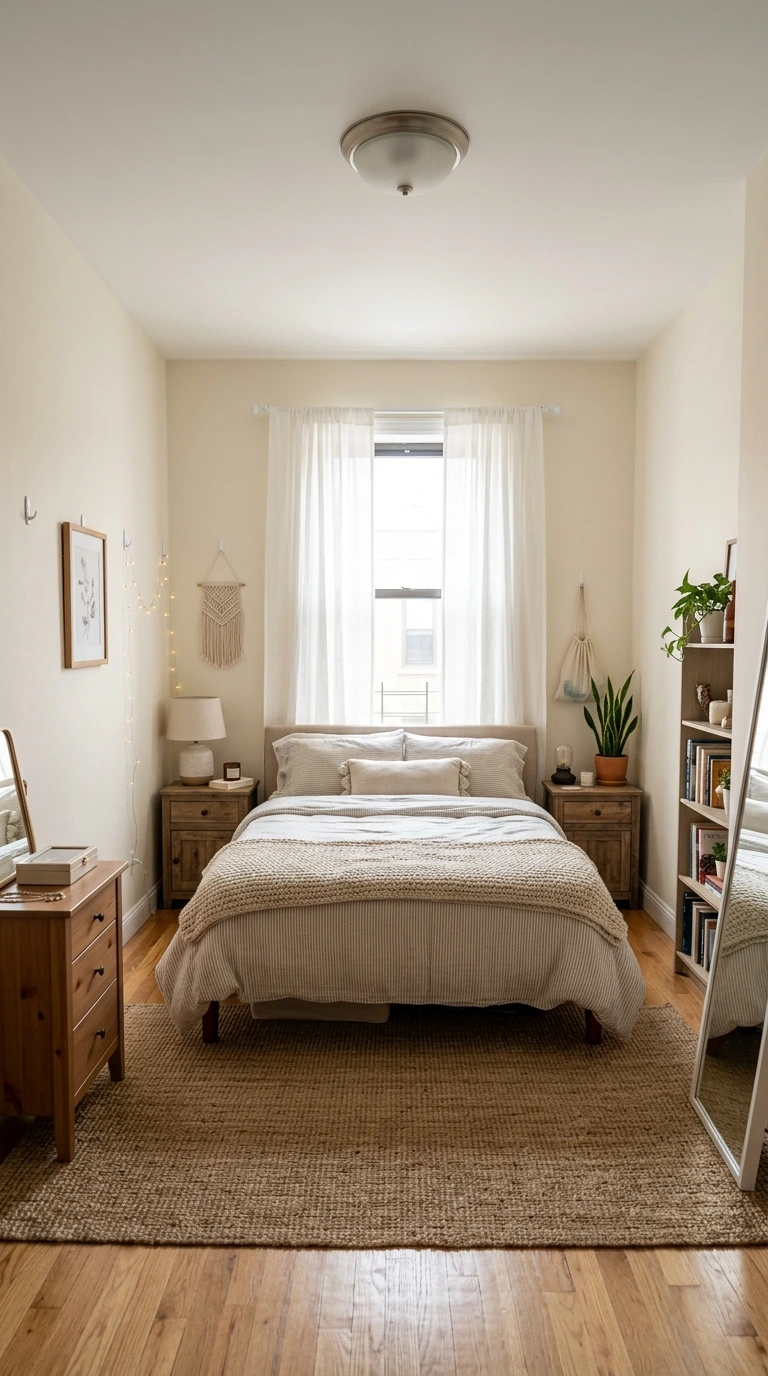
Adhesive hooks and tension rods allow renters to hang curtains, garlands, or lightweight decor without any nails or permanent wall damage. This category of renter-friendly tools opens up significantly more decorating flexibility than many people initially assume is possible.
Testing any adhesive product on an inconspicuous section of wall first confirms it won’t damage paint when removed later. This approach lets renters achieve many of the same visual updates as homeowners, just through temporary rather than permanent methods.
33. Swap Lampshades for a Quick, Low-Cost Refresh
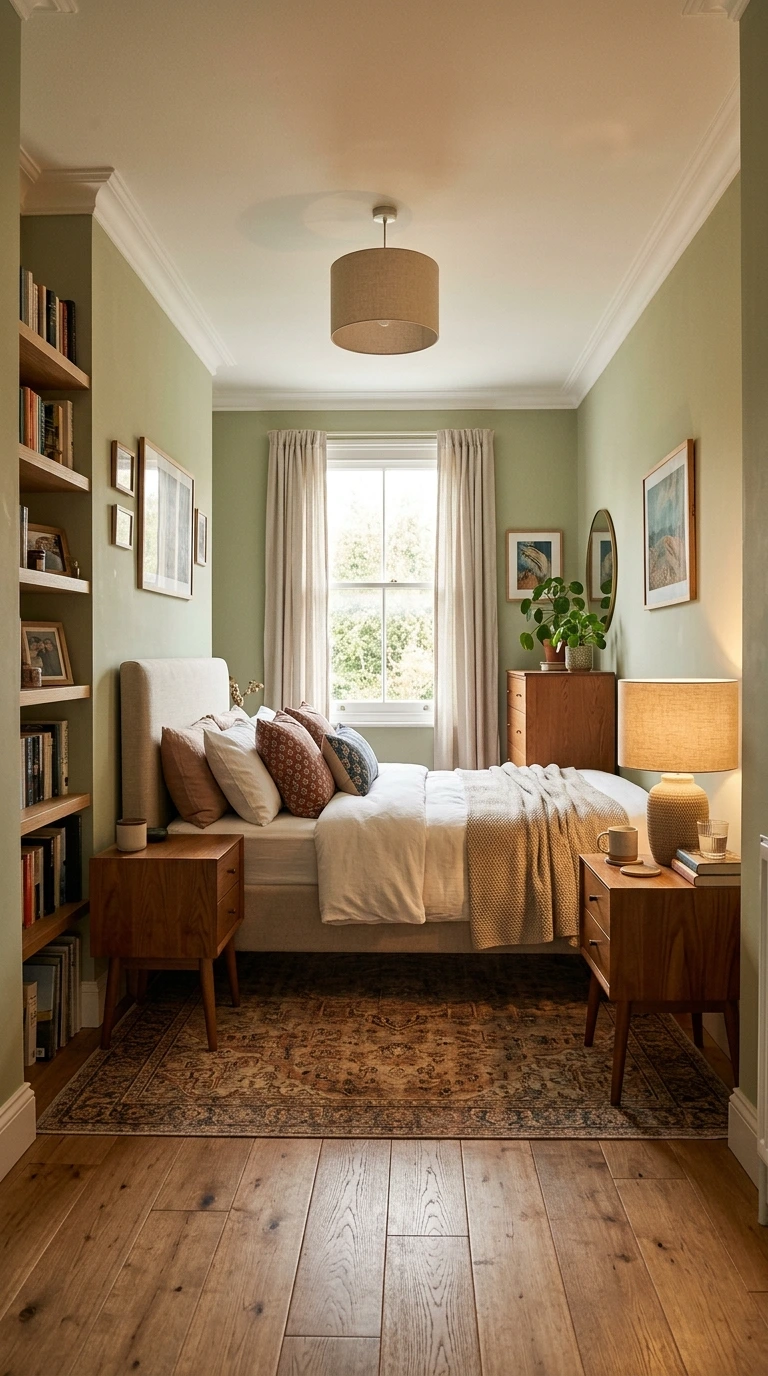
Replacing just the shade on an existing lamp, rather than buying an entirely new fixture, updates its look and color contribution to the room for a fraction of the cost of new lighting. This small swap is easy to overlook but genuinely effective.
Choosing a shade color or texture that echoes your room’s broader palette ties the lamp more intentionally into the overall design. This detail exemplifies how small, targeted updates can meaningfully shift a room’s feel without a large expense.
34. Reupholster or Recover Existing Seating
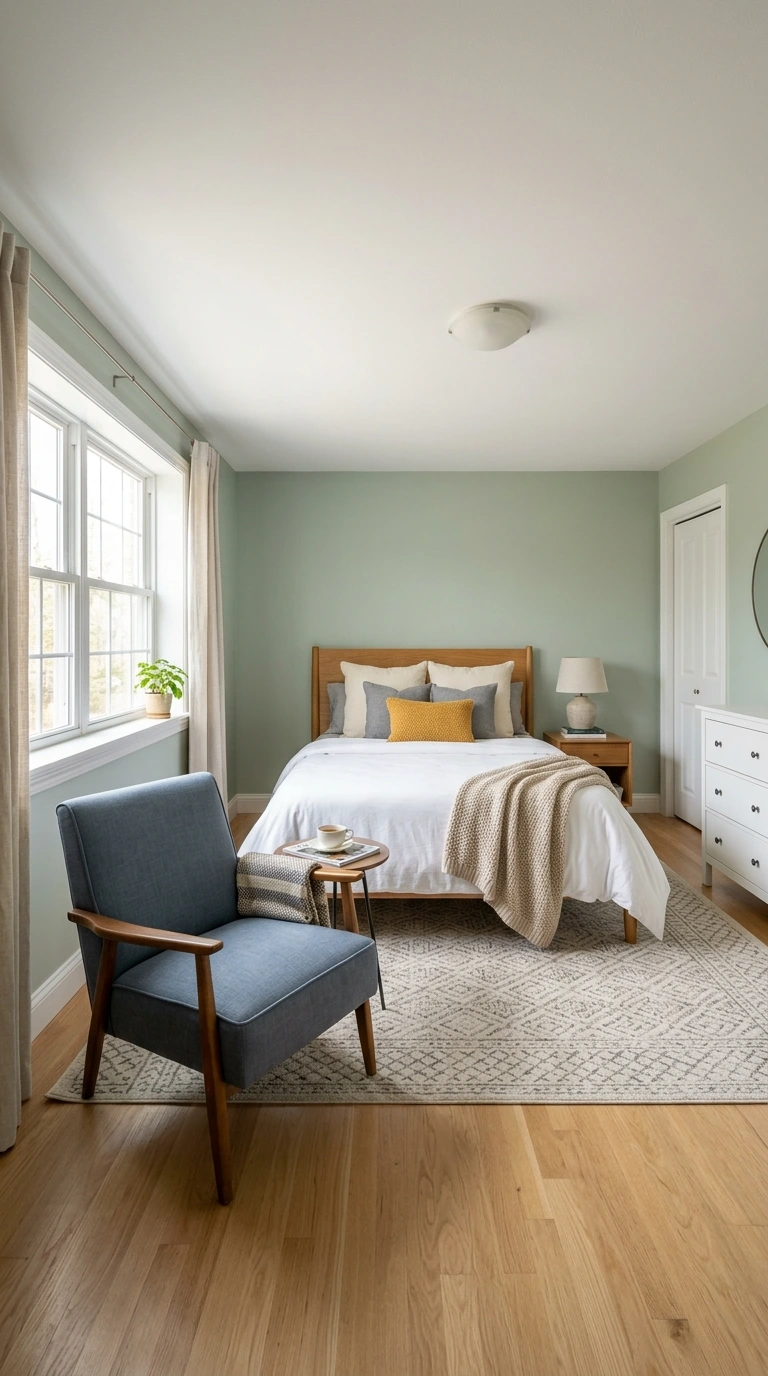
If your bedroom includes a chair or bench with worn or dated upholstery, recovering it with new fabric refreshes the piece considerably cheaper than buying new seating outright. This project requires some DIY confidence but delivers significant visual payoff.
Choosing a fabric that complements your bedding and overall color scheme ties this refreshed piece into the room’s new design direction. This approach also allows you to keep furniture with sentimental value while updating its appearance.
35. Add Personal Touches Gradually Rather Than All at Once
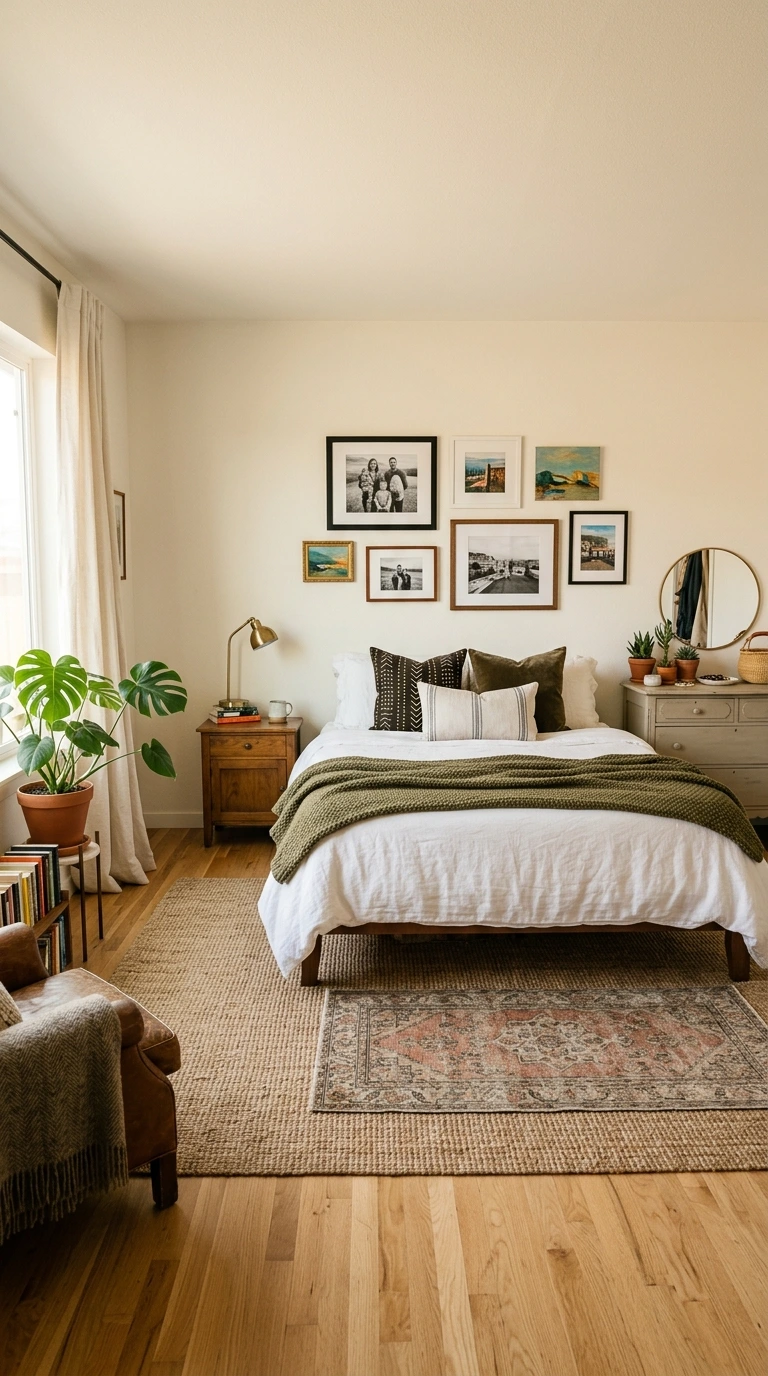
Rather than trying to complete every update in a single weekend, allow your budget makeover to unfold gradually, adding pieces that genuinely resonate as you find them or as your budget allows. This approach naturally avoids overspending and tends to result in a more authentic, personal final space.
Starting with the one or two changes that address your room’s biggest pain points, whether that’s paint, lighting, or storage, and building outward from there keeps the process manageable and financially sustainable. The most successful budget makeovers rarely happen overnight; they’re built thoughtfully over time.
Frequently Asked Questions
1. How much does a budget bedroom makeover typically cost?
Costs vary widely depending on scope, but a simple refresh focused on decor and textiles might run $100 to $250, while a fuller makeover including paint, lighting, and new bedding often falls between $250 and $500. A full DIY furniture and decor transformation can range up to $500 to $800.
2. What’s the single most impactful low-cost change I can make?
A fresh coat of paint is widely considered the highest-impact, lowest-cost change available in any bedroom makeover. Decluttering the room beforehand is the only step that costs even less, since it’s entirely free and often reveals what the room genuinely needs.
3. Can I do a budget bedroom makeover as a renter?
Yes, renter-friendly options like peel-and-stick wallpaper, plug-in sconces, adhesive hooks, and tension rods allow for significant visual updates without any permanent wall damage. These solutions let renters achieve many of the same transformations available to homeowners.
4. Should I buy new furniture or refresh what I already own?
In most cases, refreshing existing furniture through paint, new hardware, or reupholstering is significantly more budget-friendly than buying new pieces. Mixing a few thrifted finds with your existing furniture is another effective way to add variety without a large expense.
5. How important is lighting in a budget bedroom makeover?
Very important. Swapping to warmer bulbs and adding even a single additional light source beyond the ceiling fixture are among the cheapest, most effective updates available, significantly changing both the room’s mood and its overall sense of coziness.
6. What’s a good first step if I don’t know where to start?
Begin by decluttering the room and creating a simple mood board before making any purchases. These two free steps clarify what the room actually needs and prevent the impulse buying that most commonly derails a budget project.
7. Do I need to complete the whole makeover at once?
No, most successful budget makeovers happen gradually over time rather than in a single weekend. Starting with your room’s biggest pain point and adding further updates as your budget allows tends to produce a more considered, sustainable result.
Conclusion
A genuinely transformative bedroom makeover doesn’t require a large budget, just a clear plan and smart prioritization. Starting with free or low-cost changes like decluttering, rearranging furniture, and repainting, then layering in affordable upgrades like new bedding, better lighting, and a few DIY projects, can completely change how a room looks and feels.
Work through these 35 ideas at your own pace, focusing first on whatever bothers you most about your current space. The most successful budget bedroom makeovers rarely happen all at once; they’re built thoughtfully, one smart choice at a time, until the room finally feels like the retreat you were hoping for.