
30 Budget Kitchen Makeover Ideas: Big Impact Changes Under $200

Introduction
A full kitchen renovation can run tens of thousands of dollars, but most of the visual impact in a kitchen comes from a handful of small, targeted changes. Swapping hardware, adding a bold light fixture, or painting just the island can transform how a space feels without touching a single wall or cabinet box. The kitchens that photograph the best are rarely the most expensive ones. They are the ones where every dollar went toward something visible.
This list focuses on changes that cost under $200 each, most of them well under that, and deliver a noticeable shift in how the kitchen looks and feels. Black matte hardware against soft sage cabinets, open shelving styled with warm wood tones, a single pendant light that anchors the whole room, these are the kinds of details that make a rental or a dated kitchen feel intentional again.
Some of these ideas take twenty minutes with a screwdriver. Others take a weekend and a few coats of paint. Pick the ones that solve your kitchen’s biggest weak spot first, and build from there.
1. Swap Cabinet Hardware for an Instant Facelift
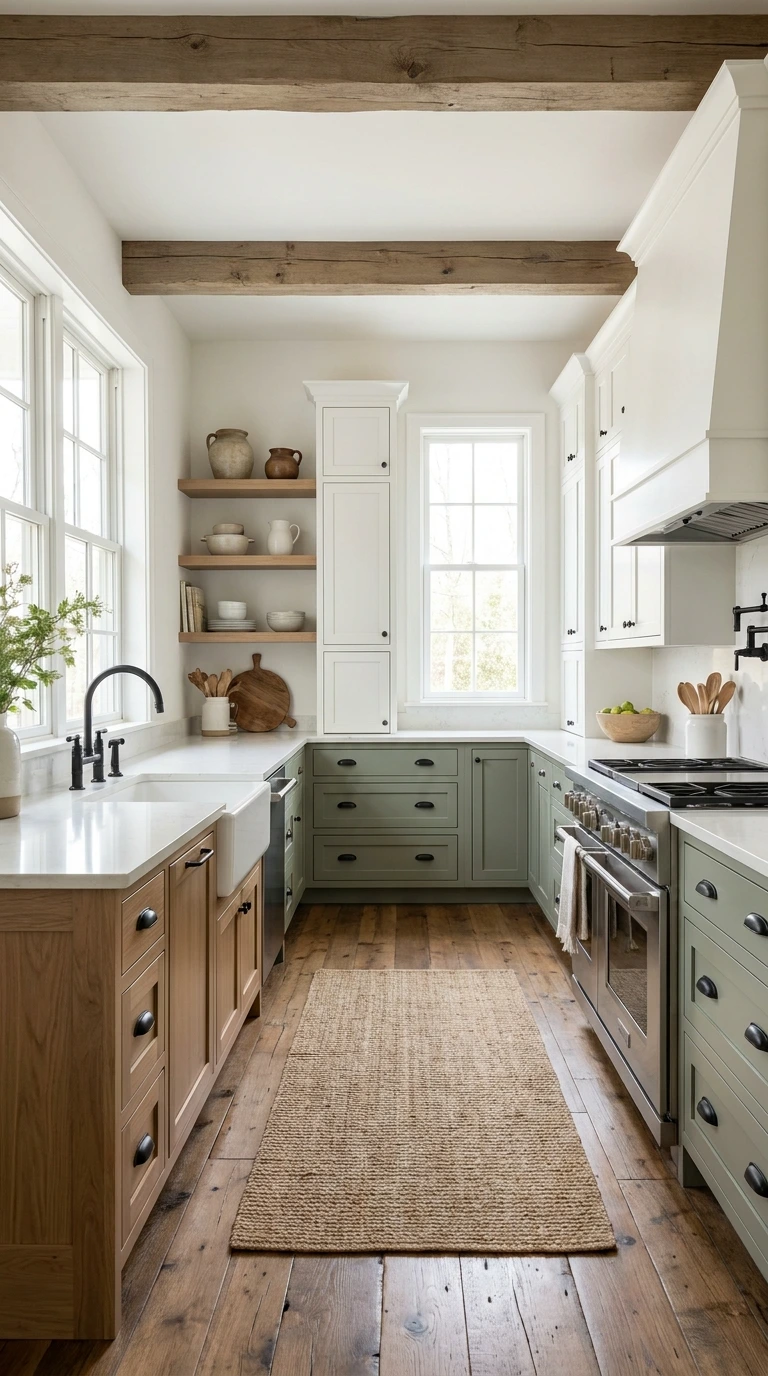
Old brass or builder-grade knobs are one of the fastest tells that a kitchen has not been updated in years. Swapping every knob and pull for matte black hardware costs very little per piece and changes the entire feel of the cabinets within an afternoon.
Measure the existing screw hole spacing before ordering new pulls. Buying the wrong length means drilling new holes, which turns a simple swap into a bigger project.
2. Paint Just the Kitchen Island for a Two-Tone Look
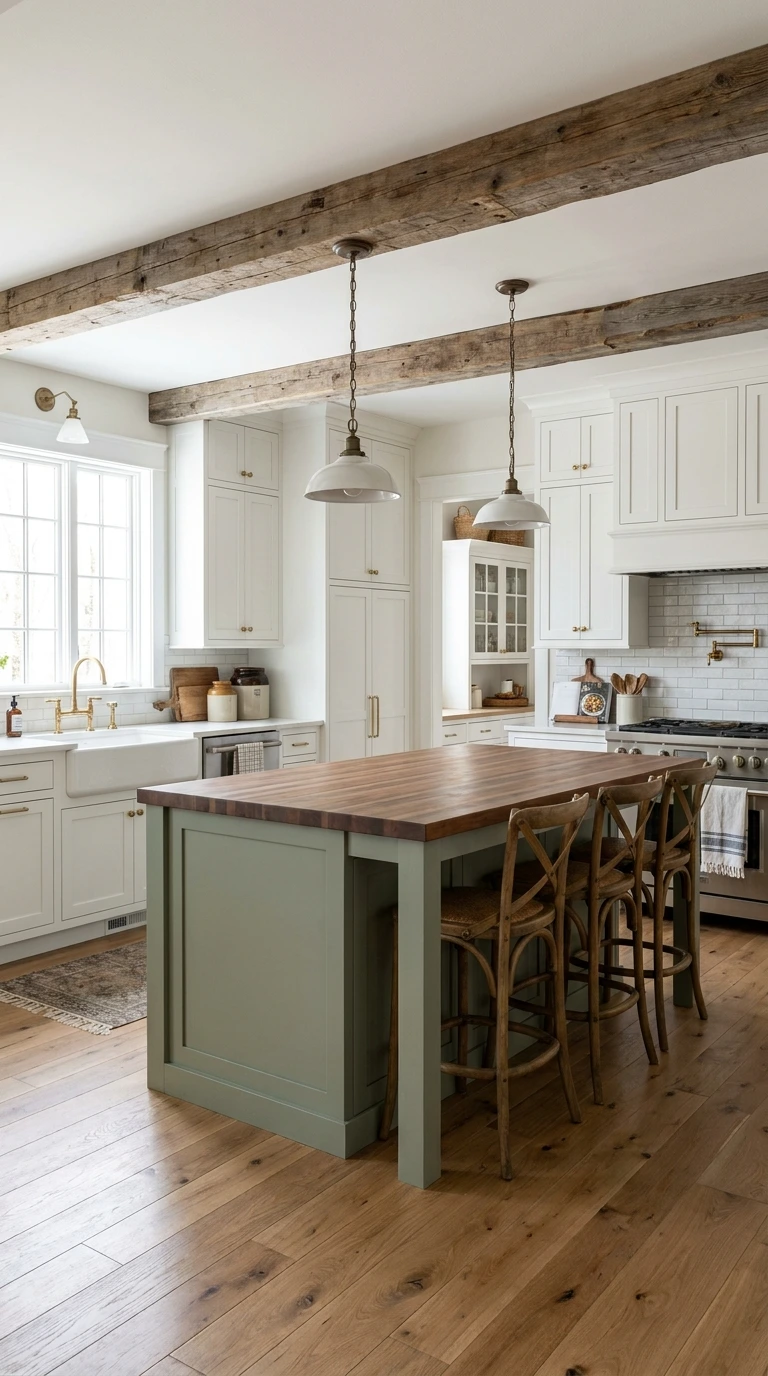
Painting an entire kitchen is a weekend-long commitment, but painting just the island gives you the same designer two-tone look for a fraction of the time and paint needed. A sage or deep navy island against white or cream surrounding cabinets creates an instant focal point.
💡 Quick Tip
Use a cabinet-grade paint with a built-in primer. Regular wall paint chips fast on high-touch surfaces like an island that gets bumped daily.
One quart of cabinet paint usually covers a standard island with two coats, which keeps this project well under budget even with quality paint.
3. Add a Peel-and-Stick Backsplash Behind the Stove
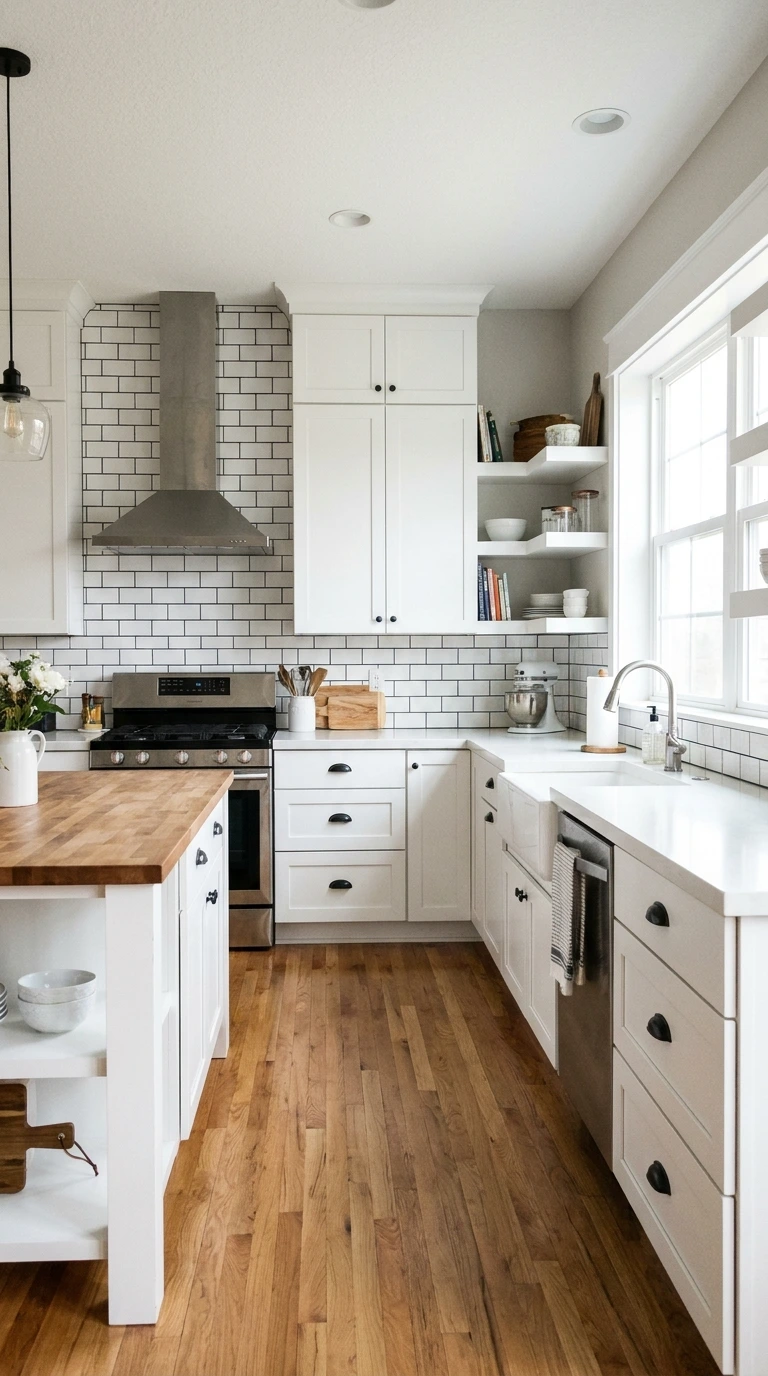
A dated or damaged backsplash pulls focus away from every other update in the kitchen. Peel-and-stick subway tile or textured panels install directly over most existing surfaces without any demolition, and they can be removed cleanly if you are renting.
Clean the wall thoroughly and let it dry completely before applying. Any grease residue near the stove will keep the tiles from sticking properly over time.
4. Replace a Dated Faucet With a Matte Black Finish
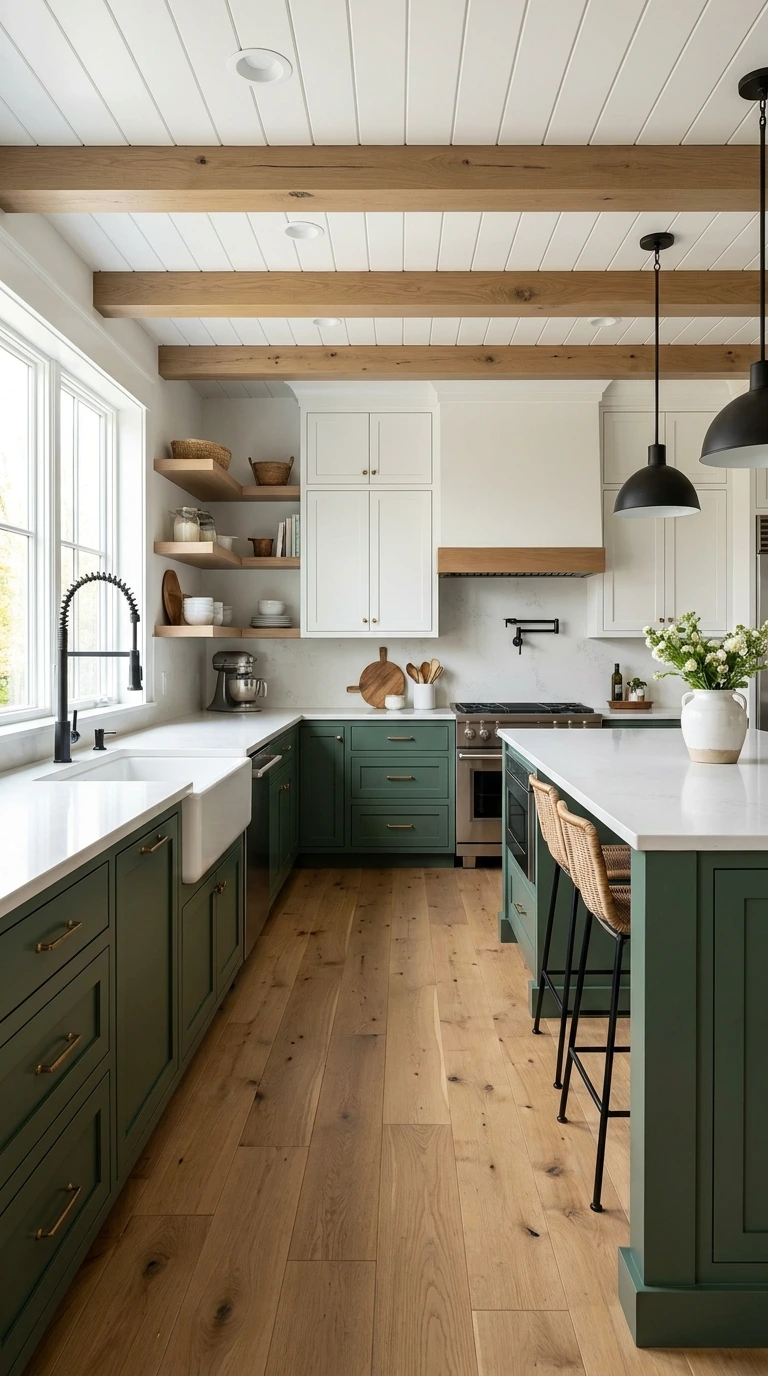
A chrome or brass faucet sitting against updated black hardware and fixtures will stand out for the wrong reasons. Swapping in a matte black pull-down faucet ties the sink into the rest of the kitchen’s finish and instantly reads as more current.
Before you buy, check for:
Most standard kitchen faucets install with basic tools in under an hour, which makes this one of the highest-impact swaps for the least effort on this list.
5. Remove Upper Cabinet Doors for an Open Shelf Look
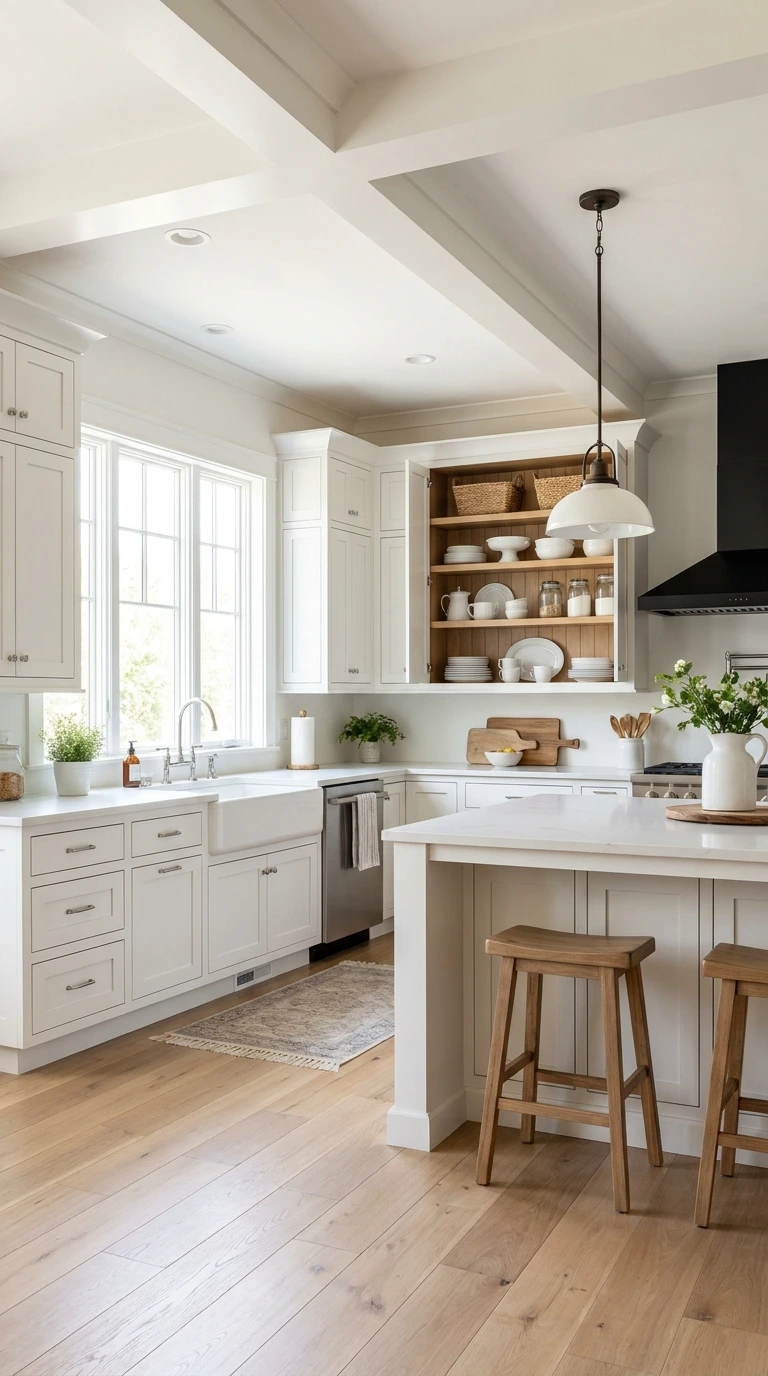
Full cabinet doors on every upper cabinet can make a small kitchen feel closed in and heavy. Removing the doors on one or two sections turns them into open shelving, which adds visual breathing room and gives you a spot to style dishware and small plants.
Closed upper cabinets that make the kitchen feel boxed in and visually heavy.
Open shelving in the same spot adds depth and a spot to style dishware.
Paint the interior back panel a contrasting color, like a soft sage or cream, before restyling. It gives the open shelf a finished, intentional look rather than an exposed cabinet box.
6. Hang a Statement Pendant Light Over the Sink
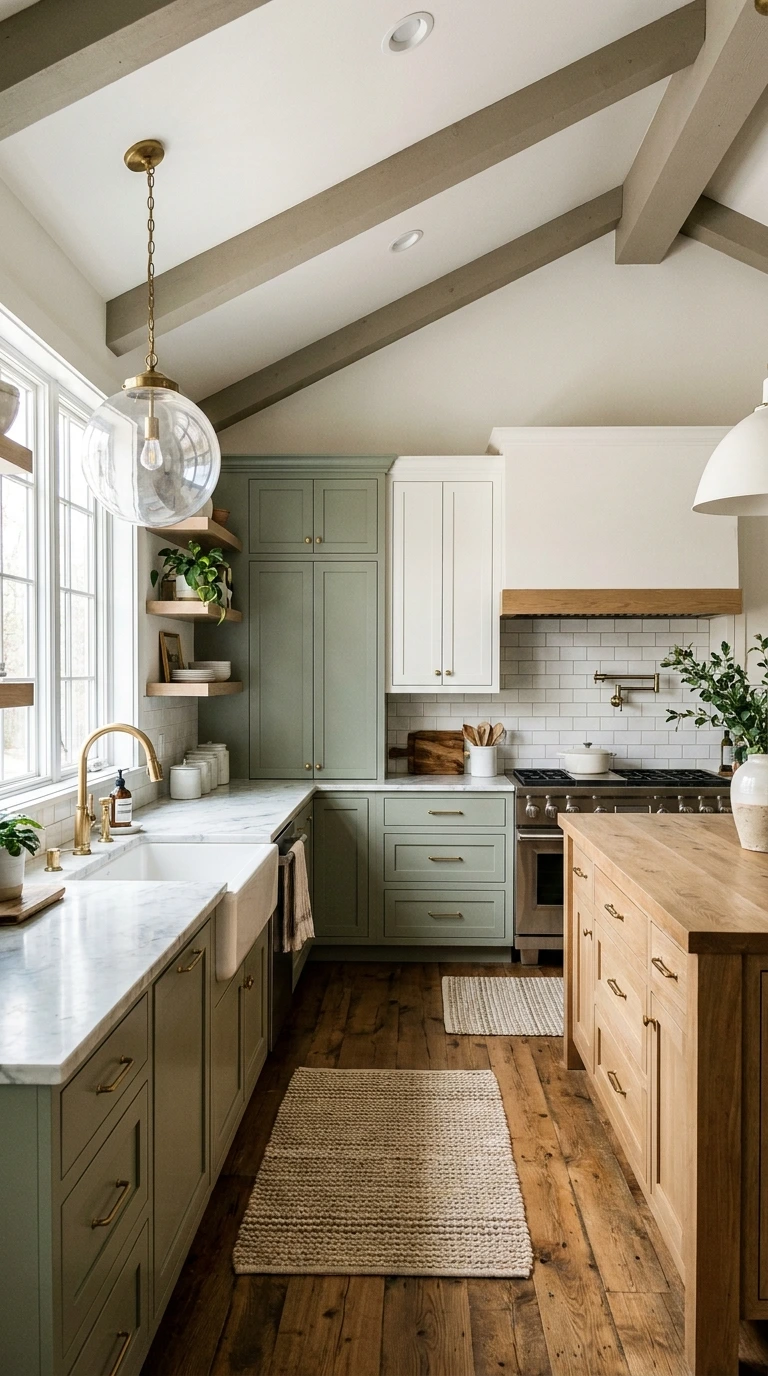
A single builder-grade flush mount over the sink does nothing to elevate the room, but a bold pendant light in that exact spot becomes a focal point the moment you walk in. Even one fixture, hung at the right height, can make the whole kitchen feel more designed.
Turn off power at the breaker before removing the old fixture.
Hang the pendant so its base sits about 30 inches above the counter or sink edge.
Choose a warm bulb, not cool white, to keep the fixture feeling inviting.
If working with existing wiring feels out of your depth, a licensed electrician can usually swap a single fixture for a modest flat fee, still well within budget.
7. Reface Cabinets With a Fresh Coat of Paint
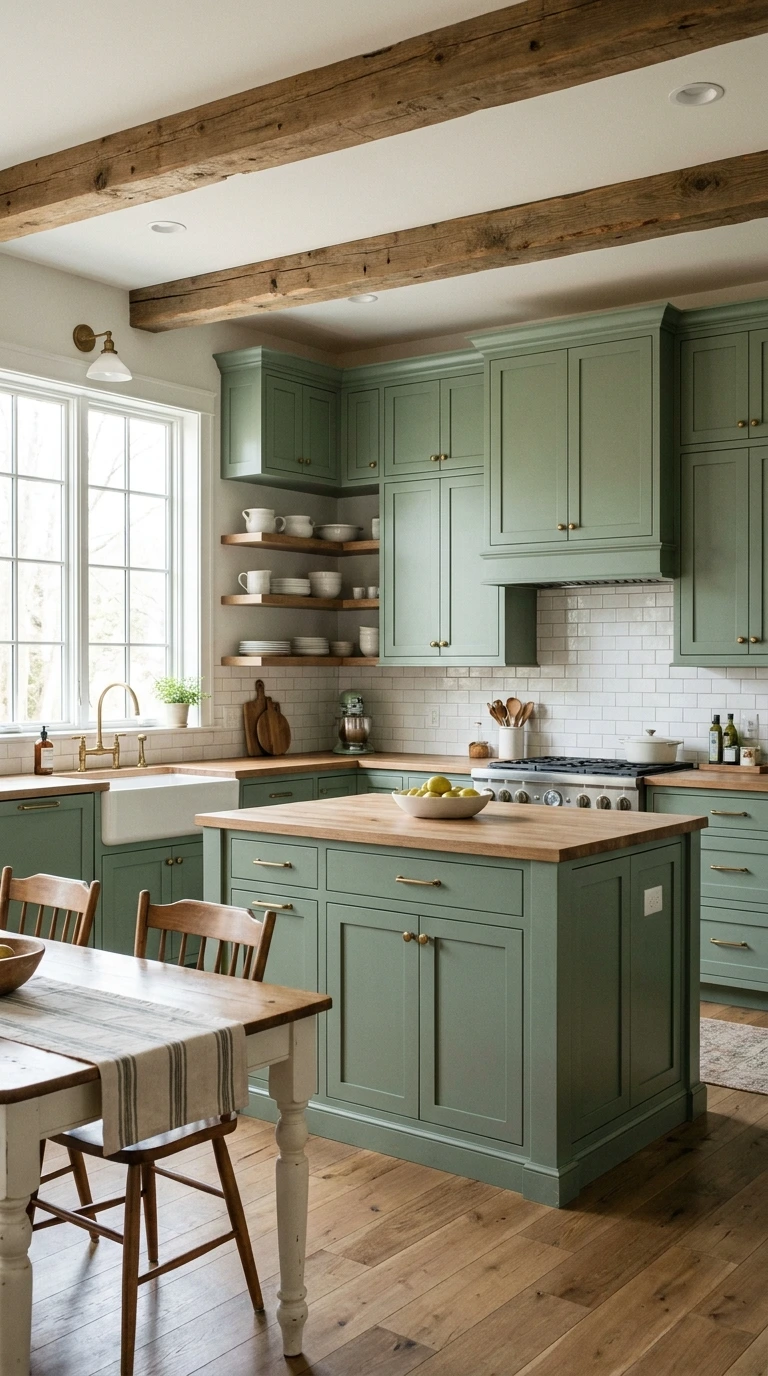
Dated wood tone or yellowing white cabinets are often the single biggest thing aging a kitchen, and full replacement is rarely in a $200 budget. A fresh coat of cabinet paint in a soft sage, warm white, or deep charcoal resets the entire room without touching the boxes themselves.
Sand and degrease every surface before the first coat.
Use a cabinet-specific paint with a hard, washable finish.
Regular wall paint, which chips fast on high-touch cabinet doors.
Skipping the sanding step, which causes peeling within months.
Painting doors and drawer fronts separately, off the hinges, gives a smoother finish than trying to paint everything in place.
8. Add a Wood Cutting Board Runner Down the Counter
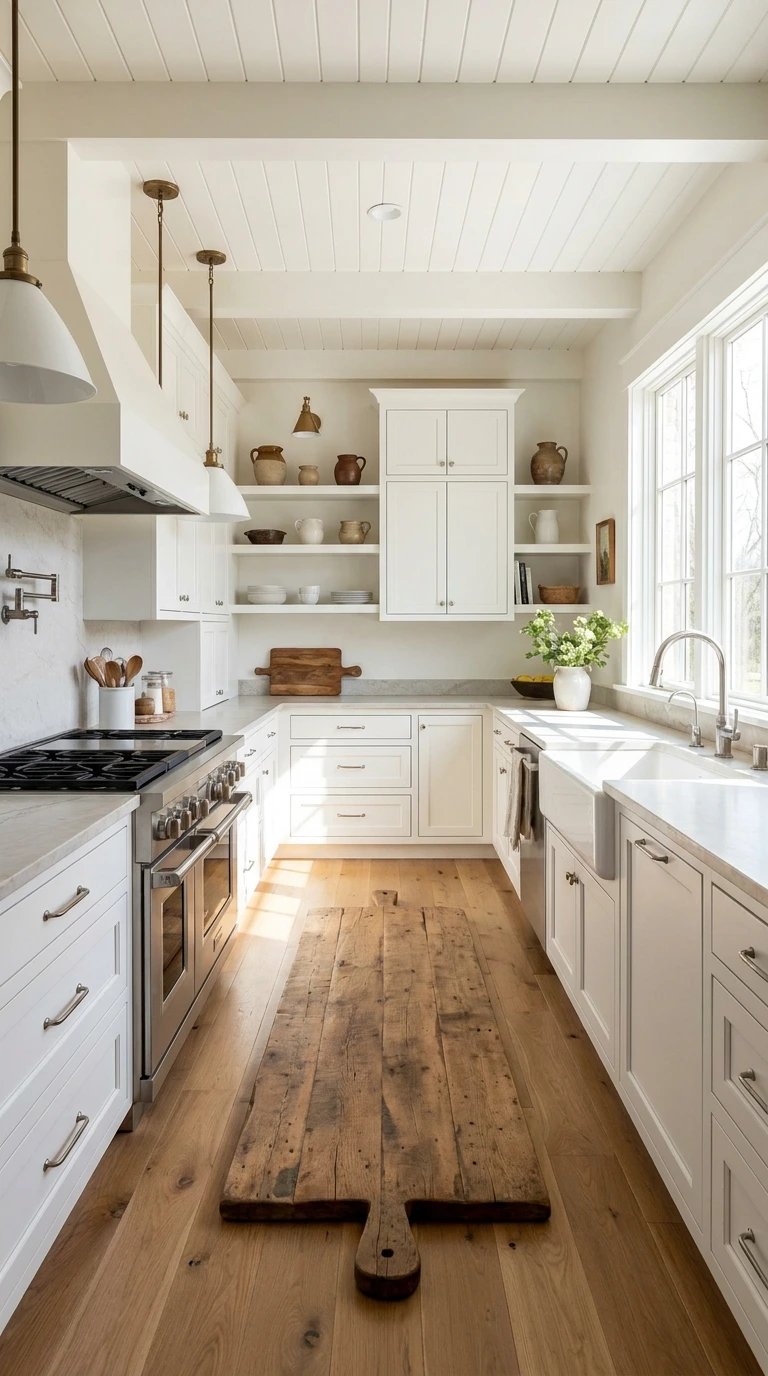
A bare stretch of counter next to the stove or sink can feel unfinished, especially if the countertop itself is a plain white or grey. A single long wood cutting board or serving board laid down the counter adds warmth and texture without any renovation at all.
💡 Quick Tip
Choose a board with visible grain, like walnut or acacia, over a plain flat one. The texture reads more intentional next to a smooth countertop.
Style it with a small plant, a bowl of fruit, or a stack of everyday dishes to keep the counter looking curated instead of cluttered.
9. Install Under-Cabinet LED Lighting
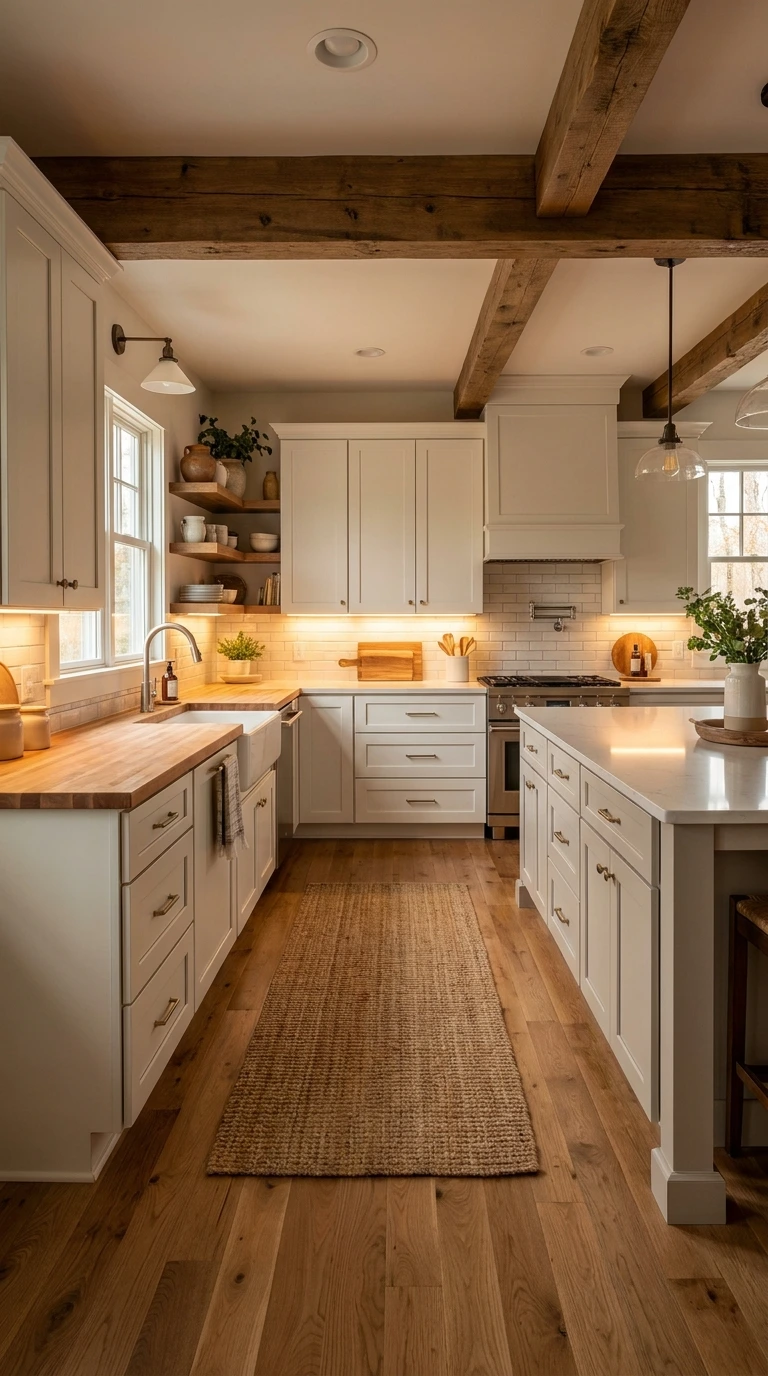
Dark countertops and shadowed corners under upper cabinets make a kitchen feel dimmer than it actually is, no matter how good the overhead lighting looks. Stick-on LED strips tucked under the cabinets light up the exact work surface you use most, and installation takes minutes with no wiring involved.
Warm white strips match the overall kitchen tone better than cool white, especially against wood counters or warm-toned tile backsplashes.
10. Swap the Sink Faucet for a Pull-Down Sprayer Model
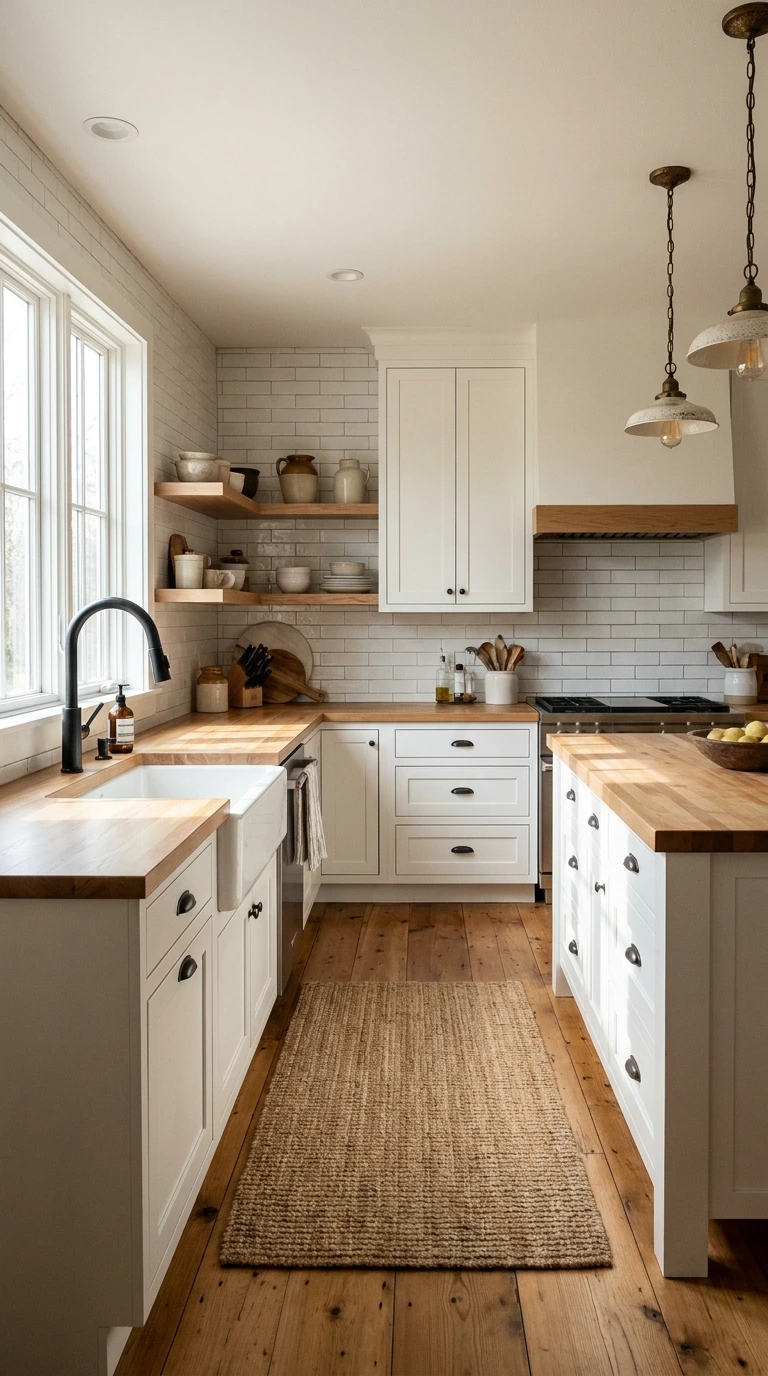
A fixed spout faucet limits how easily you can rinse large pots or clean around the sink basin. A pull-down sprayer model solves that functional gap while also updating the finish, so this swap improves both how the kitchen works and how it looks.
| Fixed Spout Faucet | Pull-Down Sprayer Faucet |
|---|---|
| Limited reach for large pots and pans. | Extends directly over the full sink basin. |
| Usually lower upfront cost. | Slightly higher cost, still well under $200. |
Look for a faucet with a magnetic docking head. It keeps the sprayer snapped securely in place instead of drooping over time.
11. Add a Bold Runner Rug in Front of the Sink
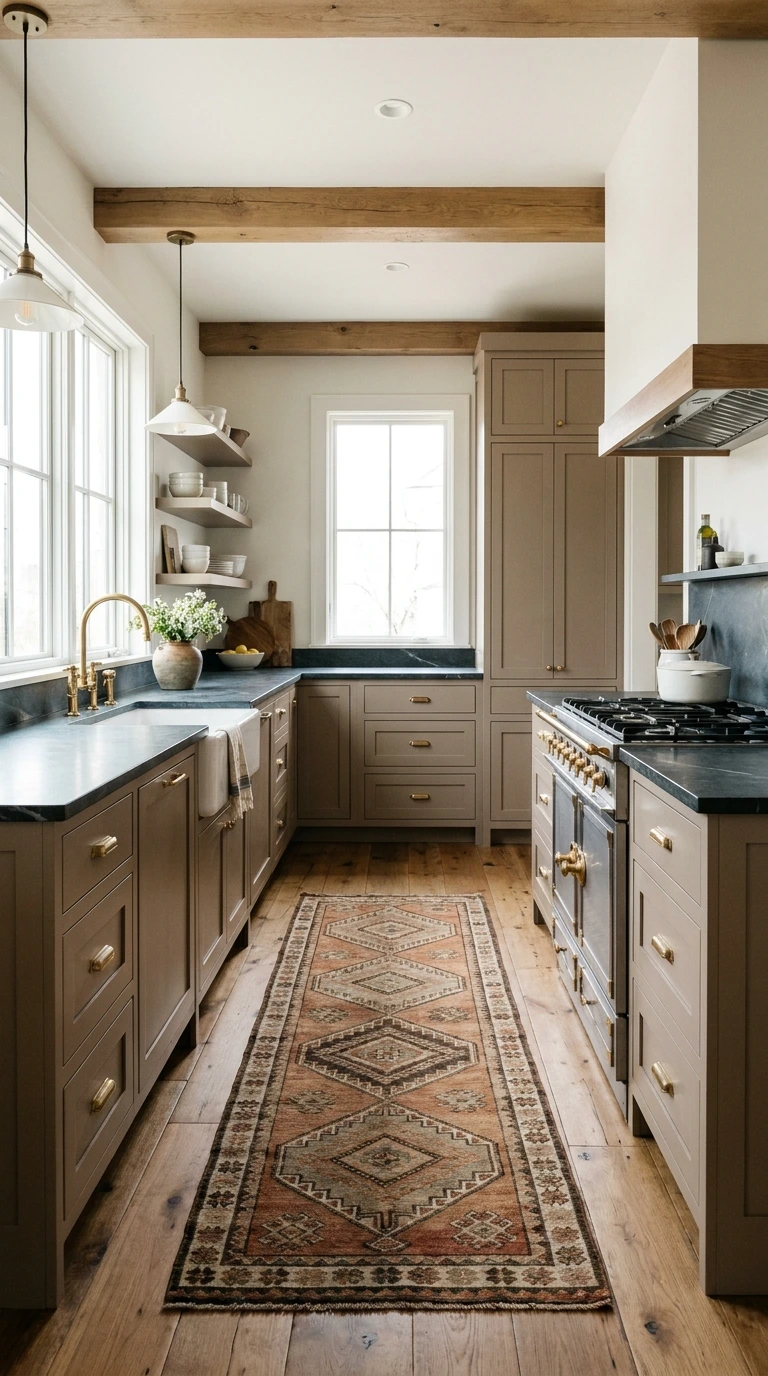
Standing at the sink for dishes is one of the most repeated spots in the whole kitchen, and bare flooring there can feel cold and unfinished. A bold patterned runner rug adds cushion underfoot and gives the room a pop of color and pattern for very little cost.
Bare flooring in front of the sink with no color or texture underfoot.
A patterned runner adds comfort, color, and a finished look to the workspace.
Choose a low pile, washable runner rather than a plush one, since this spot takes the most spills and foot traffic of any rug in the house.
12. Replace Outlet Covers and Switch Plates to Match Hardware
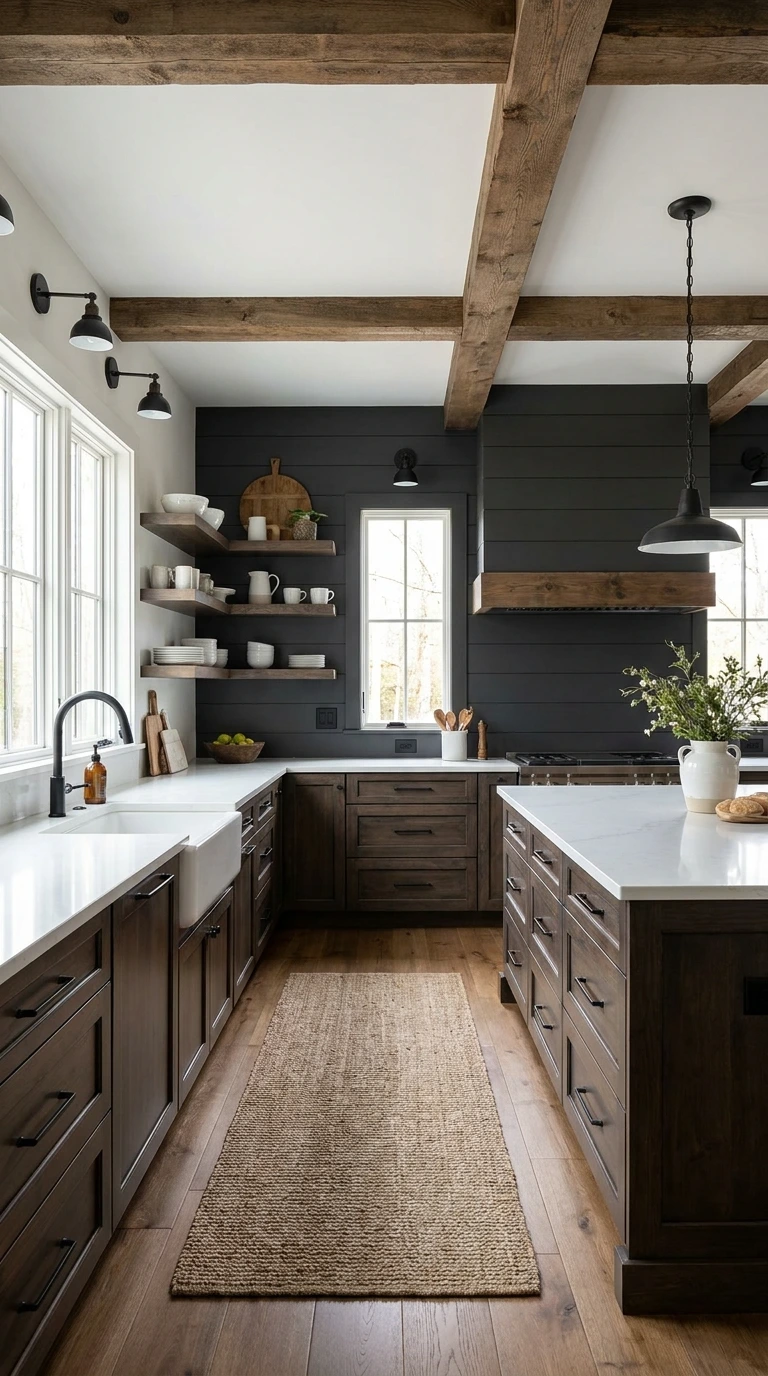
White plastic outlet covers next to freshly updated black hardware and fixtures stand out immediately once you start noticing them. Swapping every switch plate and outlet cover to match the new hardware finish is one of the cheapest details that pulls the whole room together.
💡 Quick Tip
Turn off the breaker for that outlet before removing the cover plate, even though the swap only takes a screwdriver and a few minutes.
A full kitchen usually only needs four to six covers, which keeps this one of the lowest-cost items on the entire list.
13. Style Open Shelves With Matching Dishware
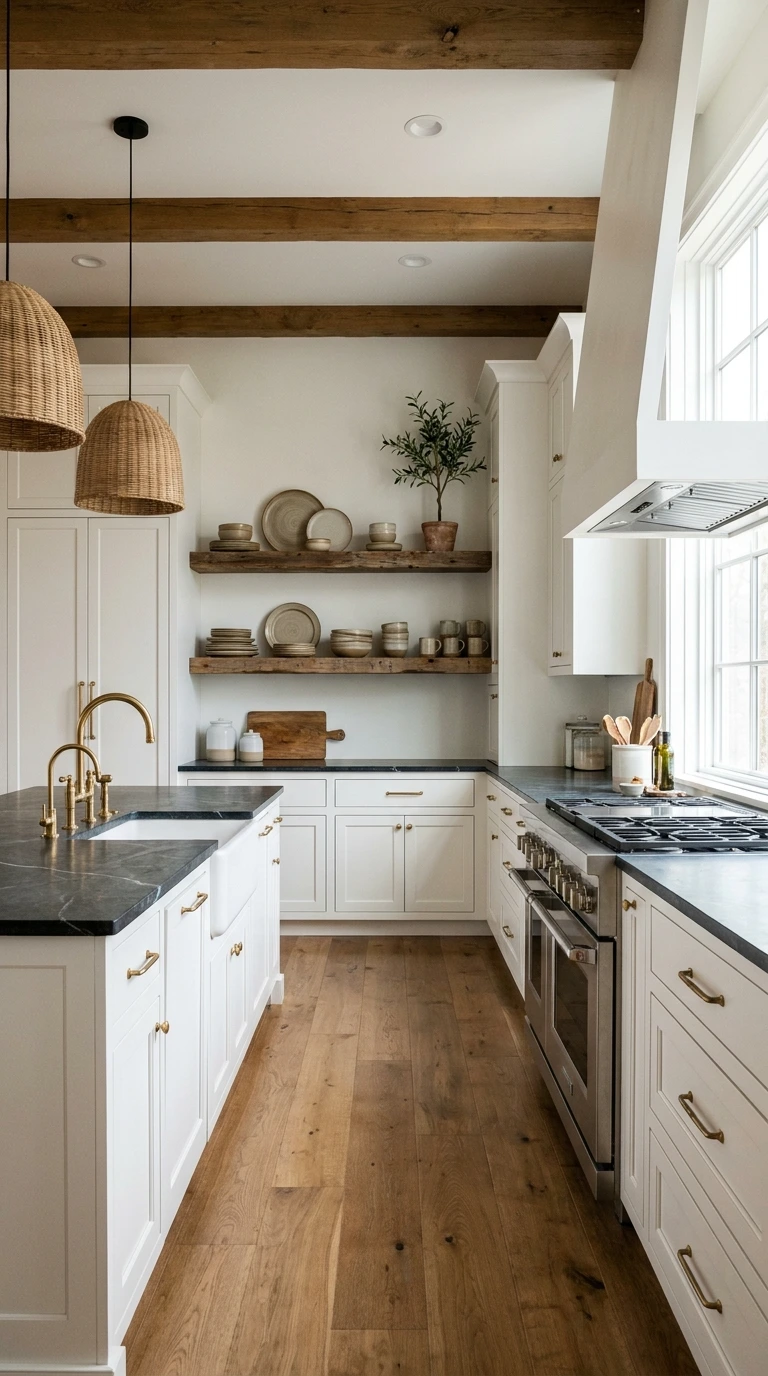
Open shelving only looks intentional when what sits on it is curated, and a jumble of mismatched mugs and plates undercuts the whole effort. Swapping in a small set of matching stoneware or glassware gives the shelves a styled, cohesive look worth showing off.
Group items in odd numbers, like three bowls stacked or a set of five mugs on hooks, since even groupings tend to look flatter and less styled.
14. Add a Fresh Coat of Paint to Just the Trim and Molding
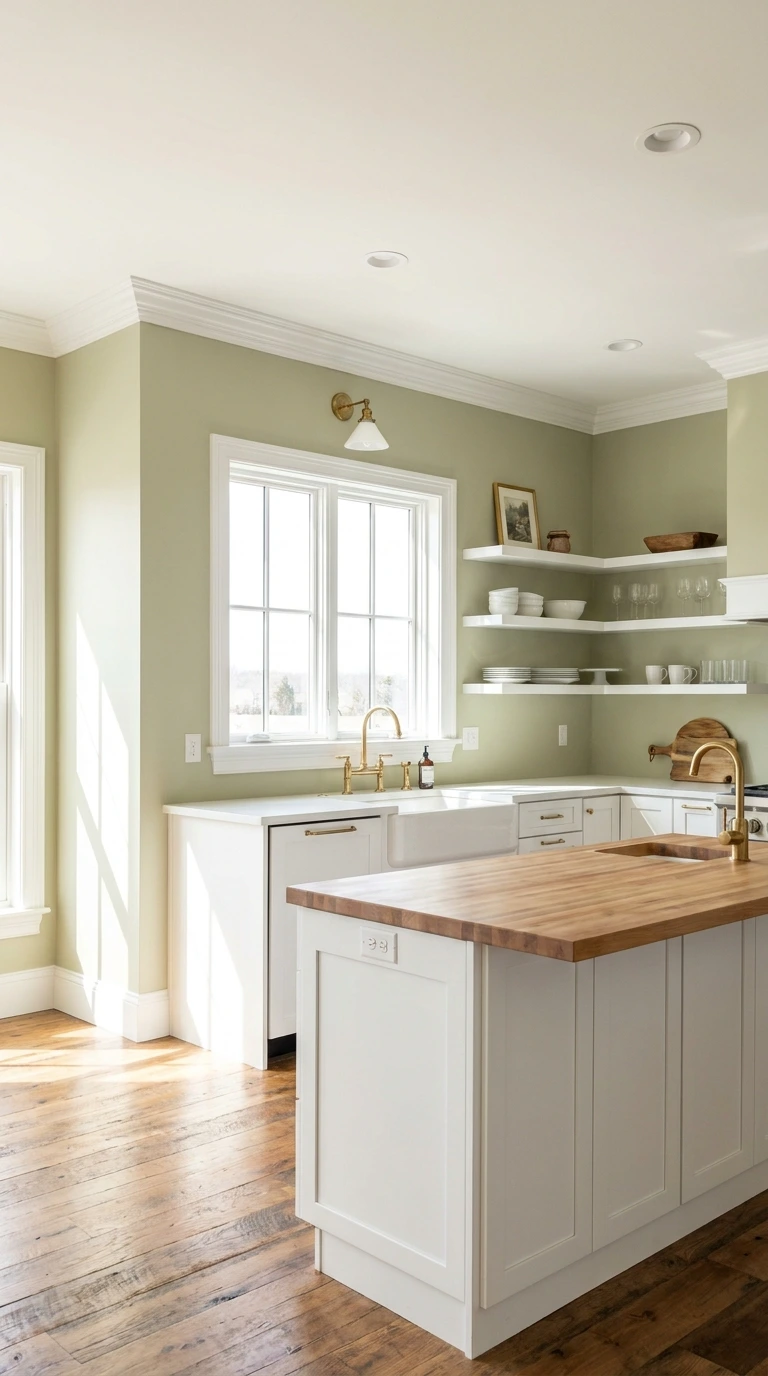
Painting an entire kitchen wall takes time and a lot of paint, but repainting just the trim, window casing, and crown molding in a crisp white makes every surface around it look cleaner by comparison. It is a small, contained project that photographs like a much bigger update.
- ▸Use painter’s tape along every edge where trim meets wall or cabinetry.
- ▸Choose a semi-gloss finish, which wipes clean far easier than matte in a kitchen.
- ▸Apply two thin coats rather than one thick one for the cleanest finish.
One quart of trim paint typically covers an entire kitchen’s worth of molding, keeping this project comfortably under budget.
15. Hang a Pot Rack to Free Up Cabinet Space
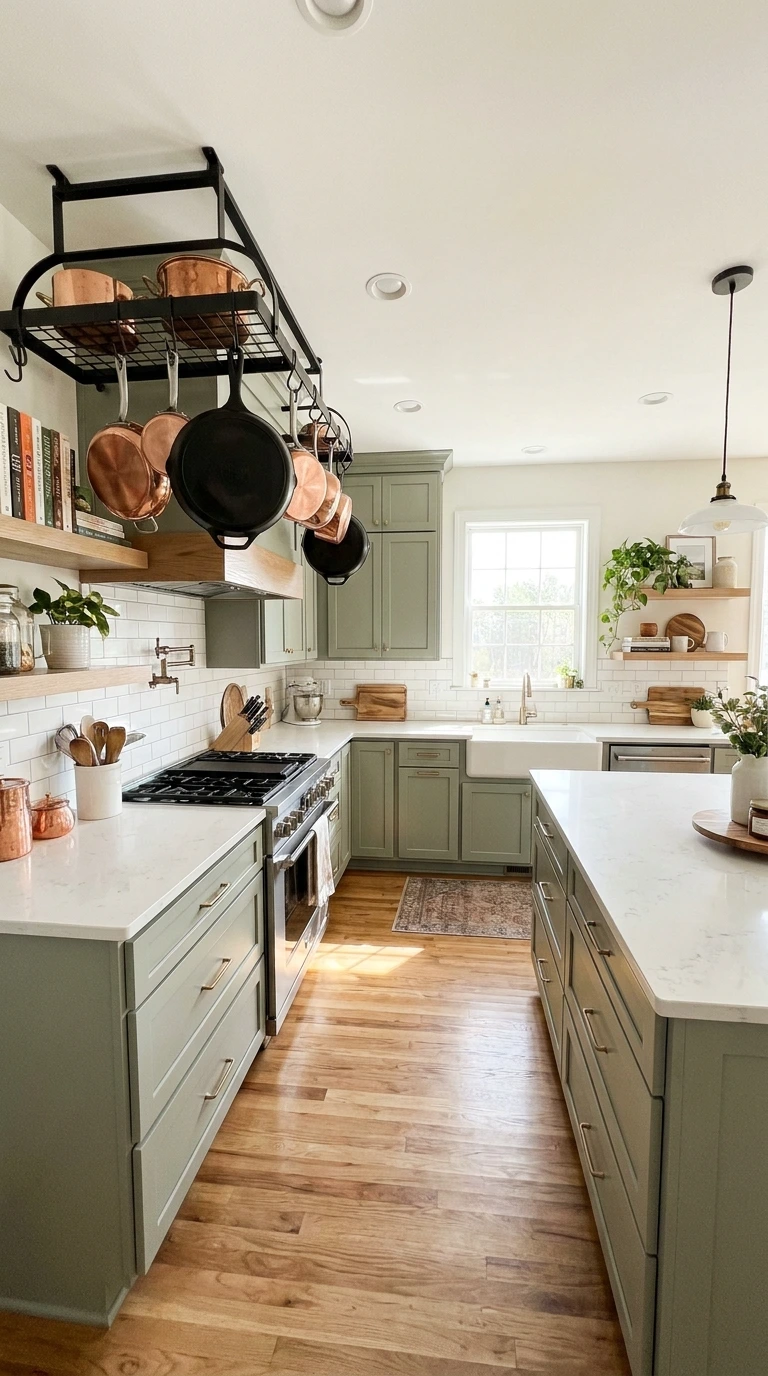
Pots and pans stacked inside a cabinet take up prime storage that could hold other essentials, and digging through a stack for the right size is a daily frustration. A wall or ceiling mounted pot rack near the stove frees that cabinet space while also adding a functional, styled display.
Mount it into a wall stud or ceiling joist, not just drywall. A fully loaded pot rack is heavier than it looks once every hook is filled.
A rack near the stove also means your most-used cookware is within arm’s reach exactly where you need it, cutting down on extra trips across the kitchen.
16. Replace an Old Range Hood Cover With a Vent Shroud
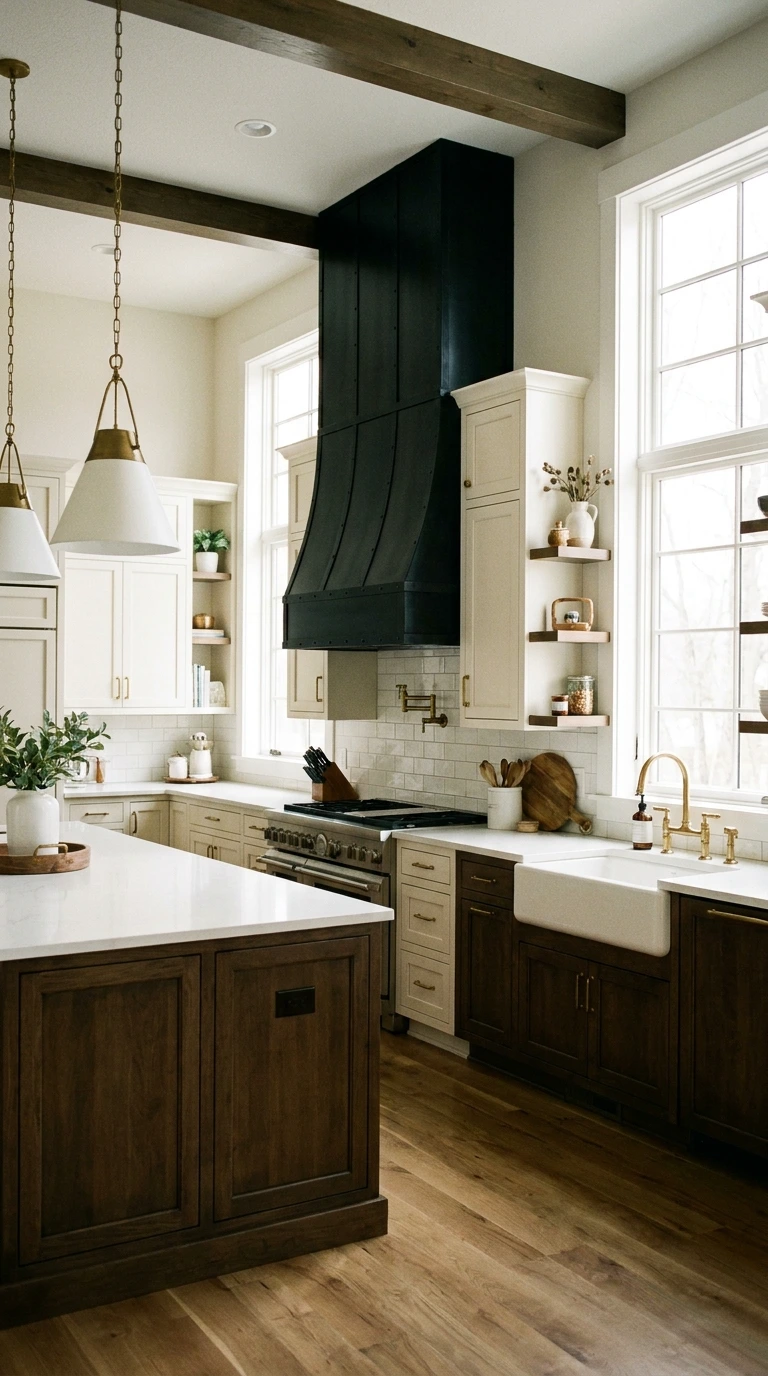
A dated or dented range hood cover is one of the most noticeable eyesores in a kitchen, since it sits right at eye level above the stove. A simple metal or shiplap vent shroud installs directly over the existing hood and instantly modernizes that entire wall.
📌 Good To Know
Measure the existing hood’s width and depth carefully before ordering a shroud kit, since most are sized to fit standard hood dimensions with little room for adjustment.
A matte black or brushed steel finish ties in with updated hardware and faucets better than the shiny stainless most builder-grade hoods come with.
17. Add Removable Wallpaper to One Accent Wall
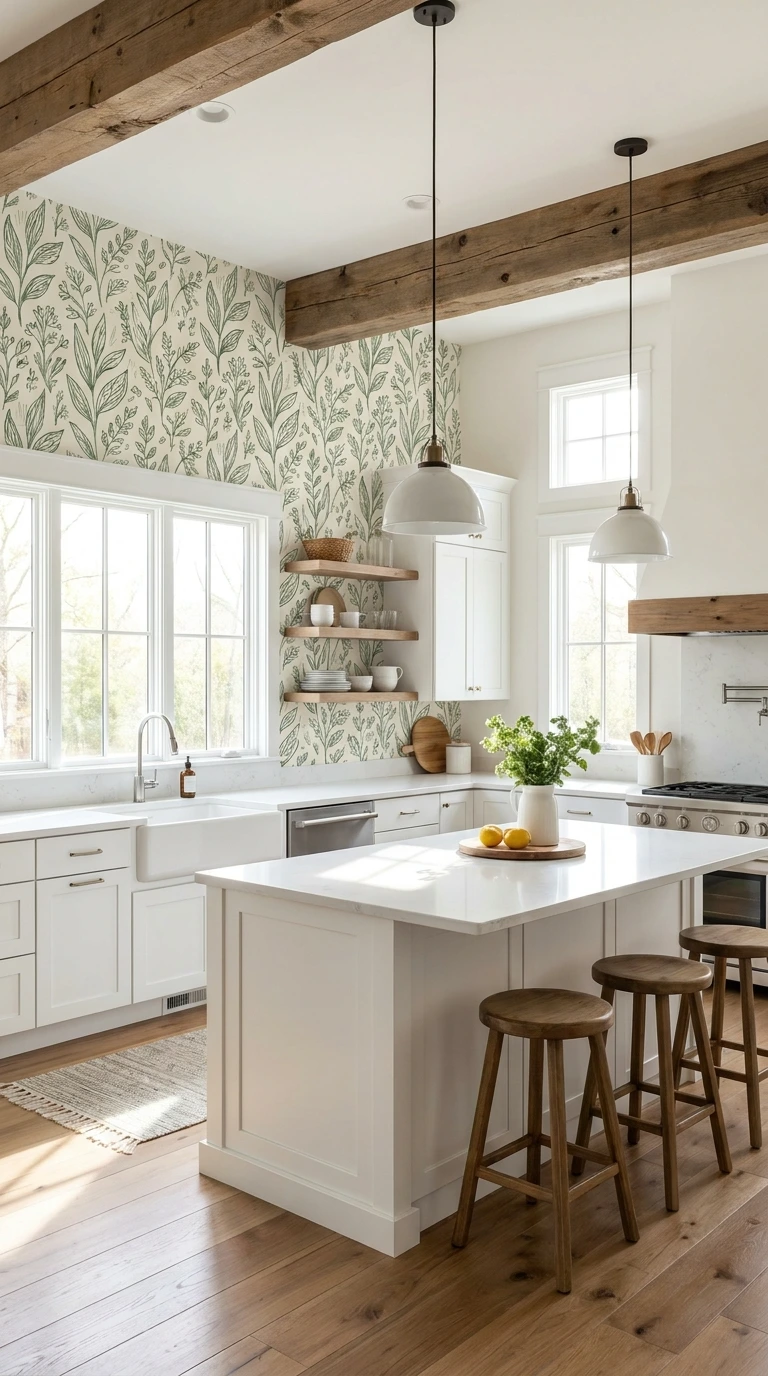
A single blank wall in the kitchen, whether behind a breakfast nook or beside the fridge, is often the easiest spot to add real personality without committing to a full room. Peel-and-stick wallpaper in a bold pattern or subtle texture transforms that one wall in an afternoon and comes off cleanly later.
A plain, empty wall with no texture or visual interest in the room.
A patterned removable wallpaper turns the wall into the room’s focal point.
Smooth, freshly painted walls hold wallpaper best. Textured or heavily patched walls can cause bubbling once the paper is applied.
18. Update Cabinet Interiors With Contact Paper Liner
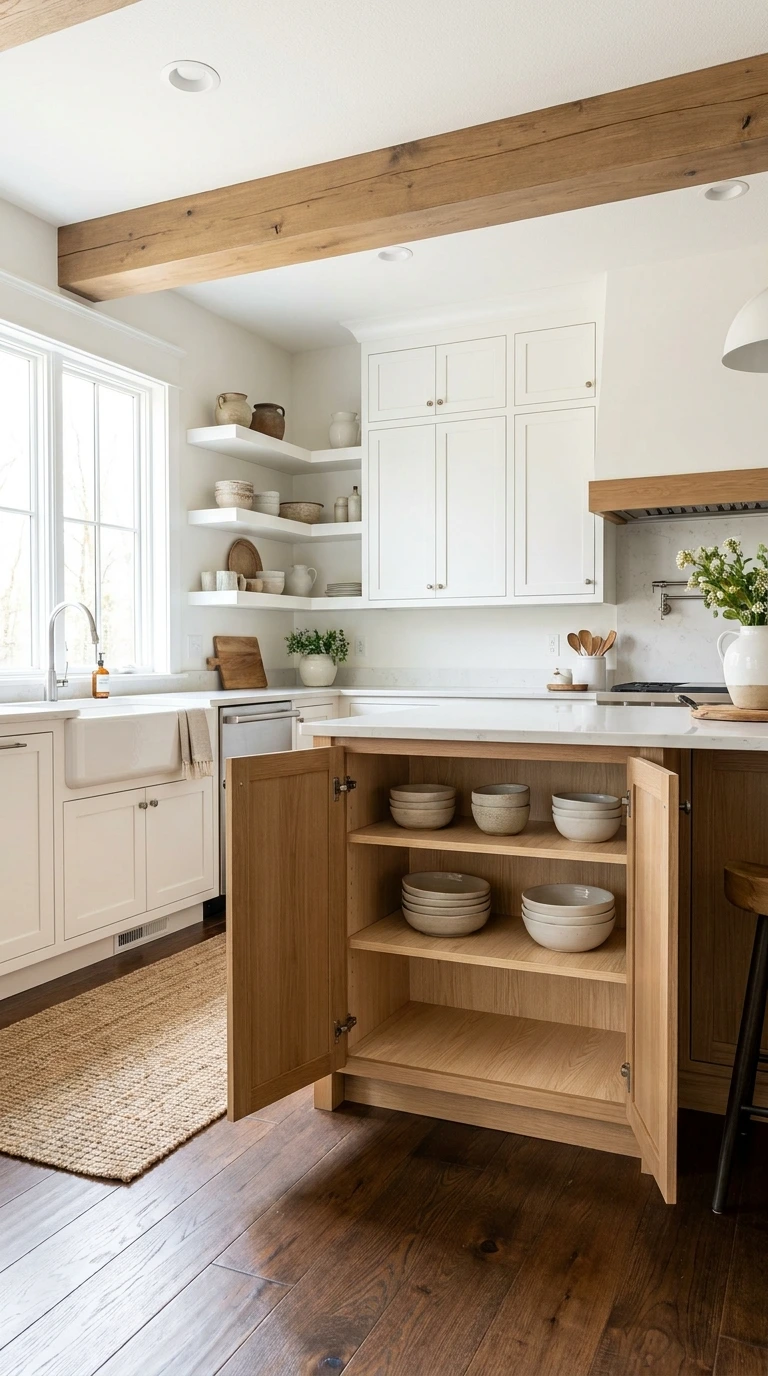
Opening a cabinet to a stained, chipped, or mismatched interior undercuts every update made to the outside of the kitchen. A roll of contact paper liner covers shelving and drawer interiors in minutes, giving every cabinet a clean, finished look the moment it opens.
Clean and fully dry every shelf before applying the liner.
Cut each sheet slightly oversized, then trim the edges after it is stuck down.
Smooth out air bubbles with a flat card or squeegee as you go.
Choose a neutral or wood-look liner over anything trendy, since it is more work to redo drawer interiors than the outside of a cabinet.
19. Style the Counter With a Tray for Oils and Utensils
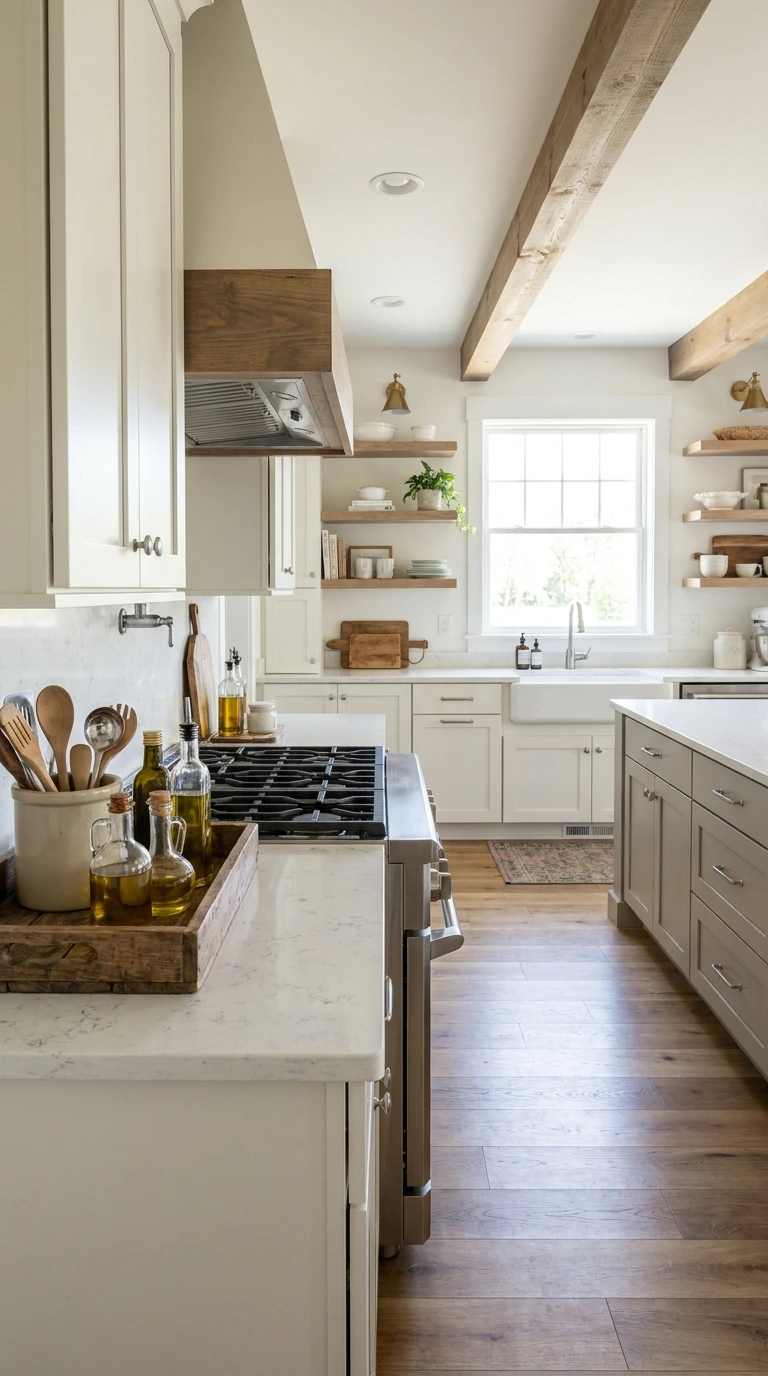
Bottles of oil, utensil crocks, and small appliances left loose on the counter tend to look scattered no matter how nicely each item is chosen. A single tray groups everything into one tidy zone, which reads as styled rather than cluttered.
Place the tray near the stove where oils actually get used, rather than pushed to the far end of the counter out of the way.
20. Swap Yellow Bulbs for Daylight LED Throughout
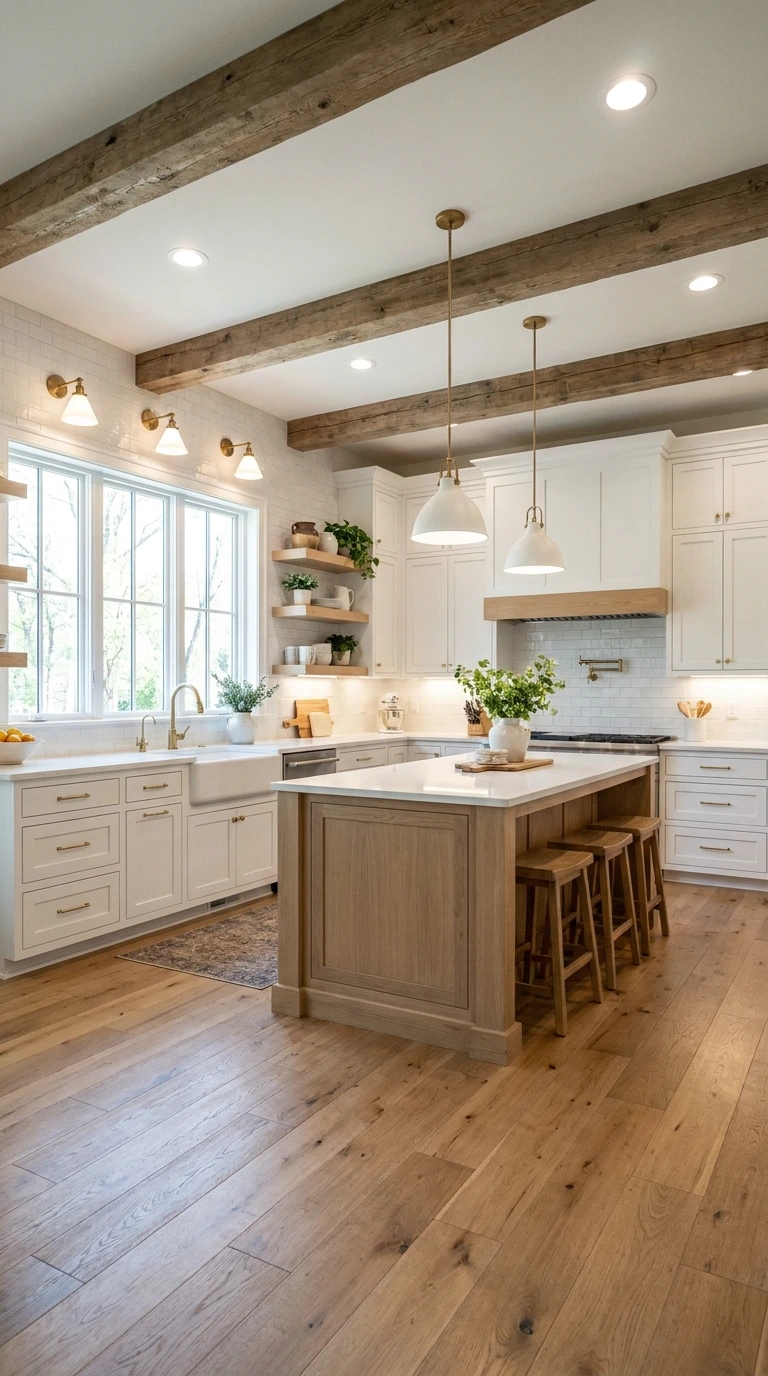
Warm yellow-toned bulbs left over from an older fixture can make a kitchen look dingy, even one with fresh paint and updated hardware. Swapping every bulb to a crisp daylight or soft white LED brightens the whole room and makes true colors, like cabinet paint or countertop finishes, read accurately.
💡 Quick Tip
Aim for a color temperature around 3000K to 4000K in a kitchen. Anything warmer looks dim, and anything cooler starts to feel clinical.
Buy all bulbs in one batch and from the same brand, since mismatched color temperatures across fixtures are more noticeable than mismatched bulb shapes.
21. Add a Bar Cart in an Unused Corner
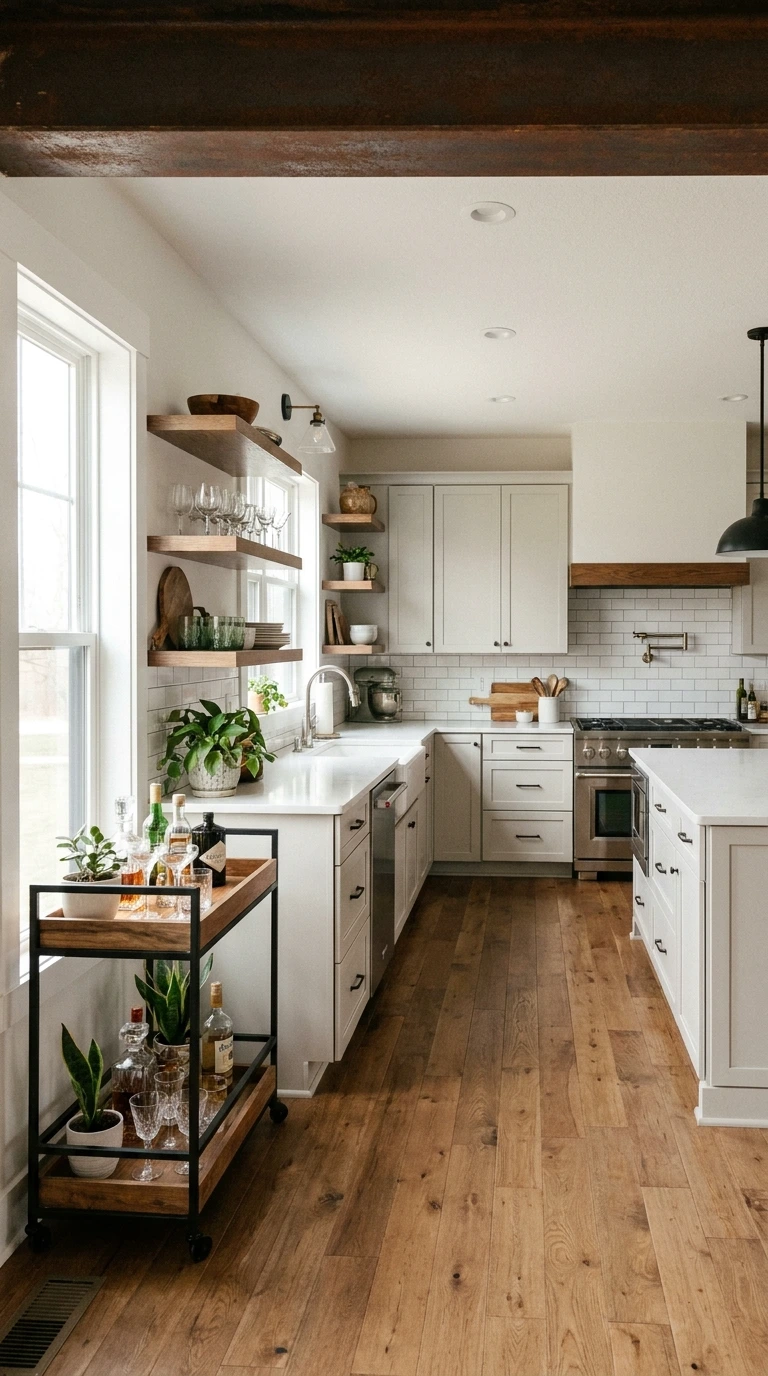
An empty corner in the kitchen often ends up as dead space or a dumping ground for whatever does not have a home yet. A small bar cart fills that gap with function and style, giving you a spot for drinks, glassware, or overflow counter items without any permanent installation.
Choose a cart with wheels so it can move for cleaning or entertaining.
Match the frame finish to your existing hardware color.
Overloading the top shelf, which makes the cart top-heavy.
Blocking a walkway or cabinet door with the cart’s placement.
A two-tier cart with an open bottom shelf works well for baskets or extra glassware that would otherwise clutter the counter.
22. Replace Cabinet Trim With Simple Shaker Panels
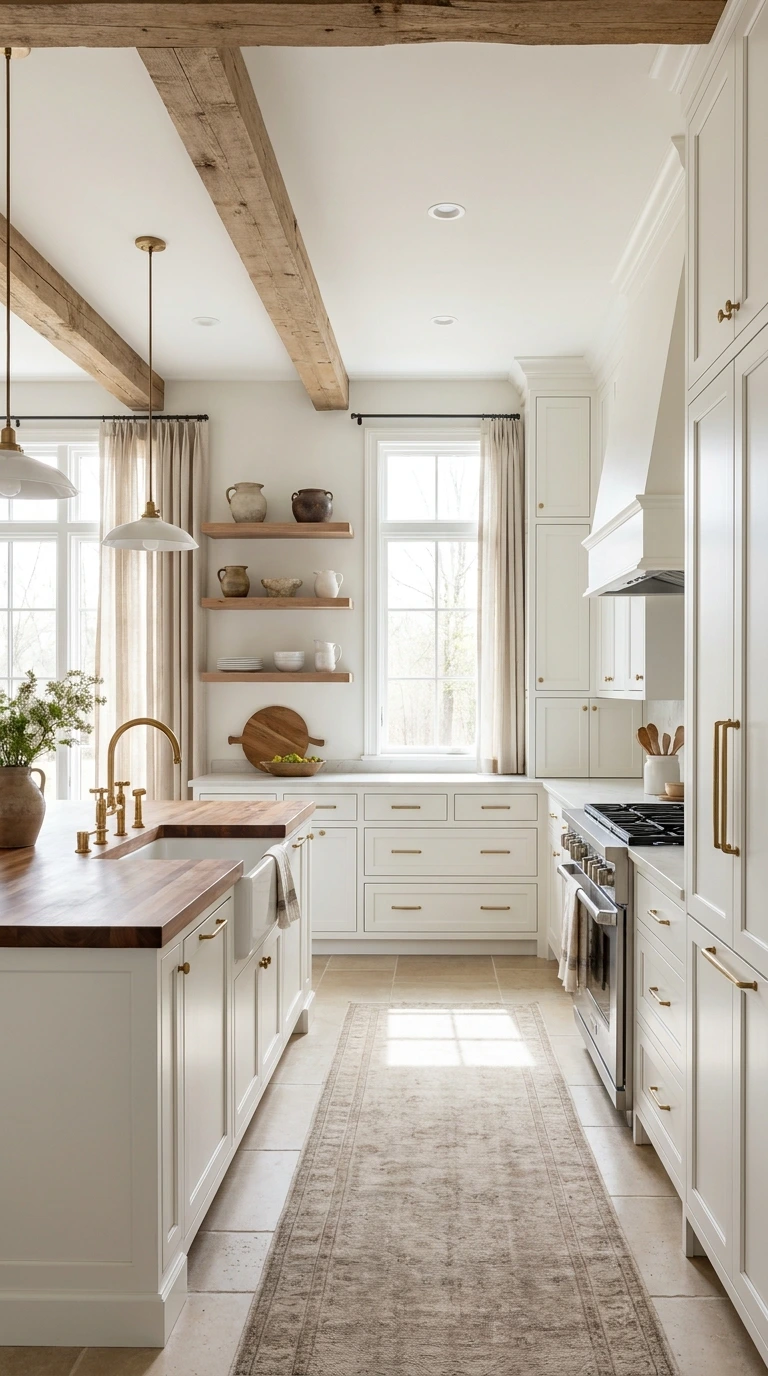
Ornate or dated cabinet door styles with heavy raised panels can make a kitchen feel older than the rest of the home. Adding simple shaker-style trim over the existing door faces gives cabinets a cleaner, more current profile without full replacement.
Before you start, check for:
Paint the entire door after the trim is attached, not before, so the seams blend seamlessly into one smooth, updated surface.
23. Drop in a Small Herb Garden on the Windowsill
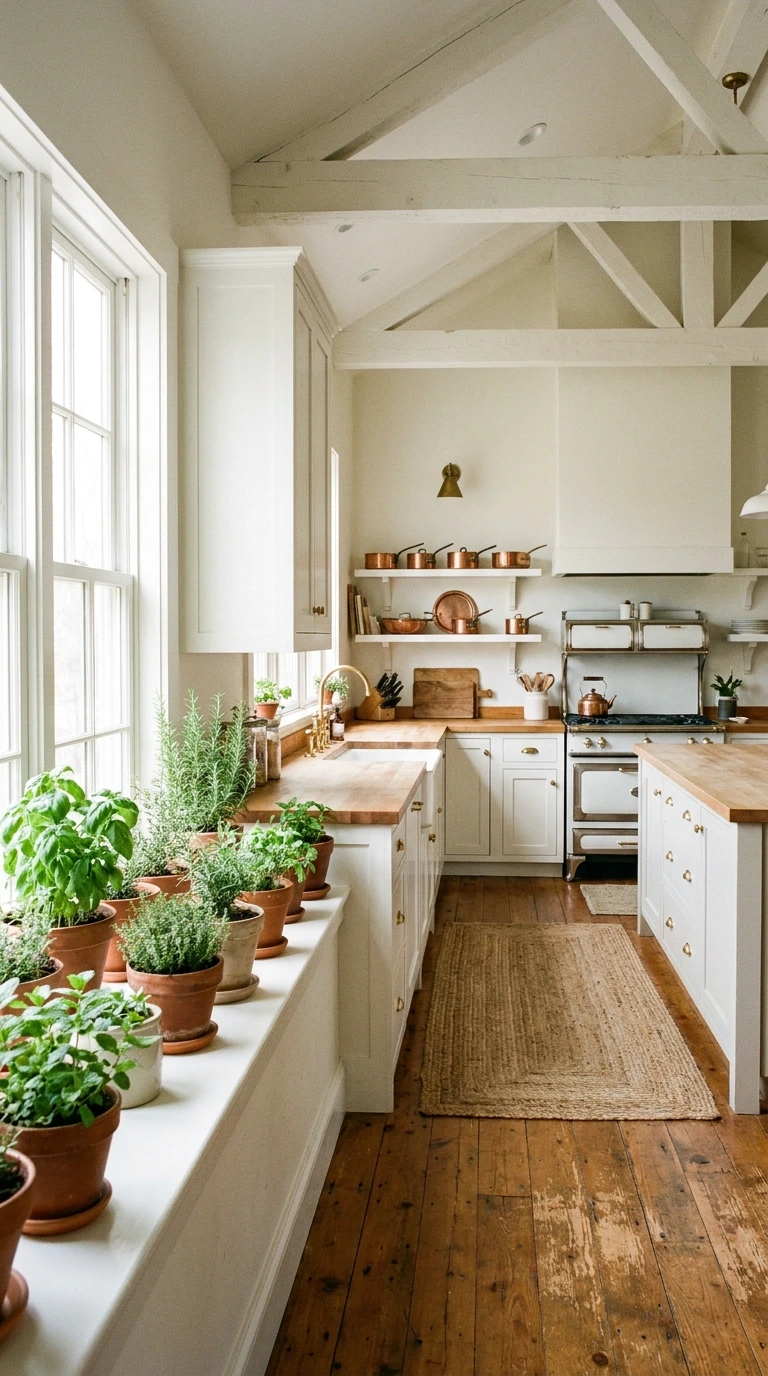
A bare kitchen windowsill is one of the easiest spots to overlook, even though it usually gets the most natural light in the room. A row of small potted herbs turns that empty ledge into something useful and green, and fresh herbs at arm’s reach make actual cooking easier too.
Choose matching terracotta or ceramic pots for a cohesive row rather than whatever mismatched containers the herbs came in from the store.
24. Add a Magnetic Knife Strip to Free Counter Space
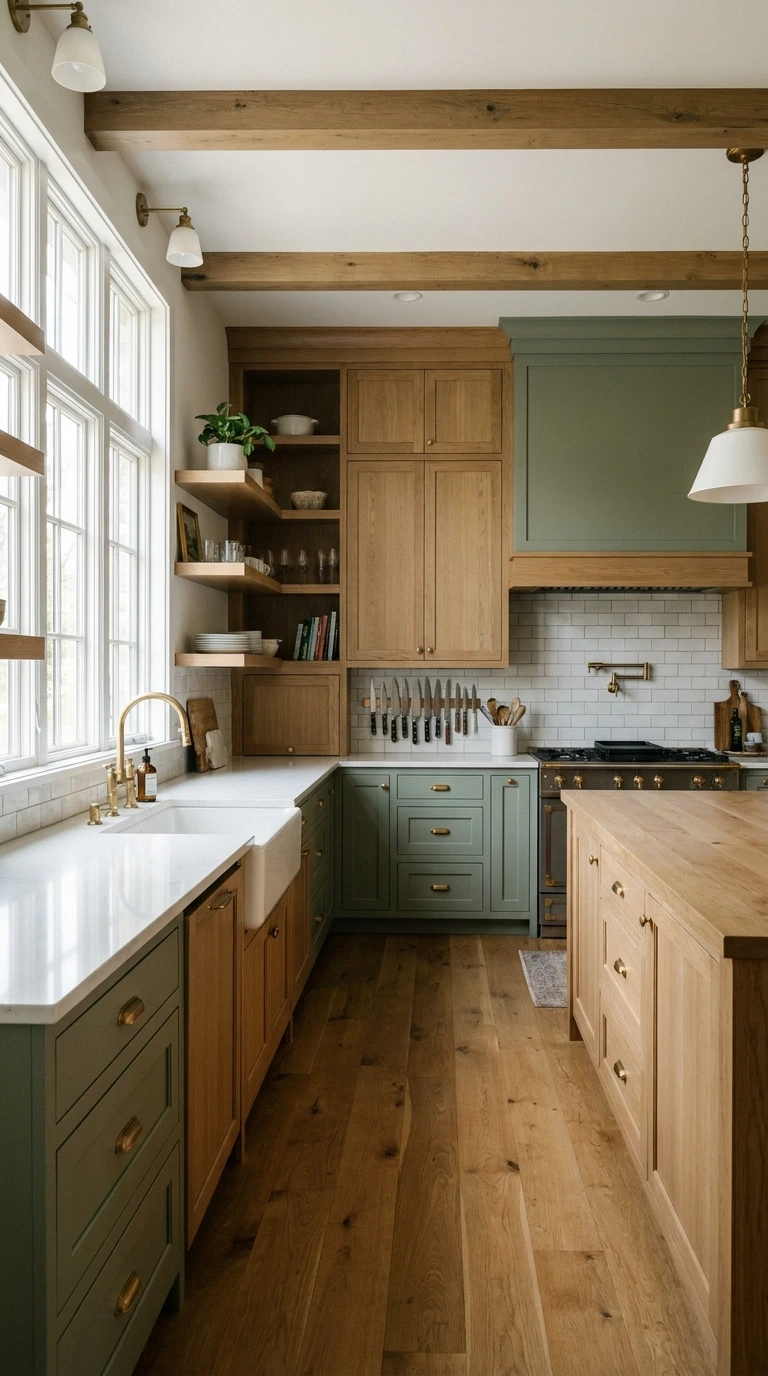
A bulky knife block eats up valuable counter real estate that a small kitchen usually cannot spare. A wall-mounted magnetic strip holds the same knives vertically, freeing that footprint while also keeping blades more visible and accessible.
💡 Quick Tip
Mount the strip a few inches above the counter, not directly at the backsplash line, so knives clear any small appliances or decor sitting below.
Choose a strip with a wood or matte black backing to match existing hardware, rather than plain exposed metal that can look industrial.
25. Finish One Wall With a Framed Print Gallery
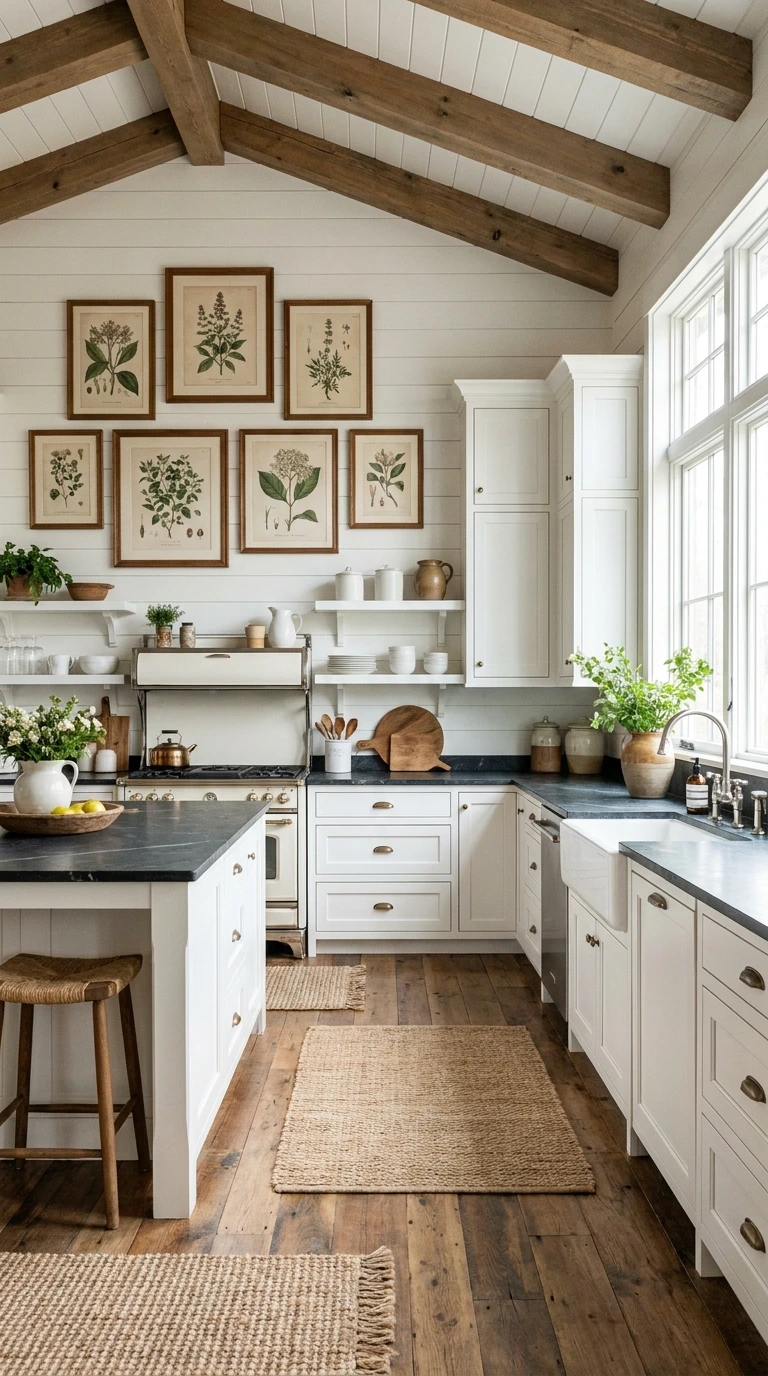
A blank stretch of wall near a breakfast nook or open shelving section often gets left empty simply because nobody knows what to put there. A small cluster of framed prints, whether botanical, abstract, or food-related, fills that space with personality for very little cost.
Lay the frames out on the floor first and photograph the arrangement before hanging a single nail. It saves you from patching extra holes later.
Matching frame colors, even with different sized prints inside, keeps the gallery looking curated instead of like a random collection.
26. Group Canisters Into One Matching Set on the Counter
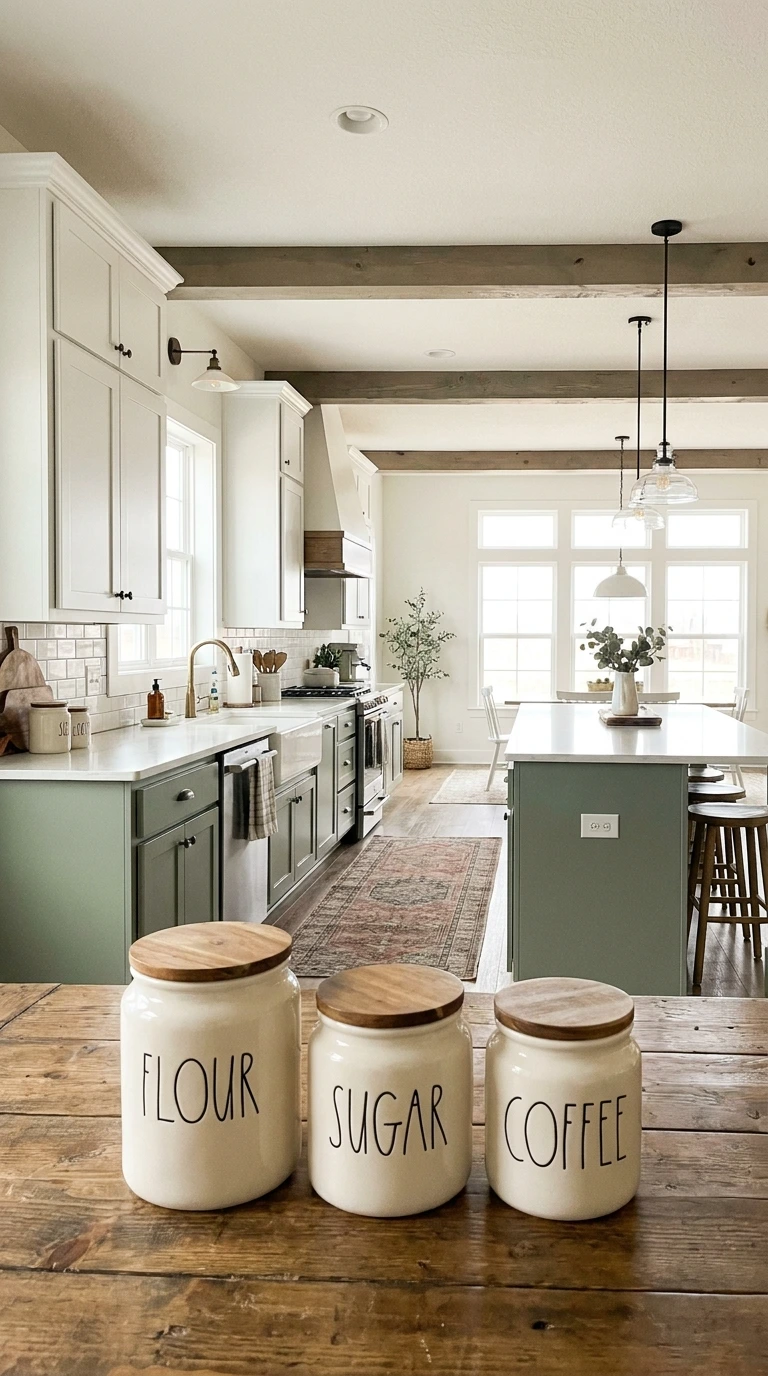
Mismatched flour tins, cereal boxes, and random containers scattered across the counter make even a clean kitchen look busy. A single matching set of canisters for flour, sugar, and coffee groups everyday items into one cohesive display that looks intentional rather than leftover.
- ▸Choose three to four canisters max, in one material and finish.
- ▸Group them together in one corner rather than spreading them across the counter.
- ▸Add a small tray underneath to visually anchor the whole grouping.
Ceramic or glass canisters with wood lids blend into more kitchen styles than stark white plastic ones, which tend to look more utilitarian.
27. Add a Woven Pendant Shade Over an Existing Fixture
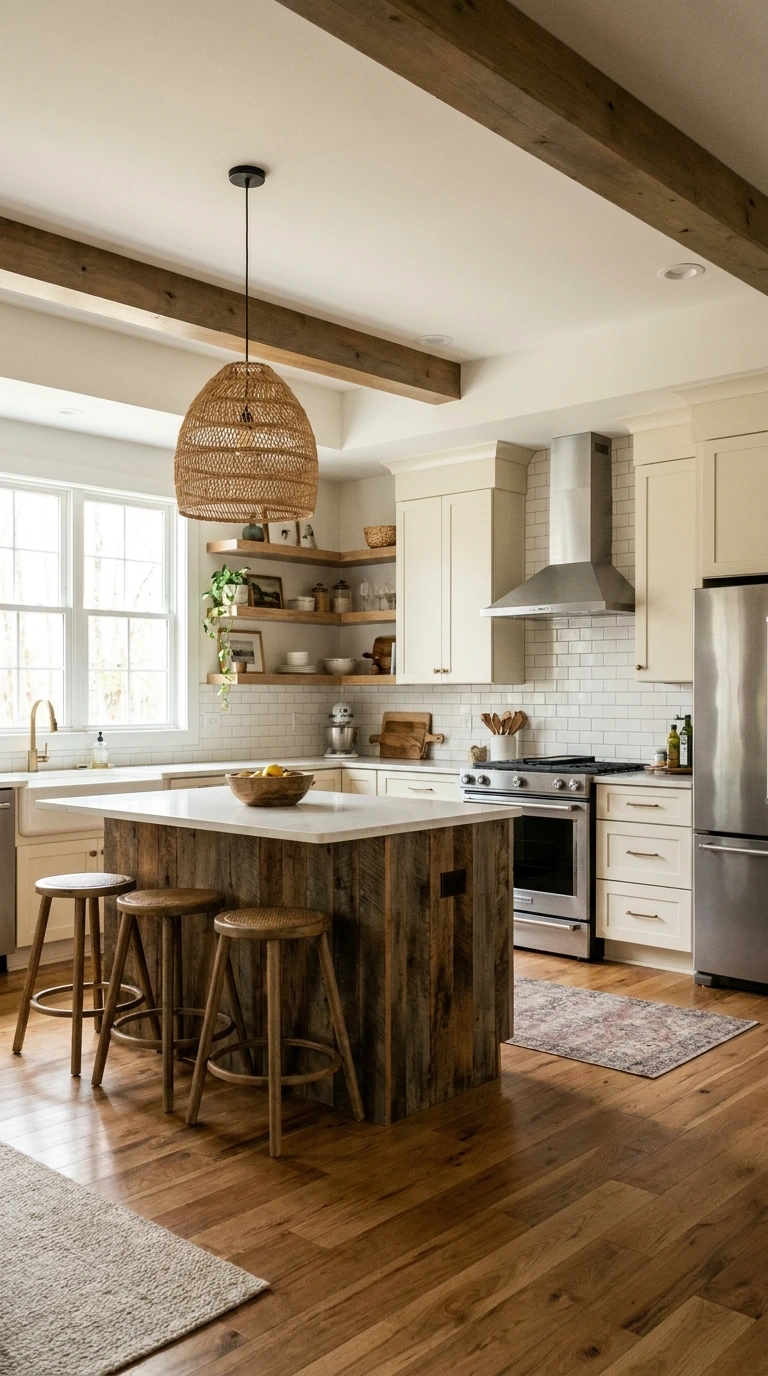
Replacing an entire light fixture is not always in budget, but a woven or rattan shade that slips over an existing bulb and cord instantly softens the look. It is one of the fastest ways to add texture and warmth to a space without any electrical work at all.
A bare bulb pendant with no shade, feeling plain and unfinished.
A woven shade slipped over the same fixture adds warmth and texture instantly.
Measure the drop length and bulb clearance before ordering a shade, since some styles need extra vertical space to sit properly over the socket.
28. Use Appliance Decals to Update a Dated Fridge
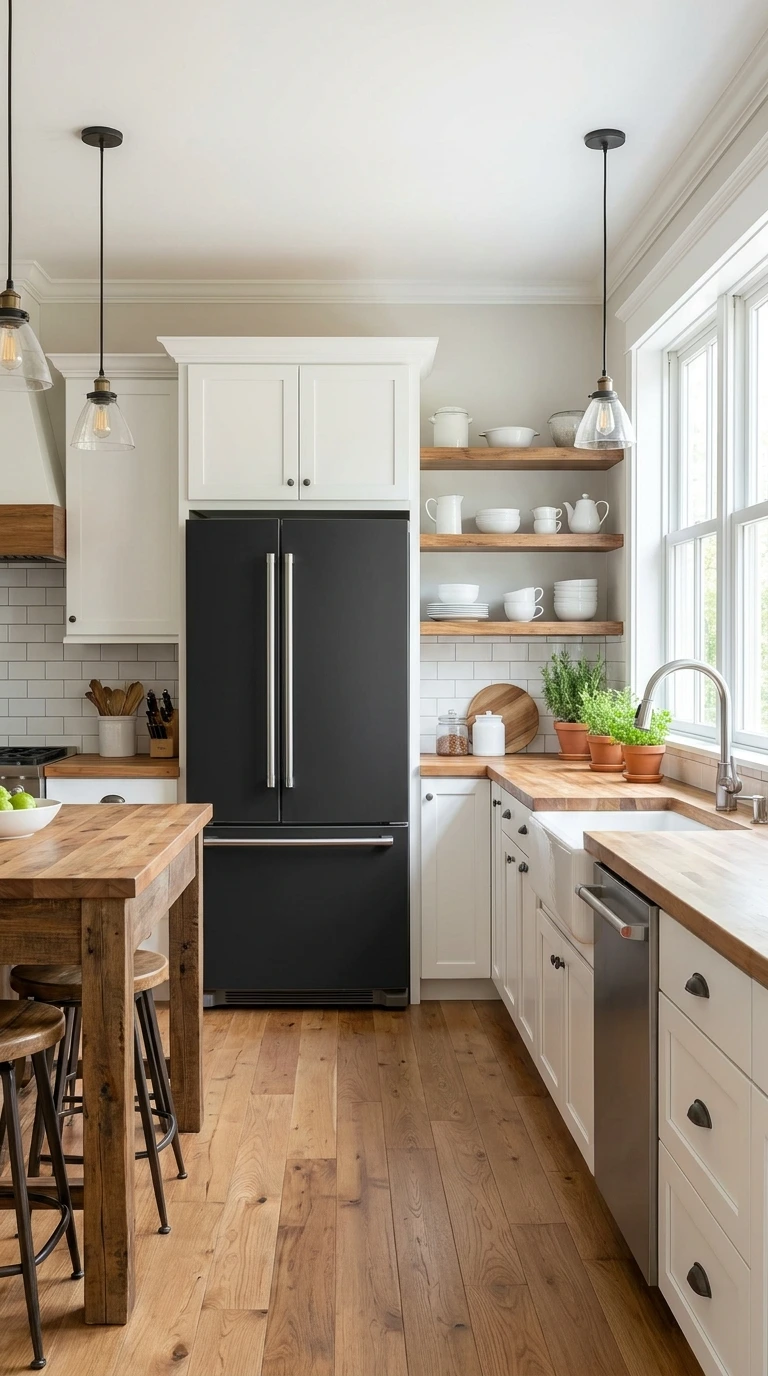
A scratched or outdated fridge finish stands out in nearly every kitchen photo, and full replacement is rarely realistic on a budget makeover. Vinyl appliance decals in a wood, black steel, or panel-ready finish cover the existing surface and can be swapped again later if you move.
Clean the fridge surface thoroughly and remove any handles if possible first.
Apply the decal slowly from one edge, smoothing out bubbles as you go.
Use a heat gun on low around curved edges for a fully sealed finish.
A matte black steel finish is currently one of the most versatile options, since it pairs well with both warm wood tones and cooler cabinet colors.
29. Hide Small Appliances Behind a Roll-Top Curtain
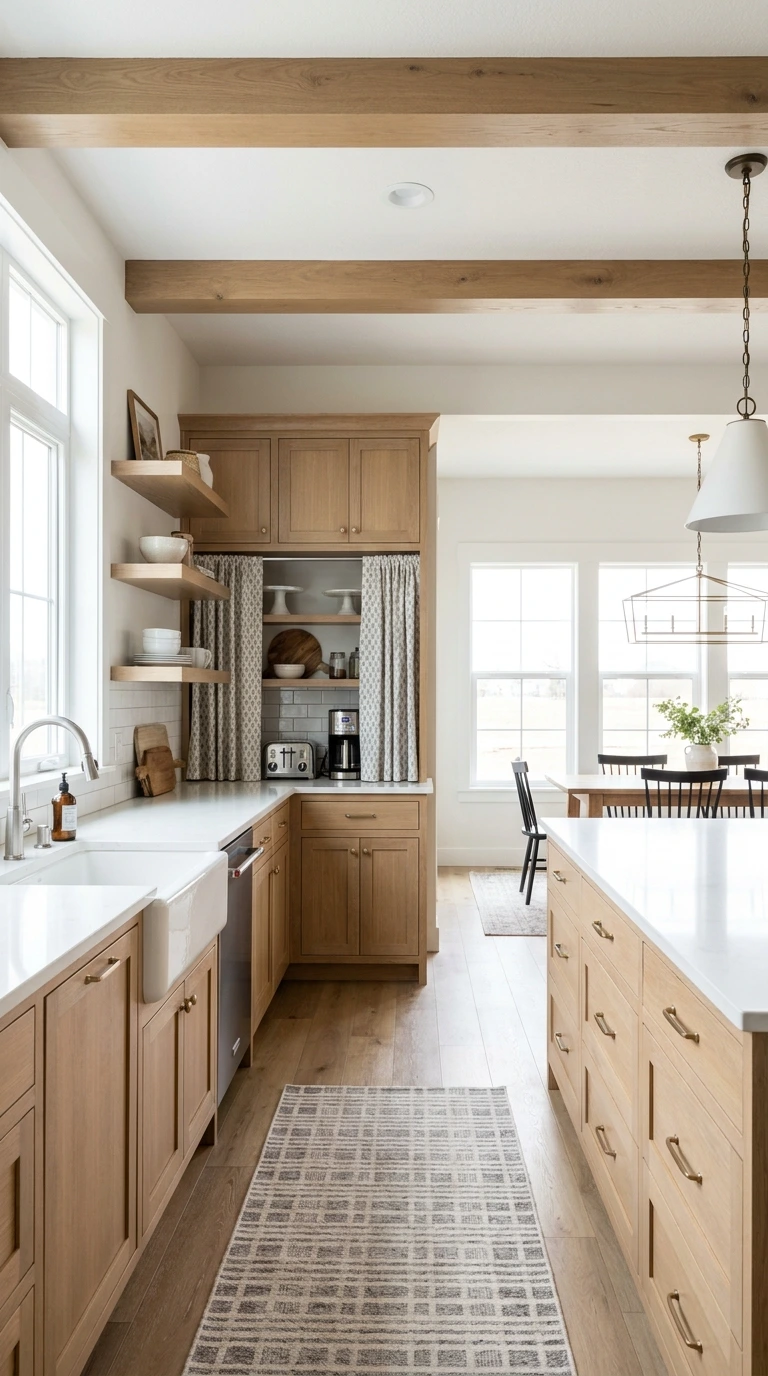
Toasters, coffee makers, and blenders left out on the counter add clutter even when the kitchen is otherwise clean. A small tension-rod curtain mounted under a cabinet or in a corner nook hides these appliances behind fabric that matches your color scheme, while still keeping them within easy reach.
Choose a fabric that matches your existing curtains or towels, so it reads as an intentional design choice rather than a makeshift cover.
30. Finish With Fresh Flowers or Greenery on the Counter
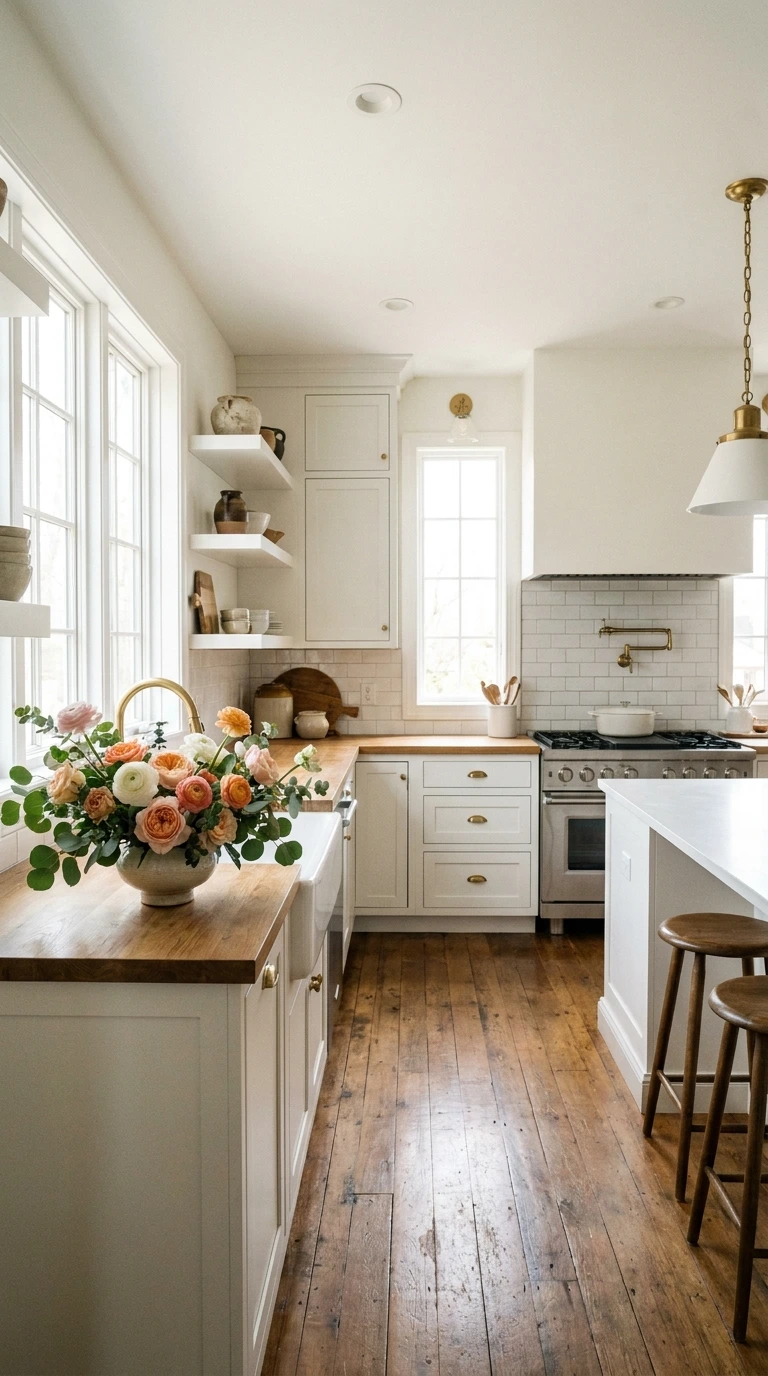
A kitchen can have every cabinet painted and every fixture swapped and still feel unfinished without one small, changeable detail. Fresh flowers or a simple stem of greenery in a vase adds real color and life to the space, and it is the one update that never stops paying off.
💡 Quick Tip
Keep the vase low and narrow if it sits near the sink or stove, so it does not get knocked over during everyday cooking.
Faux eucalyptus or dried stems work well as a low-maintenance alternative, staying fresh-looking for months without any watering at all.
Bringing It All Together
A kitchen makeover does not require a full renovation budget to make a real difference. Swapped hardware, a bold pendant light, fresh cabinet paint, and a few styled details can add up to a space that feels completely different, all without touching a single wall. Start with whichever change solves your kitchen’s biggest weak spot first, whether that is dated brass fixtures or a bare, unstyled counter.
Stack a few of these ideas together rather than tackling all thirty at once. New hardware paired with updated outlet covers alone can shift how the whole room reads within a single weekend. Add lighting, paint, and styling over time as budget allows, and let the kitchen come together gradually instead of all at once.
The best budget makeovers do not look like they were done on a budget at all. They look like every choice was made on purpose.