25 Steps to a Living Room Makeover on a $500 Budget

Introduction
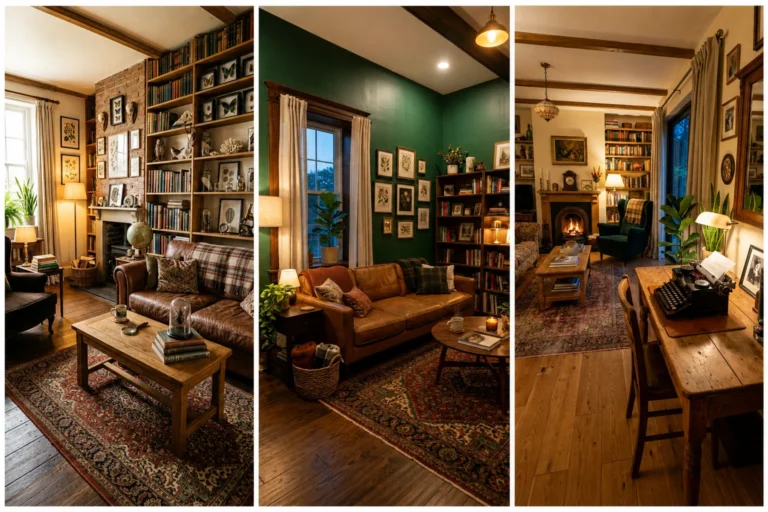
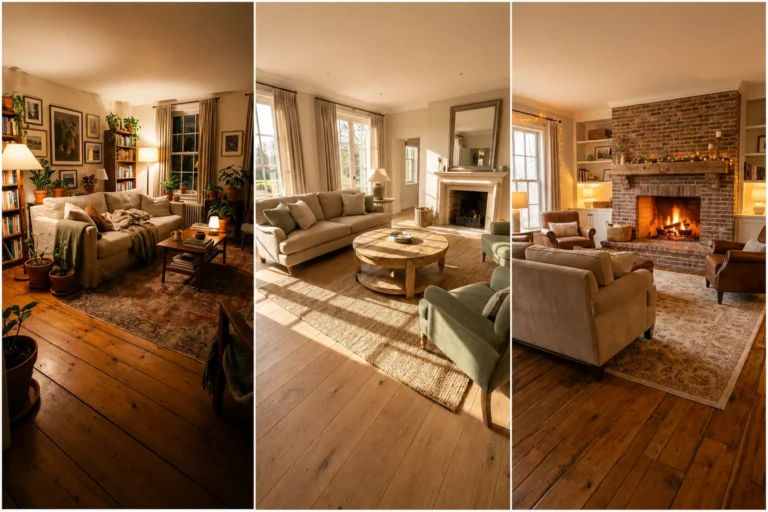
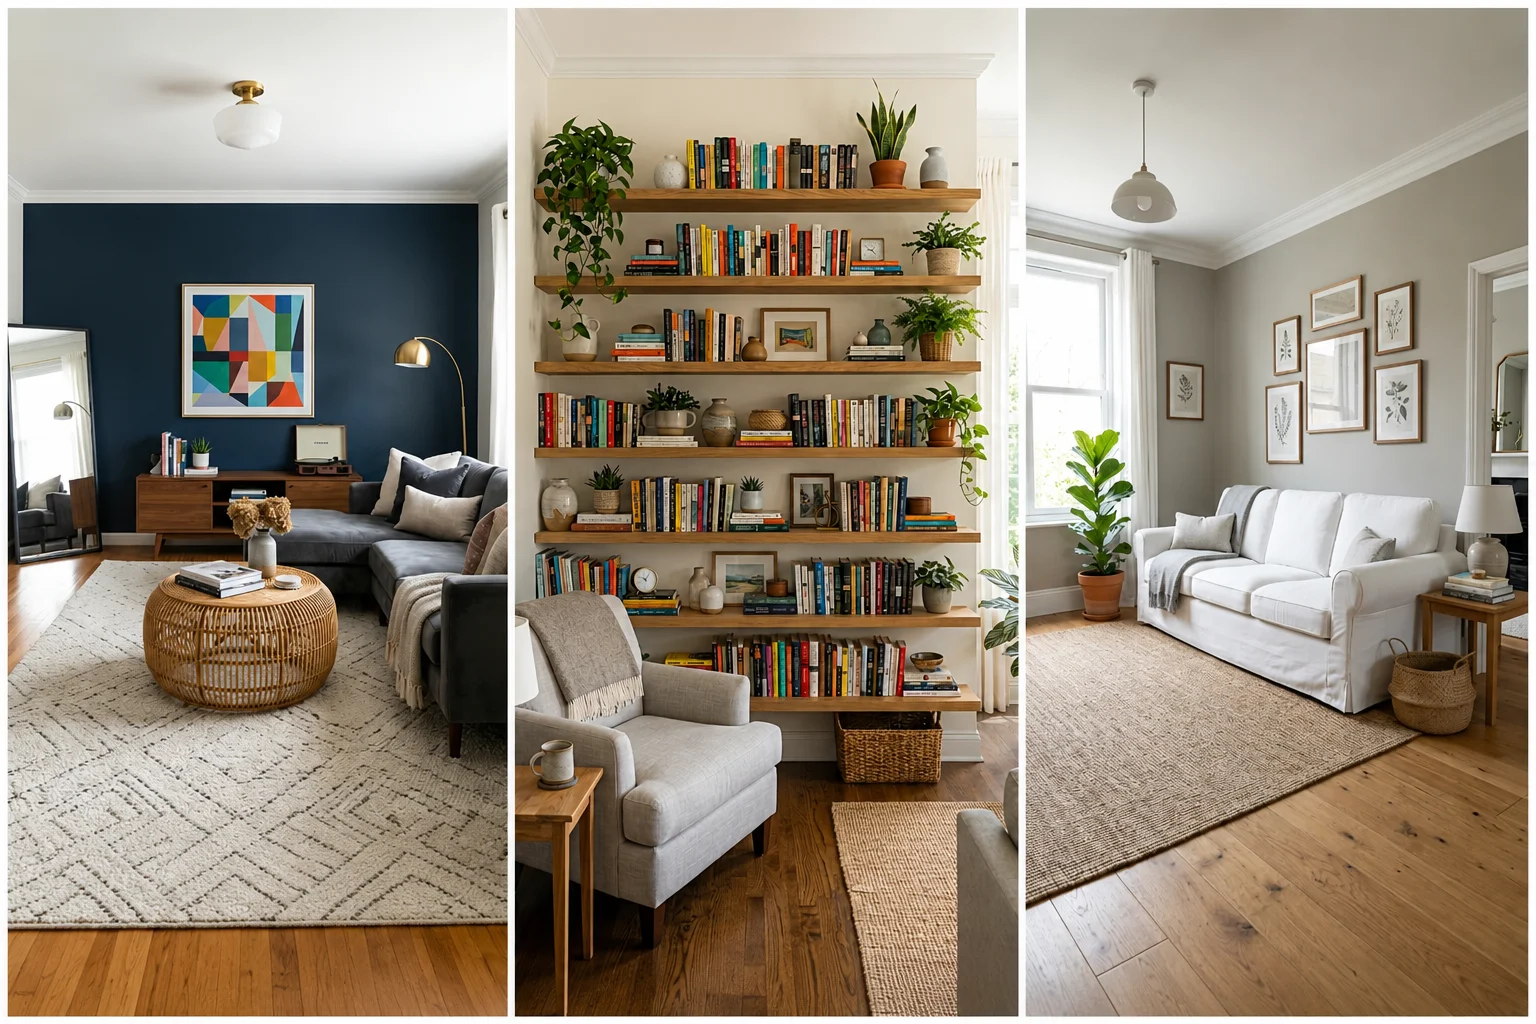
A living room makeover doesn’t have to mean a five-figure renovation or months of saving. Professional home stagers prove this constantly, transforming dated rooms in just a couple of hours using nothing but textiles, lighting, and smart styling, rarely touching the furniture itself.
The key to making $500 stretch is prioritization, not compromise. Spending strategically on a few high-impact changes will always beat spreading that same money thin across twenty small purchases that don’t add up to much of anything.
In this guide, you’ll find 25 steps, in the order that actually makes sense to tackle them, for a genuine living room makeover on a $500 budget. Follow along from planning through final styling, and you’ll end up with a room that looks considerably more expensive than what you spent.
1. Set Your Budget Categories Before You Shop
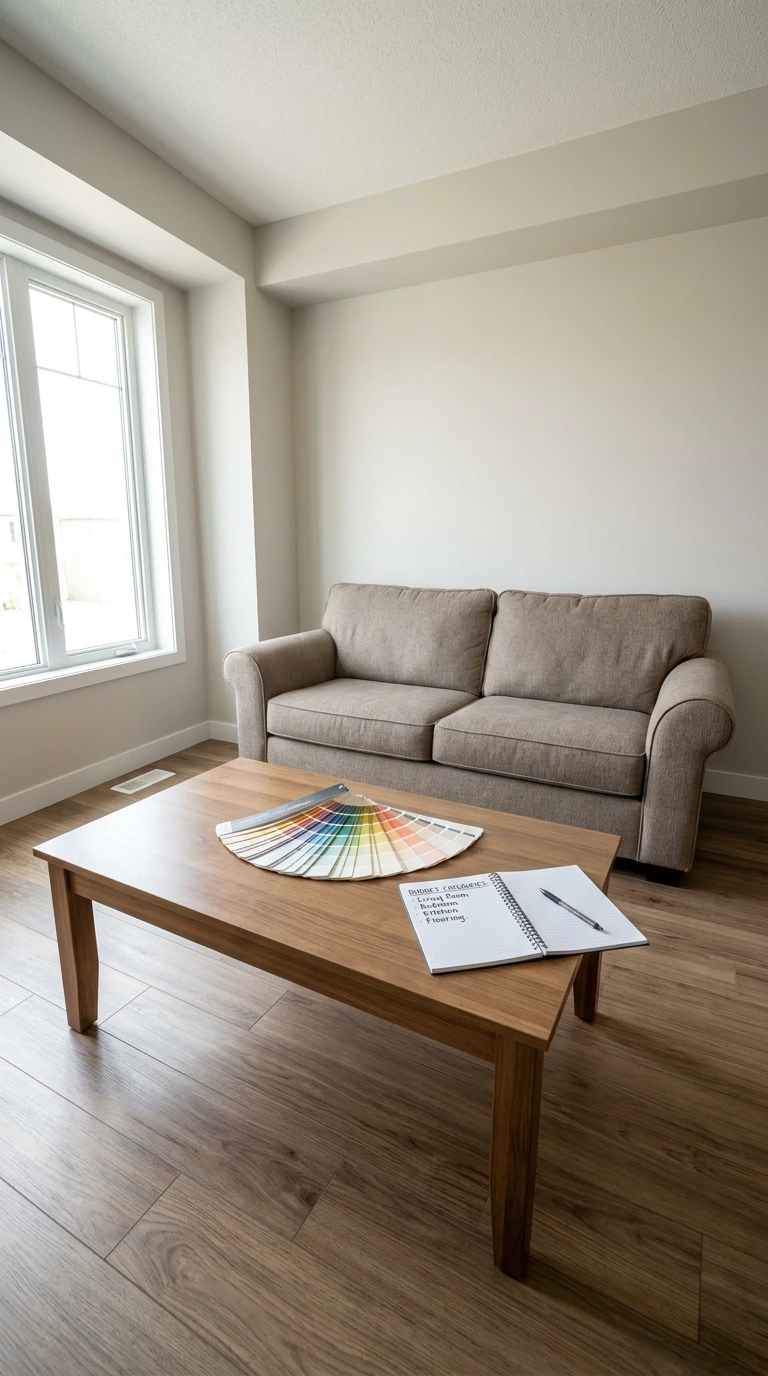
Divide your $500 into rough categories before you buy anything, something like $150 for paint, $125 for furniture refresh, $100 for textiles and rugs, $75 for lighting, and $50 for final styling. Having these numbers in mind keeps one exciting find from swallowing your entire budget before you’ve addressed the rest of the room.
This allocation isn’t rigid, since you should absolutely shift money toward whatever matters most in your specific space. The point is simply having a plan going in, rather than spending reactively and running out of money before tackling your biggest problem area.
2. Declutter Everything That Doesn’t Earn Its Place
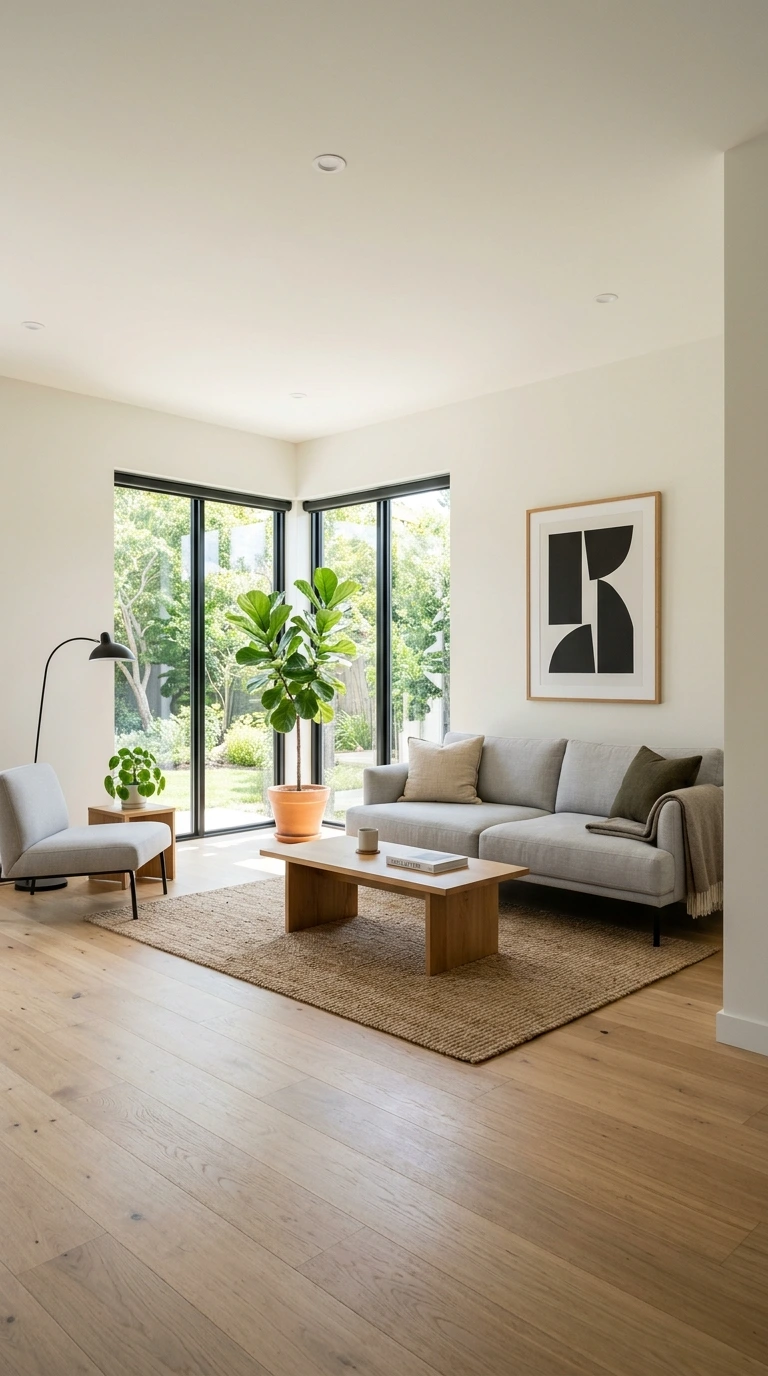
Walk through your living room and remove anything that isn’t functional or genuinely loved, extra knick-knacks, art that no longer fits your taste, furniture that clutters more than it contributes. This step costs absolutely nothing, yet it’s consistently the single biggest visual improvement you can make before spending any money at all.
A room with less in it almost always looks more expensive and more intentional than one crammed with too much. Take a photo of the room before and after this step alone, since the difference often surprises people who assumed decluttering was just tidying rather than genuine design work.
3. Take Inventory of What You Can Repurpose
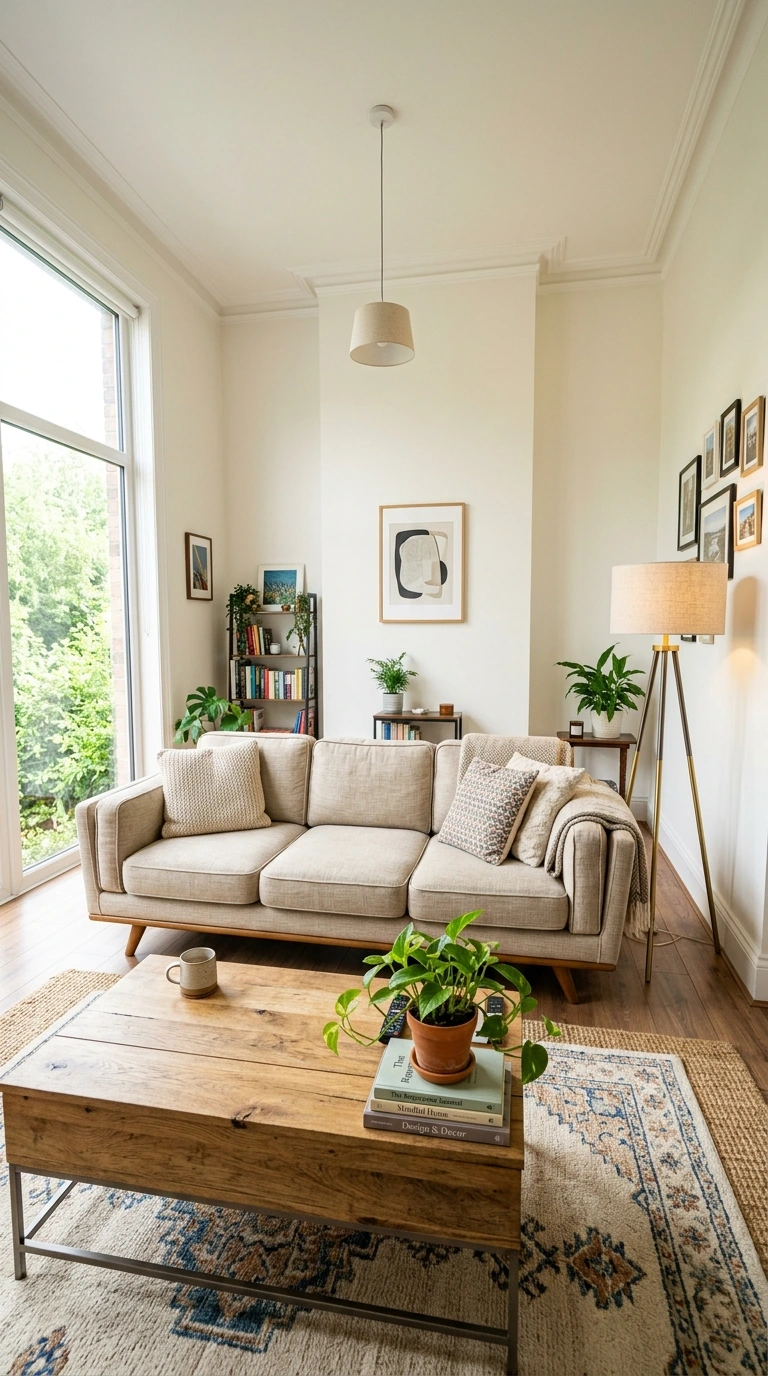
Before shopping for anything new, go through your existing furniture and decor to identify what could work again with a small refresh, a coffee table that just needs paint, a lamp that needs a new shade, a chair with good bones but tired fabric. This inventory step directly reduces how much of your $500 needs to go toward brand-new purchases.
Items you decide to keep as-is also matter here, since not everything needs replacing just because you’re doing a makeover. The goal is identifying genuine problems worth spending on, not replacing things simply because a fresh budget is available.
4. Paint One Accent Wall Rather Than the Whole Room
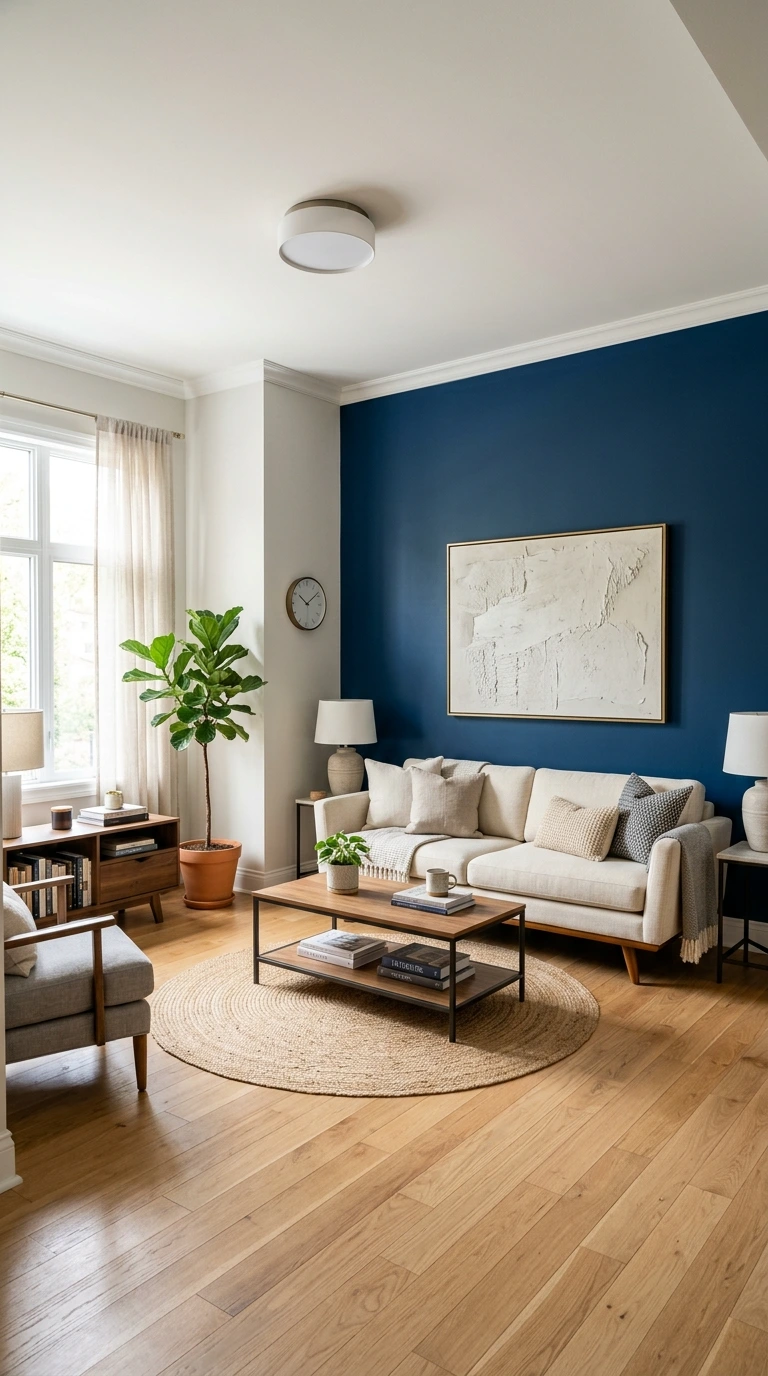
A single accent wall delivers dramatic visual impact for a fraction of the cost and labor of painting an entire room, typically running around $50 to $75 including supplies. Position it behind your main seating area or media console, since this naturally draws the eye to your room’s focal point.
Choosing a color that’s a noticeable but not jarring departure from your existing walls creates genuine visual interest without overwhelming the space. This single change is consistently ranked as one of the highest-impact, lowest-cost updates available in any living room makeover.
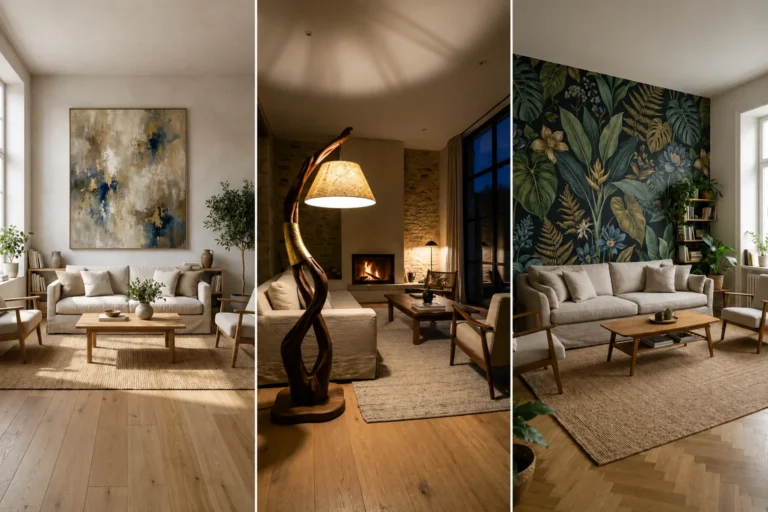
5. Consider Removable Wallpaper as a Paint Alternative
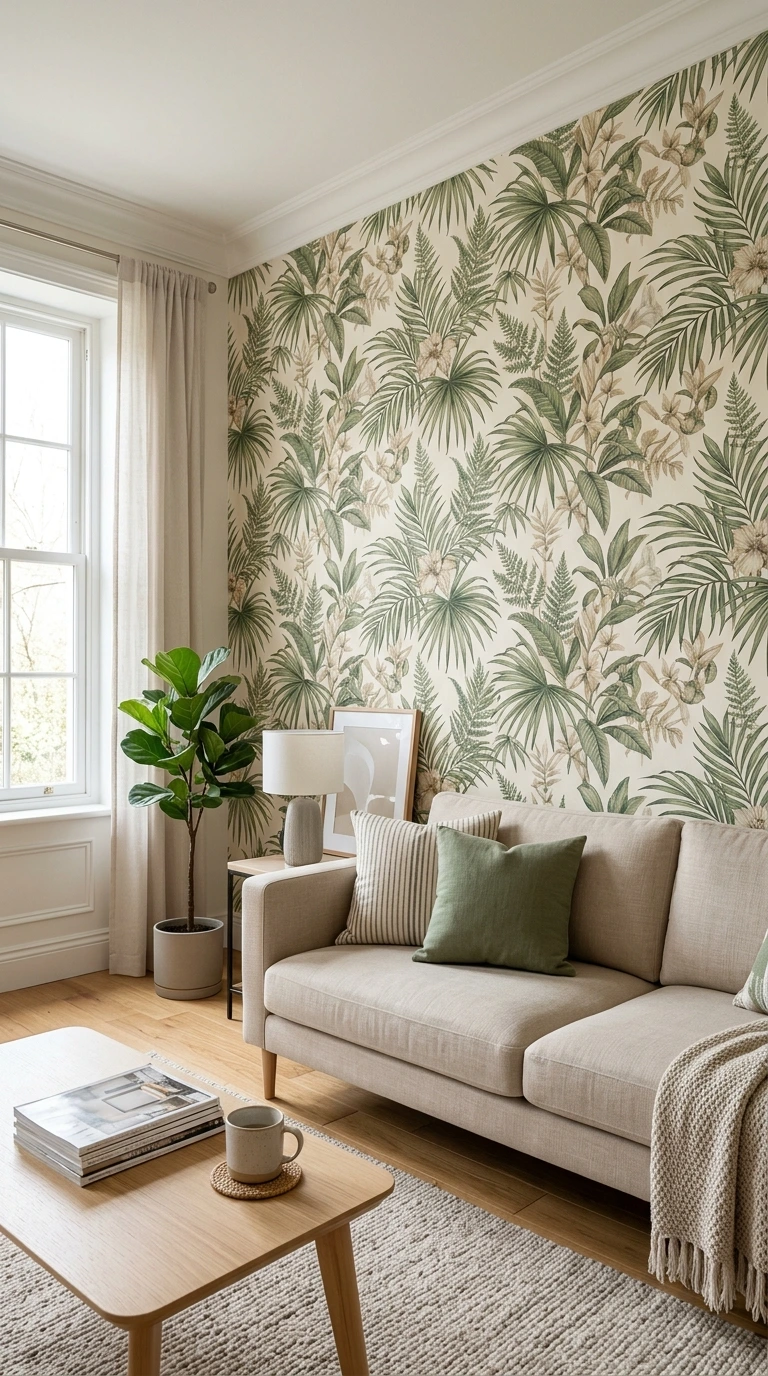
For renters or anyone hesitant to commit to paint, removable wallpaper on a single accent wall achieves a similarly dramatic effect while peeling off cleanly when you’re ready for a change. Modern options from companies specializing in peel-and-stick designs have improved considerably, installing without damaging walls underneath.
Choose subtle textures or muted patterns, like a grasscloth look or delicate botanicals in warm tones, rather than bold high-contrast prints that can feel overwhelming in a space meant for relaxation. Taking your time with precise cutting during installation makes the finished result look genuinely professional rather than obviously DIY.
6. Shop Secondhand for Your Biggest Furniture Need
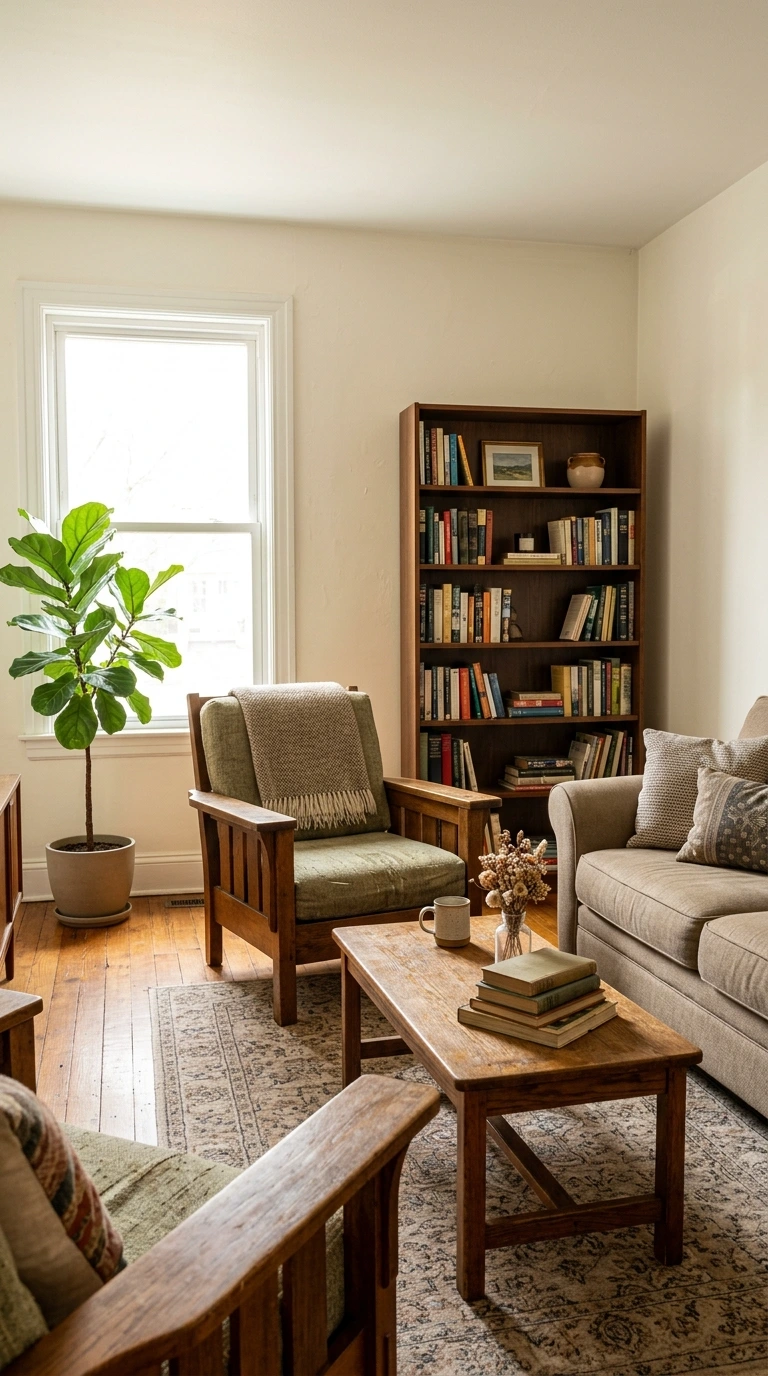
Facebook Marketplace, Craigslist, thrift stores, and estate sales are consistently the best sources for furniture that would cost far more new, sometimes turning up quality pieces for just a few dollars if the listing description scared off other buyers. Search specific furniture brand names alongside style keywords like “linen” or “mid-century” to filter through listings more efficiently.
Look specifically for solid construction and good bones over cosmetic perfection, since a piece with clean lines but tired upholstery can often be transformed for less than buying new. This single strategy is where most successful $500 makeovers find their biggest savings.
7. Refresh a Sofa With a Slipcover Instead of Replacing It
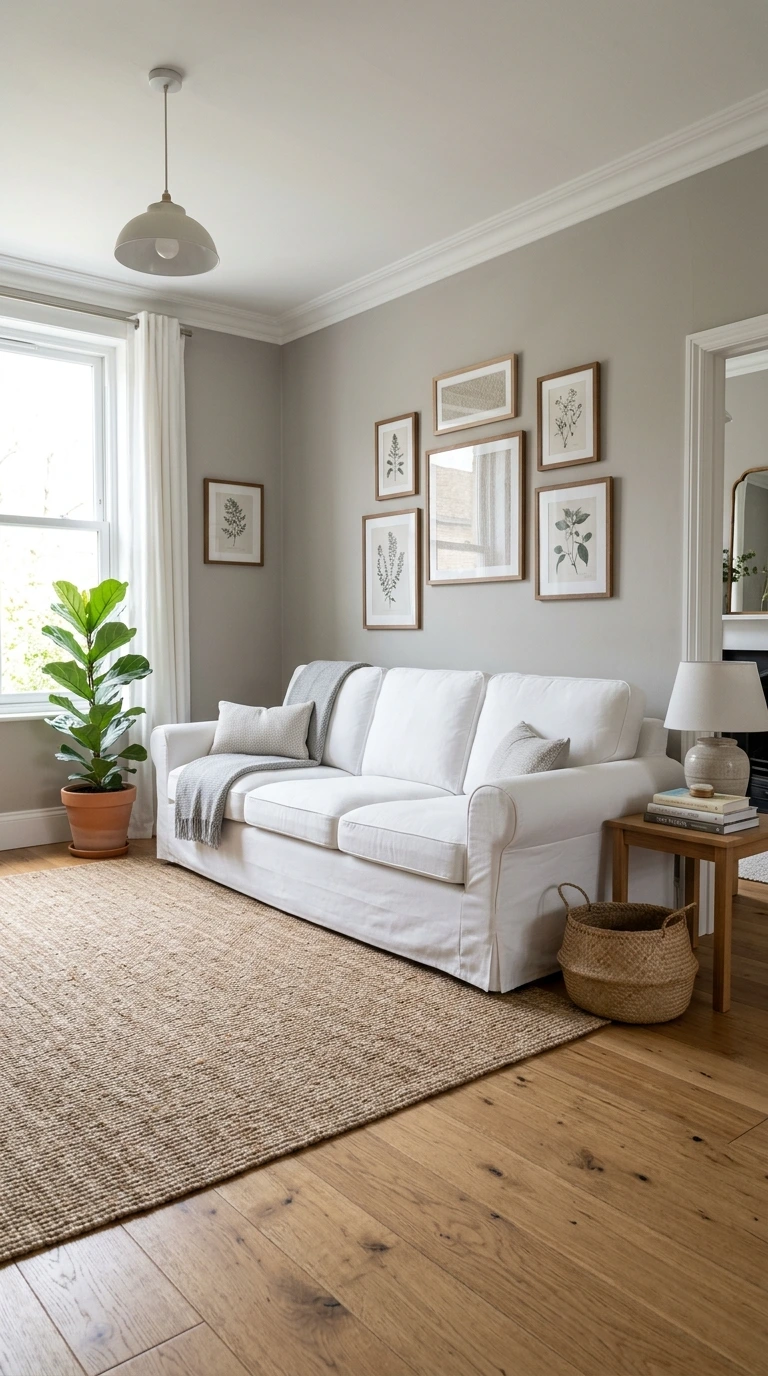
If your existing sofa has good bones but dated or worn fabric, a slipcover costs a fraction of reupholstering or replacing it entirely while delivering a genuinely fresh look. Even a simple no-sew drop cloth slipcover, tailored with basic stitching around the arms, can look considerably more polished than expected.
This approach works especially well as a temporary solution while you save toward eventually having a beloved piece professionally reupholstered. Treating this as a phase rather than a permanent fix takes the pressure off getting it perfect on the first try.
8. Replace Every Throw Pillow at Once
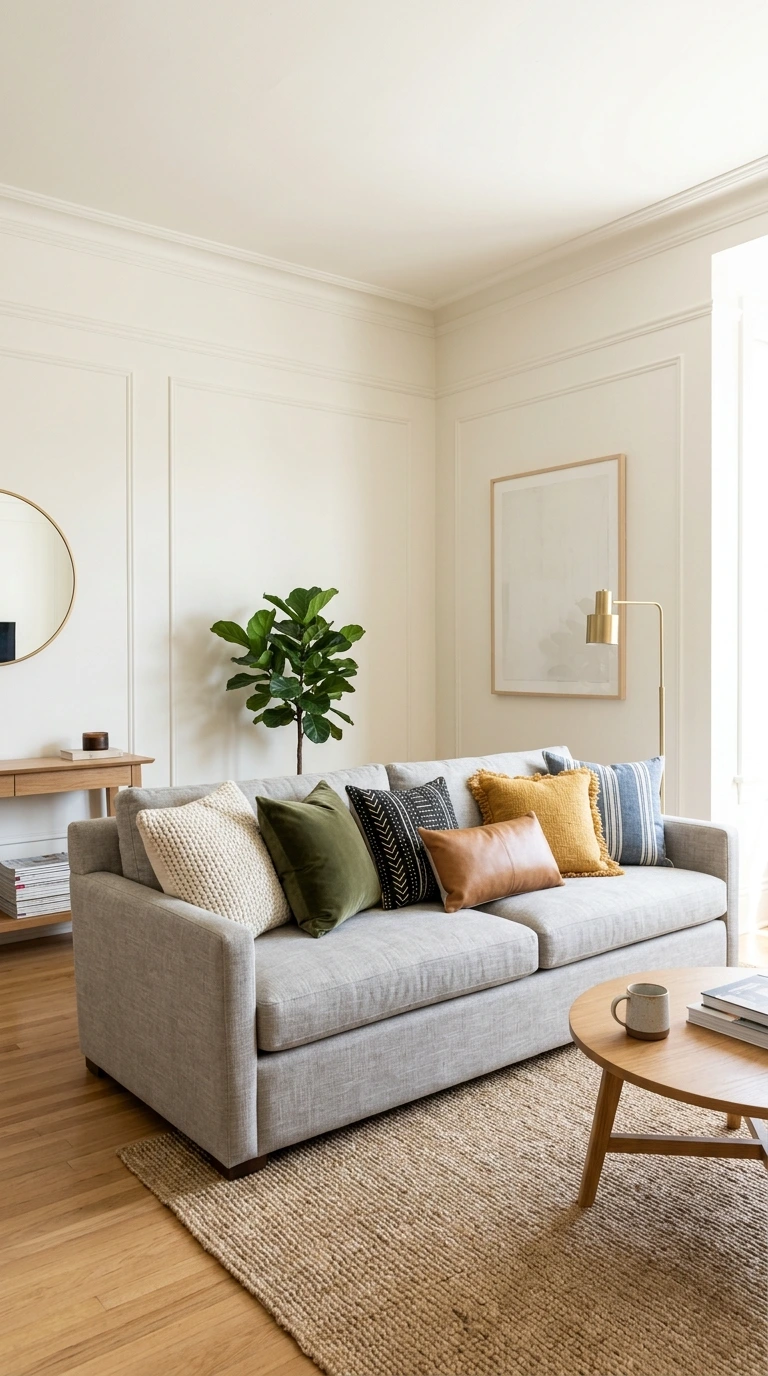
Swapping every pillow cover for a cohesive set of four to six, in a shared color palette but mixed textures, is one of the fastest ways to update a room’s entire color scheme. Combining one linen cover, one velvet, and one with embroidered or woven detail creates visual interest without needing matching patterns throughout.
Budget pillow covers in the eight to fifteen dollar range widely available online often look considerably more expensive than their price once styled together. This single swap typically costs under $75 total and delivers some of the highest visual impact per dollar on this entire list.
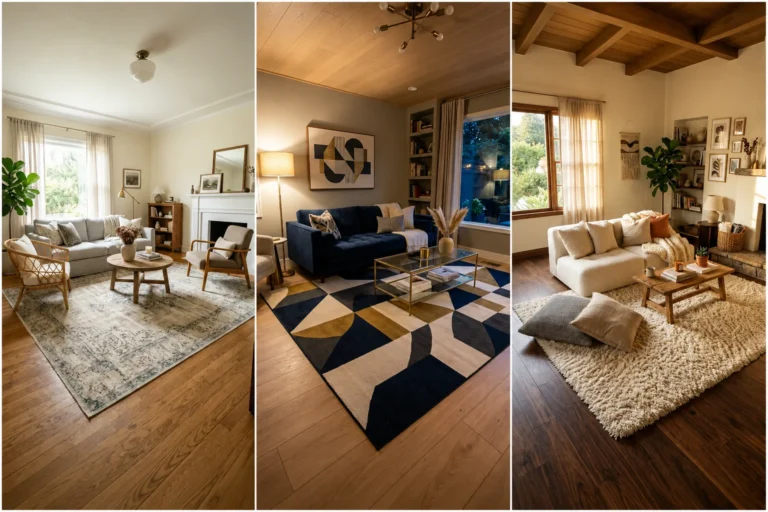
9. Add a Large Area Rug to Define the Seating Area
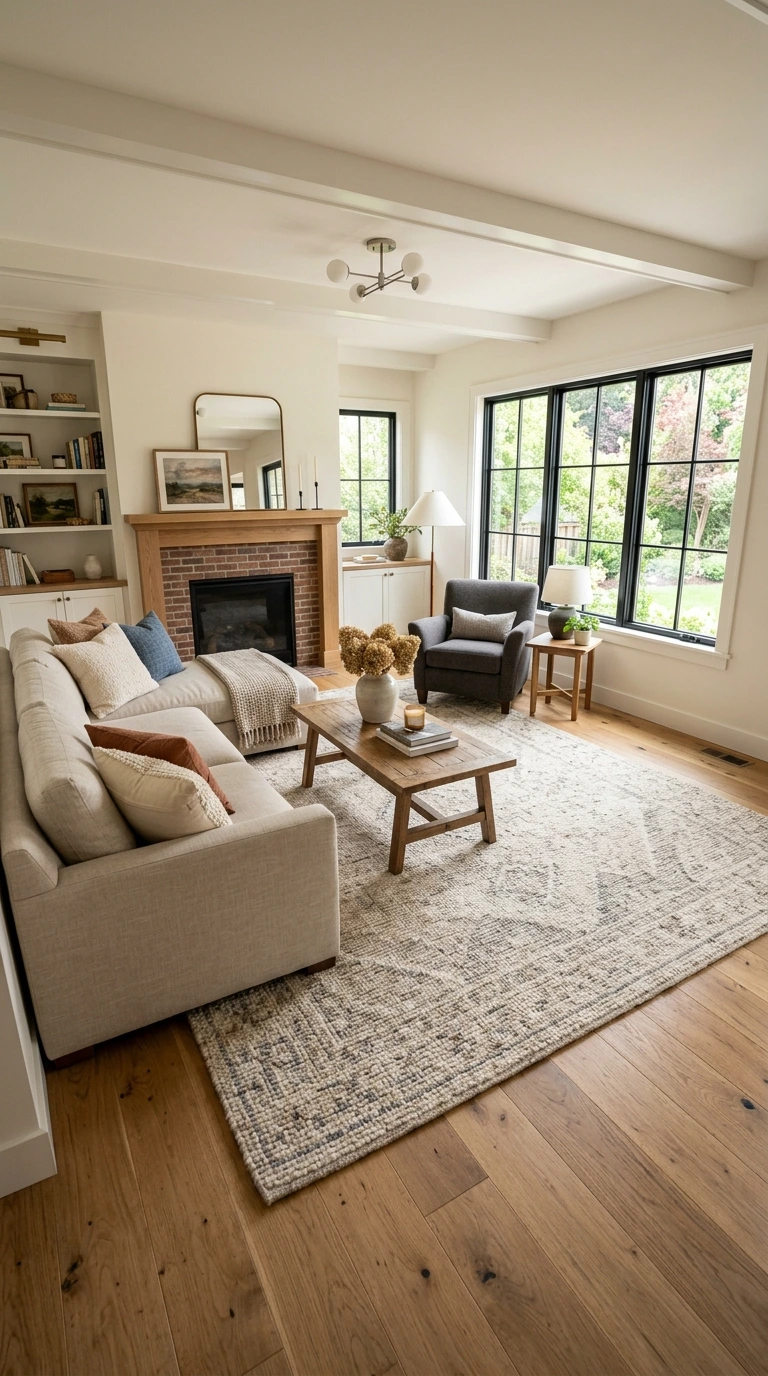
A rug sized appropriately for your seating area, with at least the front legs of your furniture resting on it, instantly makes a room feel more intentional and defined. This single addition can visually anchor a space that previously felt like furniture was just scattered across bare flooring.
Budget-friendly rugs from mainstream retailers can deliver a considerable style upgrade if you choose a pattern or texture that complements your existing color scheme. If your dream rug exceeds your remaining budget, it’s worth reallocating funds from a lower-priority category rather than settling for one you don’t actually like.
| Budget Category | Suggested Allocation | What It Covers |
|---|---|---|
| Paint or Wallpaper | $50-75 | One accent wall |
| Furniture Refresh | $100-125 | Slipcover, paint, or one secondhand piece |
| Textiles | $75-100 | Pillows, throw, rug |
| Lighting | $50-75 | Lamps, bulbs, shades |
| Styling and Plants | $50-75 | Art, accessories, greenery |
10. Upgrade Your Lighting Before Anything Else Visual
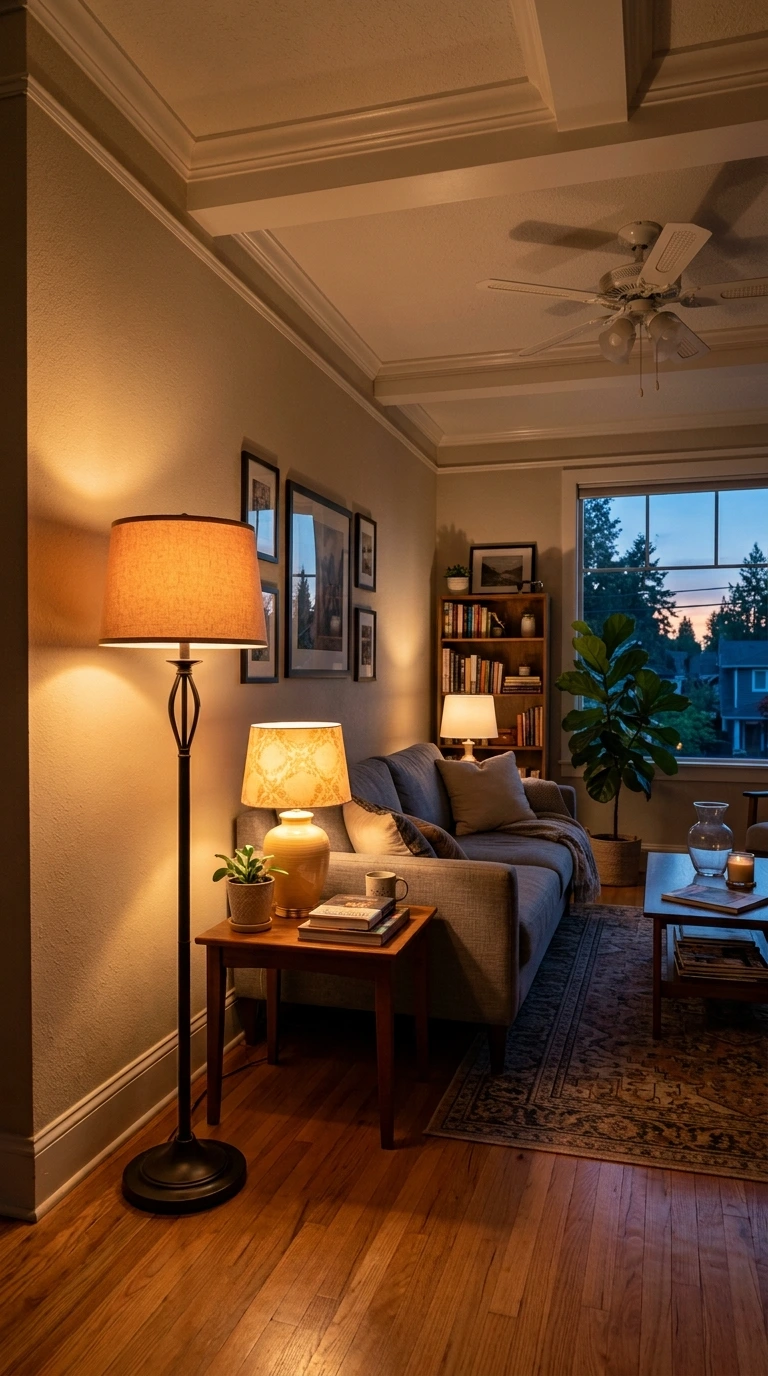
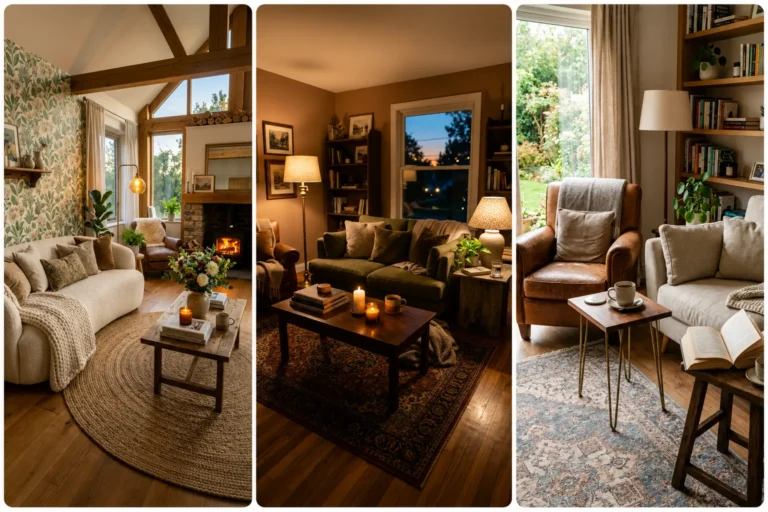
Swapping harsh overhead bulbs for warm-toned LEDs, and adding at least one floor or table lamp if your room currently relies solely on ceiling light, changes the entire mood of a space for relatively little money. Good lighting is frequently the difference between a room that photographs well and one that actually feels comfortable to spend time in daily.
A budget floor lamp or table lamp in the thirty to sixty dollar range, paired with a warm bulb, can transform a dim or clinical-feeling corner into a genuinely inviting spot. This category consistently punches above its cost when it comes to overall room atmosphere.
11. Reupholster or Paint One Statement Piece
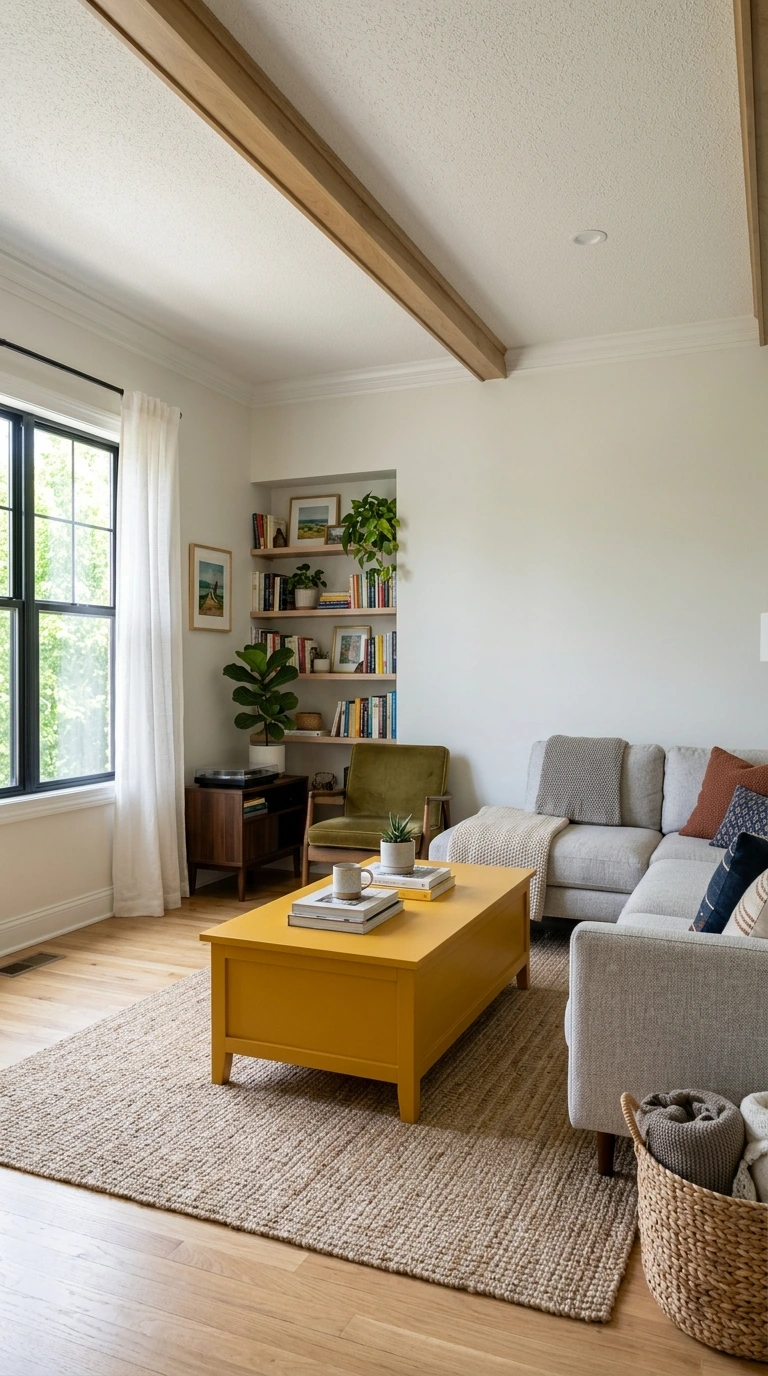
Rather than spreading your furniture budget across several mediocre updates, focus your energy and remaining funds on refinishing one genuinely showstopping piece, a wooden buffet, a bookcase, or a coffee table. A single well-executed refresh reads as far more intentional than several half-finished projects scattered throughout the room.
Choosing a bold or unexpected paint color for this one piece can make it a genuine focal point rather than just another blended-in furniture item. This concentrated approach to spending is what separates a room that feels “collected” from one that feels randomly assembled.
12. Create a Cozy Reading Nook in an Underused Corner
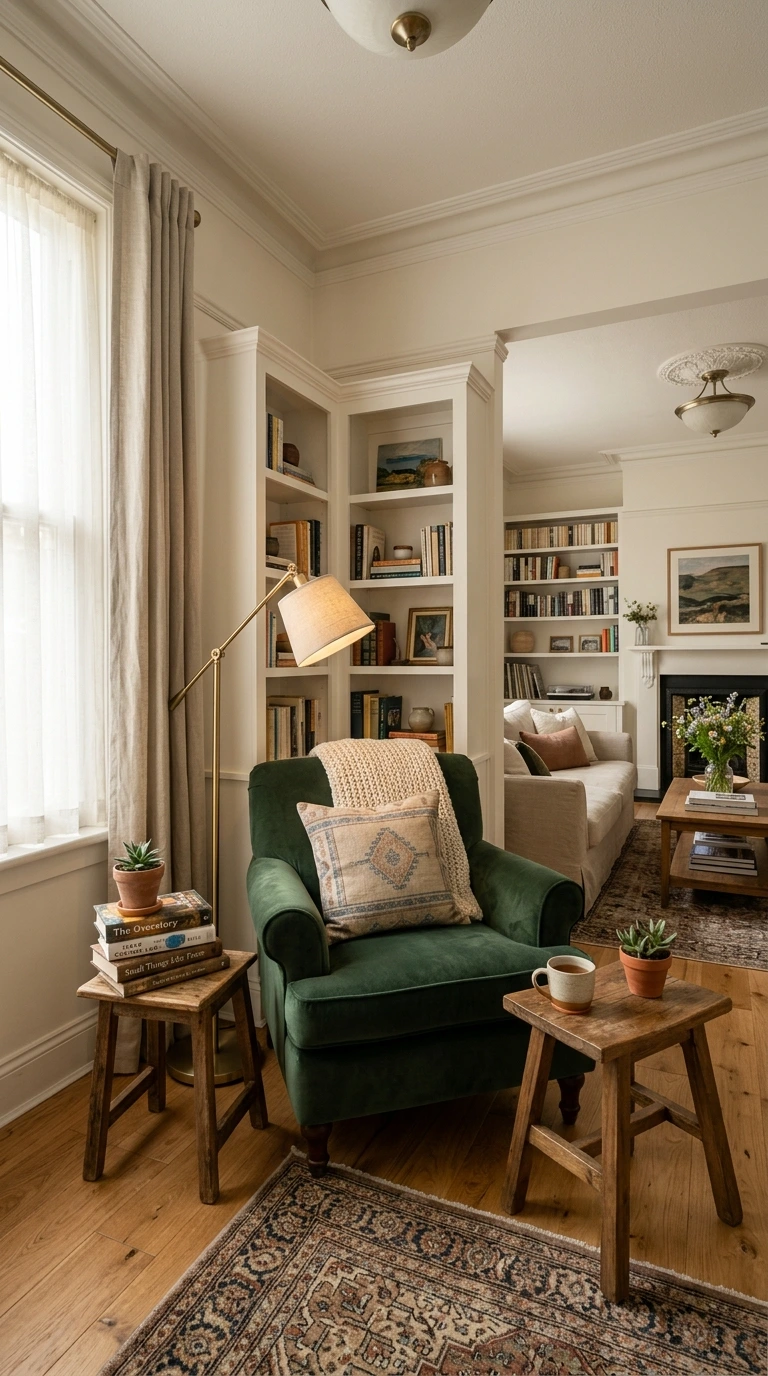
Even a small, previously wasted corner can become a genuine reading nook with just a comfortable secondhand armchair, a small side table, and a floor lamp with adjustable lighting. This kind of dedicated vignette adds real function to a room without requiring much additional space or budget.
A soft throw blanket draped over the chair and a small decorative object that reflects your personal taste, like a favorite bookend or a framed quote, completes this corner affordably. This is one of the most satisfying transformations on this list, since it turns dead space into somewhere you’ll actually want to sit.
13. Update Window Treatments for an Elegant Finish
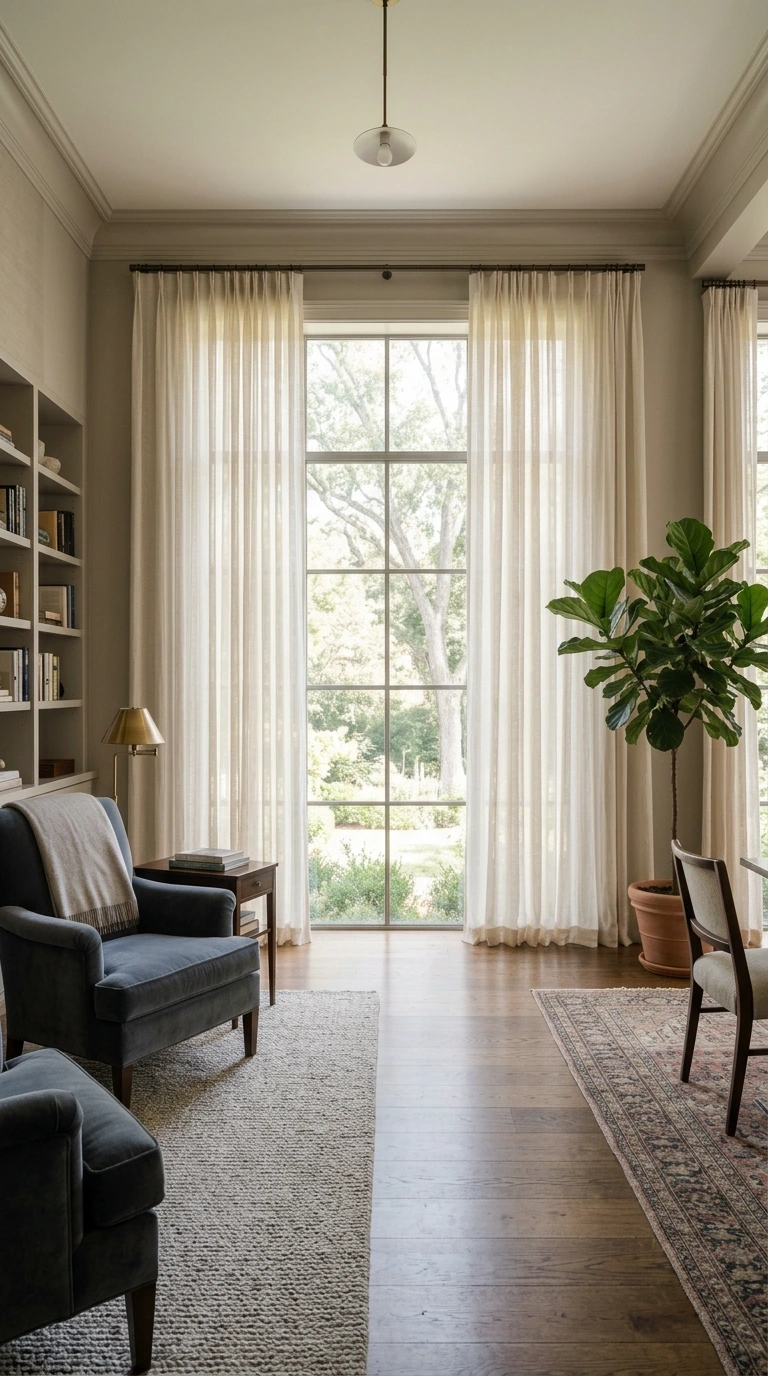
Swapping outdated blinds or curtains for lightweight sheer panels or bold patterned drapes can dramatically change how finished a room feels, since window treatments cover a proportionally large amount of visible wall space. Choosing colors and patterns that harmonize with your existing decor ties this update into the rest of your makeover.
DIYing your own curtains from fabric remnants is a genuine option for keeping this category affordable, especially if you’re comfortable with basic sewing or even a no-sew hemming method. This update is easy to overlook, but it consistently appears among the highest-impact changes in budget makeover breakdowns.
14. Add Storage Baskets for Both Function and Style
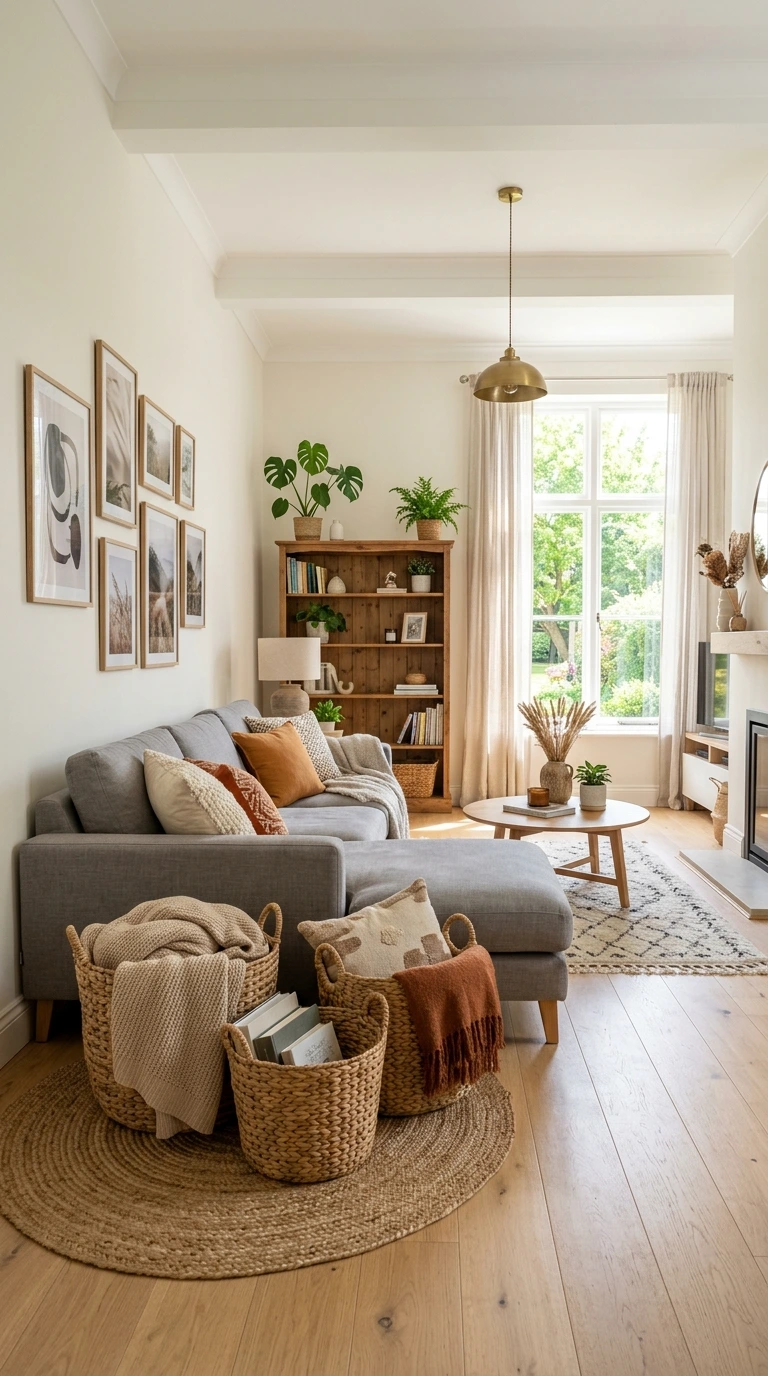
A collection of secondhand or budget storage baskets, ideally with lids, solves multiple problems at once, hiding blankets, disguising cords and routers, and doubling as an extra side surface with hidden storage underneath. This kind of multi-purpose item delivers considerable value for its relatively small cost.
Sourcing these secondhand, since baskets rarely wear out and turn up frequently at thrift stores, keeps this category almost entirely free within your overall budget. A few well-placed baskets can meaningfully reduce visible clutter without needing any additional built-in storage.
- Set category budgets before you start shopping
- Declutter and inventory existing items before buying anything new
- Prioritize one statement furniture refresh over several small ones
- Shop secondhand first for your biggest furniture need
- Save receipts in case any purchased items need returning
15. Introduce Real or Low-Maintenance Plants
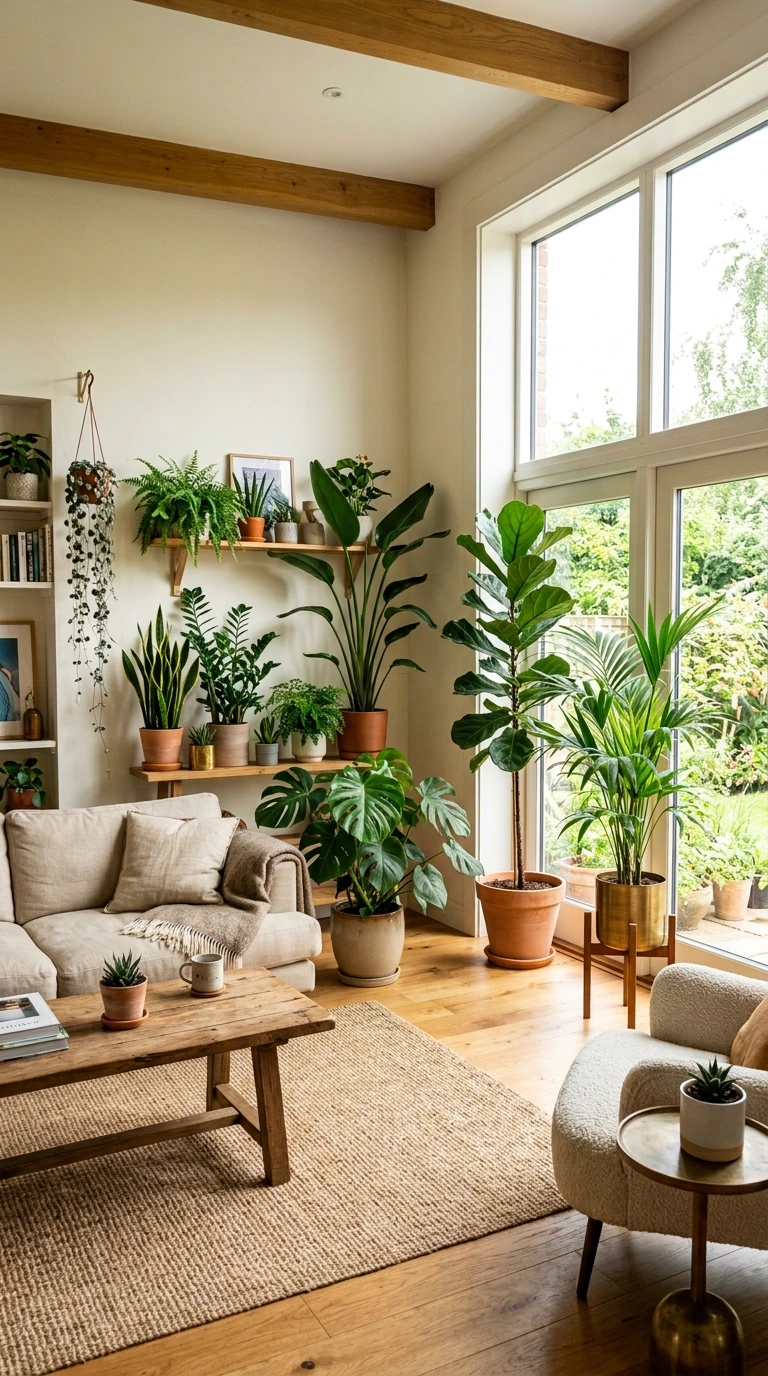
Greenery brings genuine life and freshness into a living room for relatively little cost, especially if you choose low-maintenance varieties like snake plants, pothos, or succulents. A single well-placed larger plant often has more visual impact than several small ones scattered around the room.
Budgeting around fifty dollars for a few plants and simple planters covers this category comfortably without eating into funds needed elsewhere. This is also one of the easier categories to source secondhand, since many people propagate and give away cuttings for free.
16. Shop Thrift Stores for Coffee Table Accessories
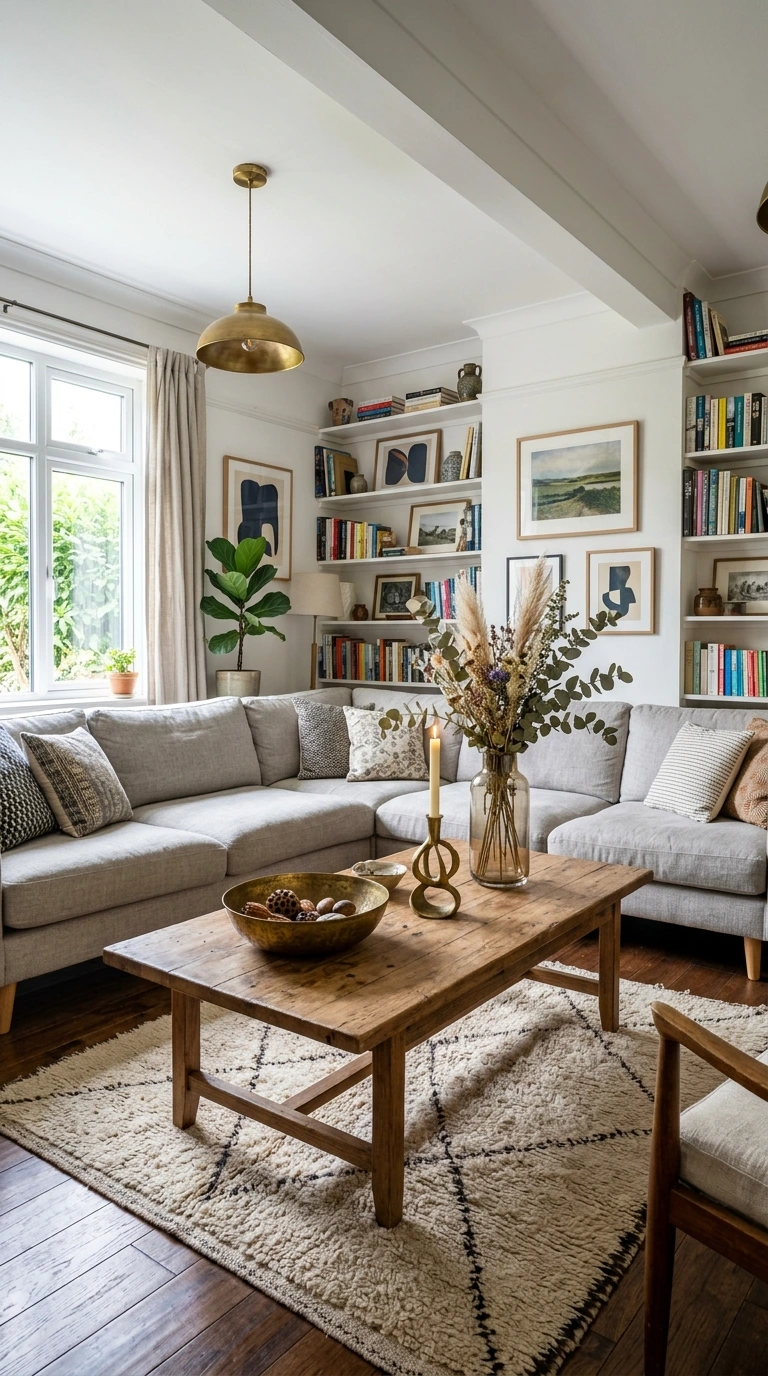
Small styling objects, a brass bowl for catching odds and ends, a taper candle holder, a tall vase for height and texture, are often available at thrift stores for just a few dollars each while adding genuine character to a coffee table or shelf. These small details are frequently what people notice and compliment, even though they cost almost nothing.
Choosing pieces you’ll genuinely use daily, rather than purely decorative objects, adds function alongside style to this budget category. This approach to small decor consistently proves that context and thoughtful mixing matter more than any single expensive statement piece.
17. Try a DIY Macramé or Woven Wall Hanging
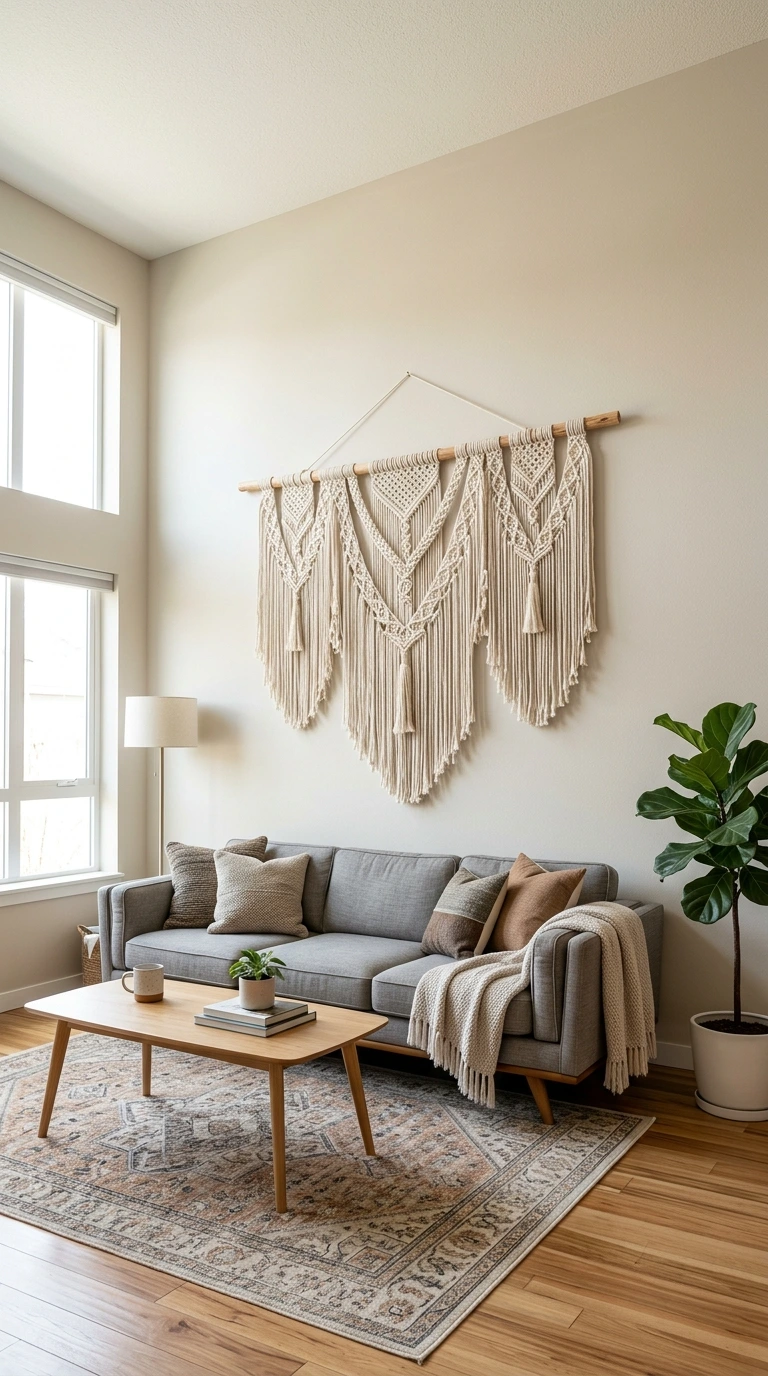
A handmade macramé wall hanging, requiring just rope or twine and a few basic knots, adds texture and bohemian character to a blank wall for the cost of materials alone, typically under twenty dollars. This kind of project also gives your space a genuinely one-of-a-kind detail that store-bought art can’t replicate.
Numerous free tutorials make this an accessible project even for complete beginners, and the finished piece often looks considerably more expensive than its actual cost. This category works particularly well if you enjoy hands-on projects as part of your makeover process, rather than purely shopping your way through it.
18. Build Simple Floating Shelves for Display and Storage
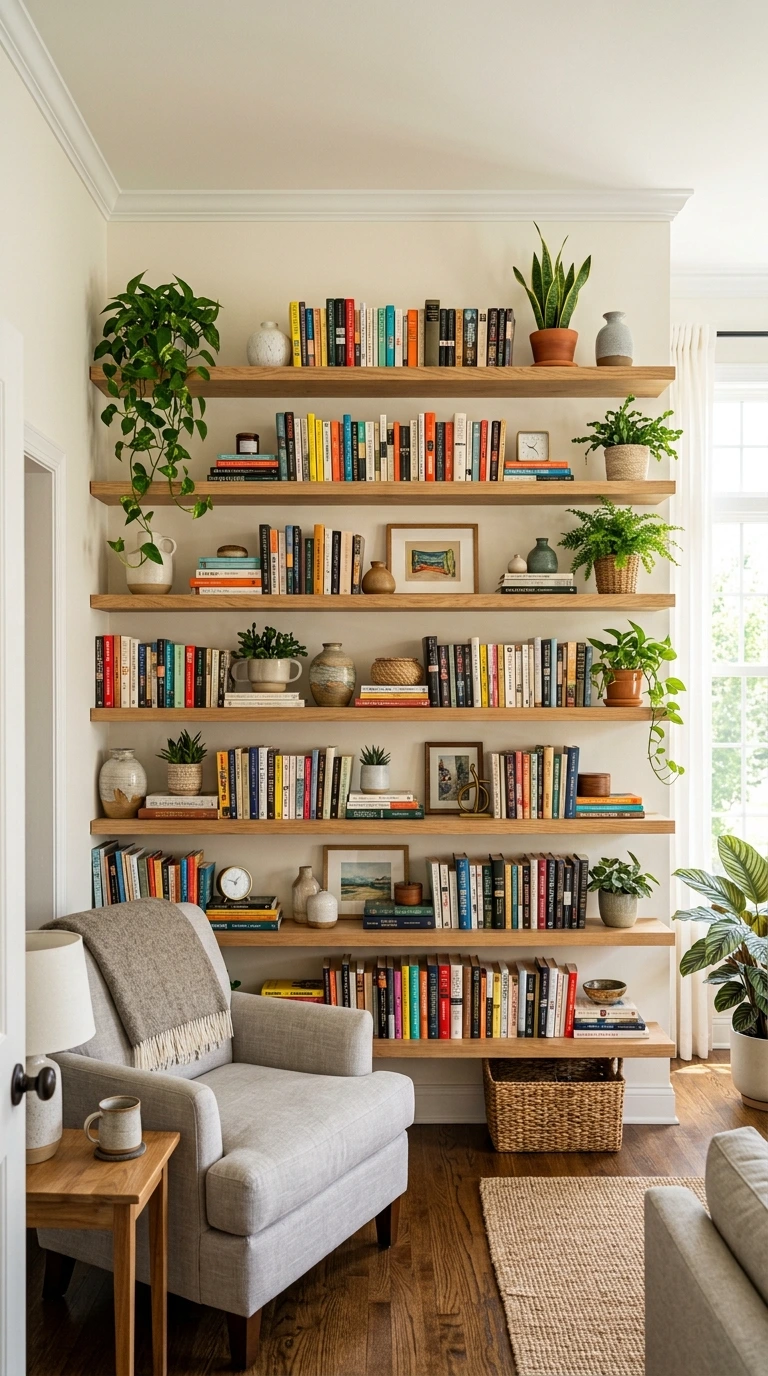
DIY floating shelves, built from plywood or reclaimed wood, maximize both storage and display space while keeping floors clutter-free. Styled with books, small plants, and a few decorative objects, these shelves add genuine function alongside visual interest to an empty wall.
This project requires basic tools and a modest materials budget, making it one of the more involved but rewarding DIY options on this list. Even a single well-styled shelf can meaningfully change how a previously blank wall contributes to the room’s overall look.
19. Choose One Splurge Item to Elevate the Whole Room
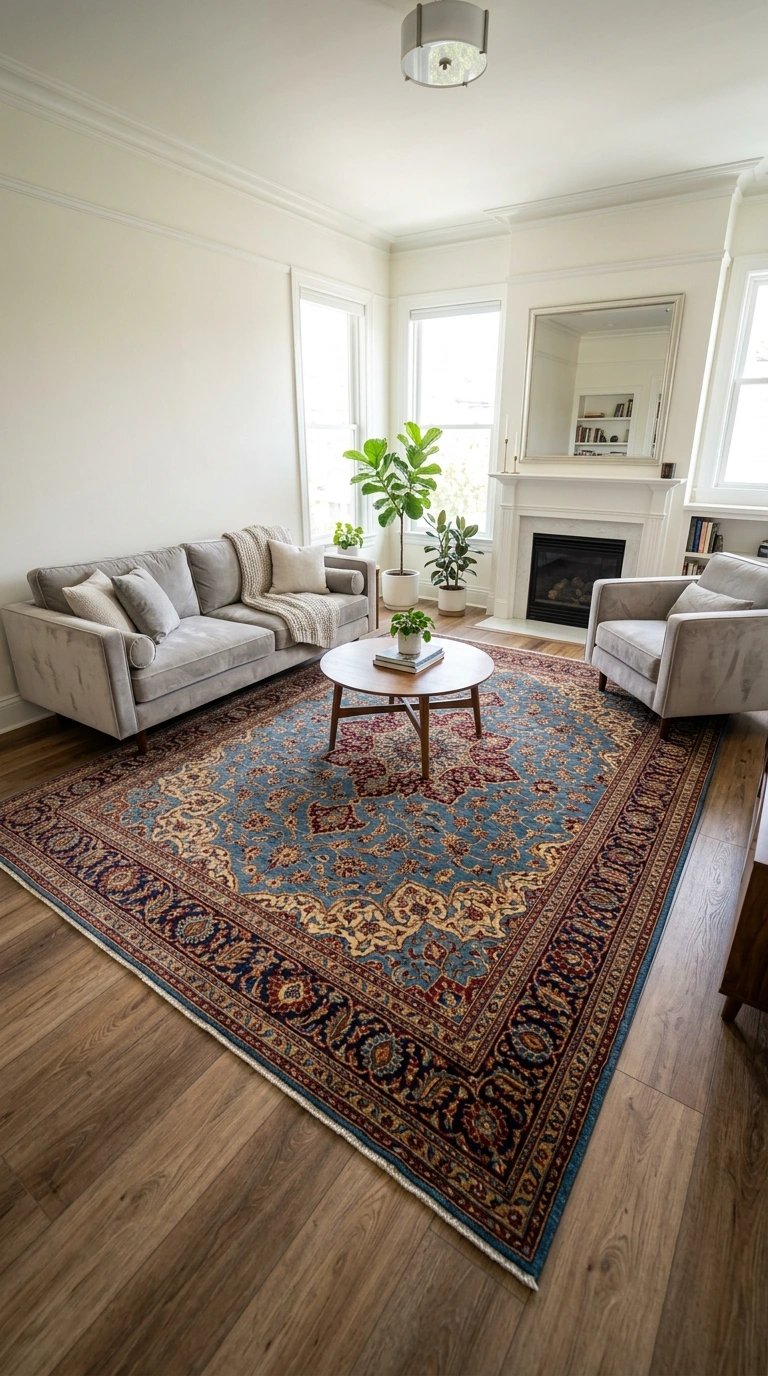
Rather than buying everything secondhand or budget, deliberately choosing one or two items to buy new, whether that’s a rug, a lamp, or a piece of art, can bring your entire space up to date in a way secondhand alone sometimes can’t. This single new item often becomes the detail that makes a room feel “collected” rather than simply assembled from leftovers.
This splurge doesn’t need to be expensive in absolute terms, just intentional relative to everything else in the room being thrifted or repurposed. Identifying this one priority item early in your planning process helps you budget for it specifically rather than discovering too late that you’ve run out of room in your $500.
20. Update Hardware on Existing Furniture
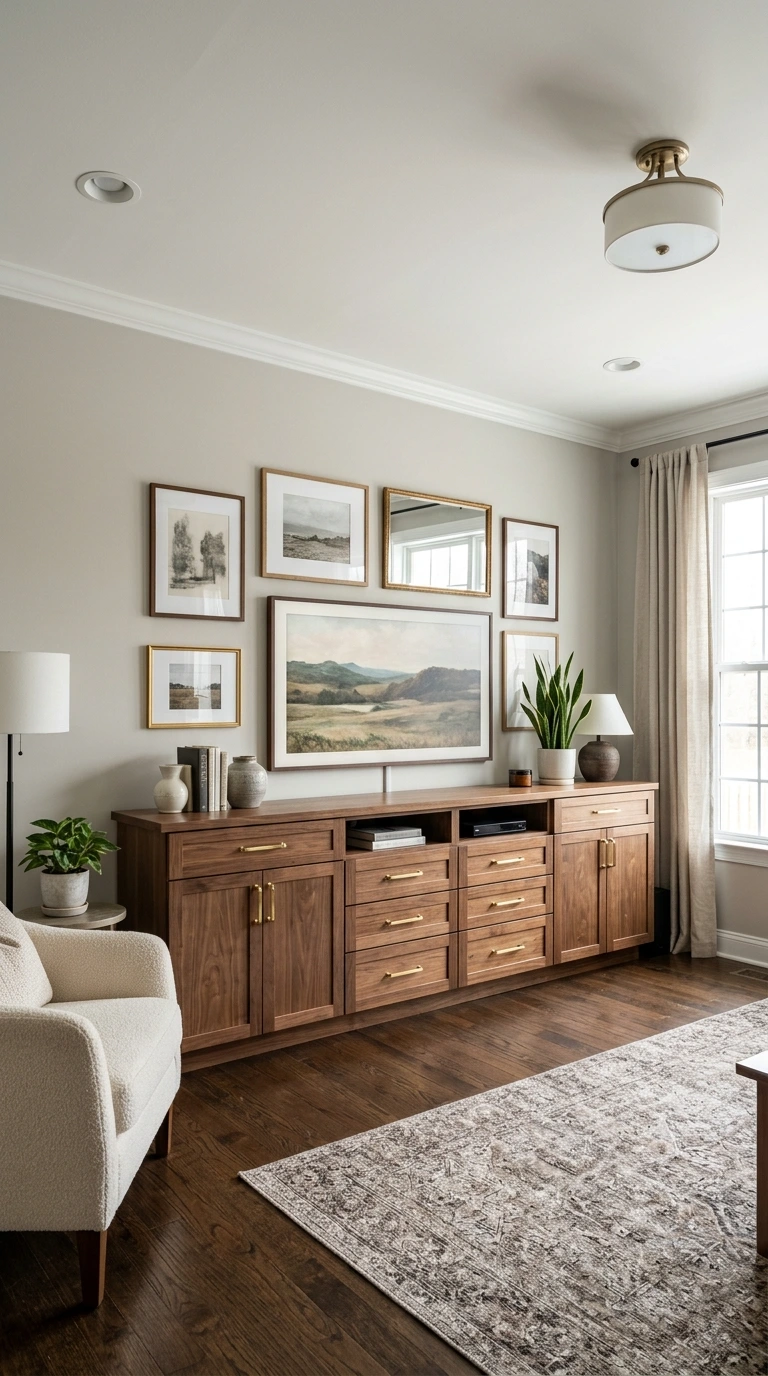
Swapping drawer pulls, cabinet knobs, or other small hardware on furniture you’re keeping is one of the most affordable ways to modernize a dated piece without a full refinish. This detail is easy to overlook but genuinely changes how current an older piece of furniture feels.
Budget hardware from home improvement stores typically costs just a few dollars per piece, making this an accessible update even after your budget has been allocated elsewhere. Combining new hardware with a coat of paint on the same piece maximizes the transformation for minimal additional cost.
21. Layer in a Cohesive Textile Story
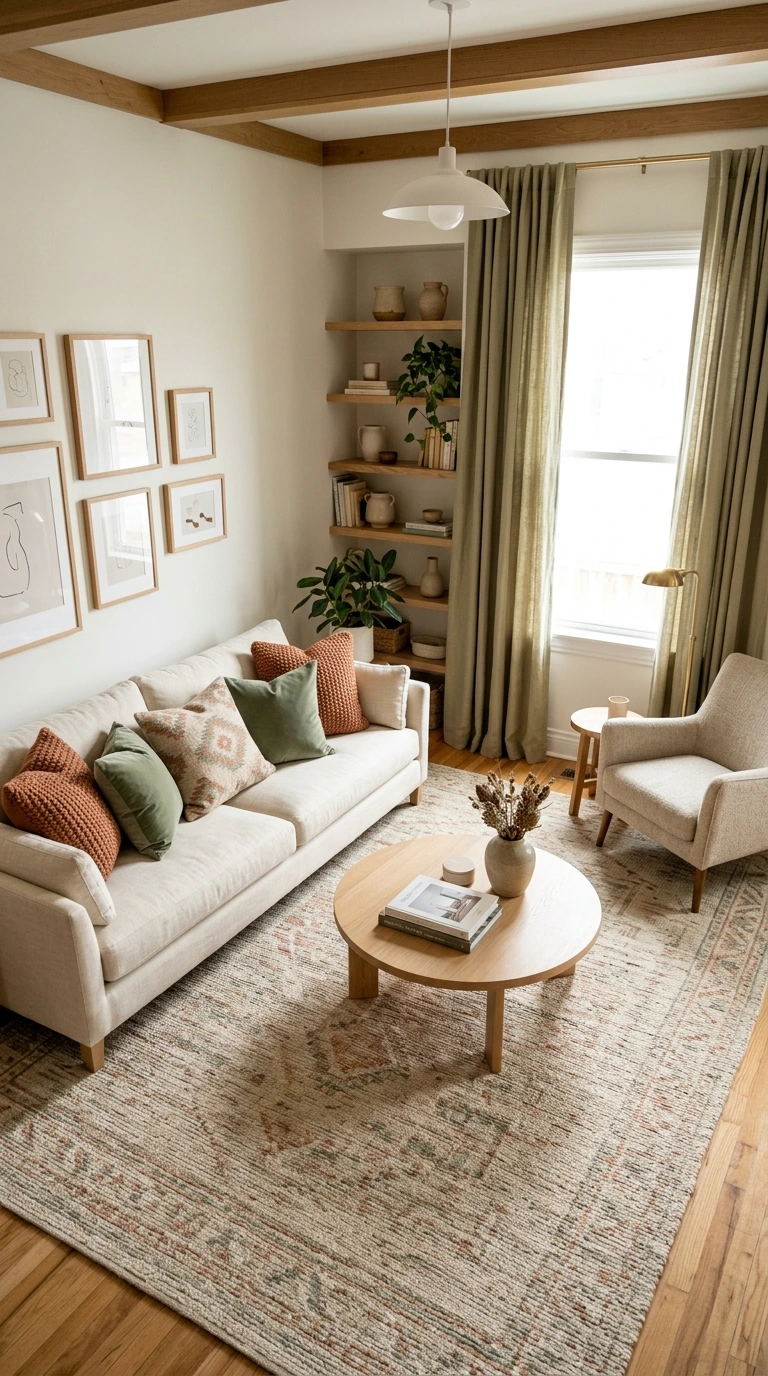
Beyond just pillows, make sure your throw blanket, rug, and any curtains share a connected color palette or complementary tones rather than each being chosen in isolation. This cohesion is what separates a room where textiles feel intentional from one where they feel randomly collected.
Revisiting your earlier pillow and rug choices at this stage, once more of the room has come together, lets you catch any pieces that no longer quite fit and swap them out while you still have some budget flexibility. This kind of mid-process check-in prevents finishing the whole makeover only to notice one element clashes.
- Choose low-maintenance plants if you’re new to keeping greenery alive
- Wash or wipe down all secondhand finds before displaying them
- Reserve at least one category for a genuinely new, intentional purchase
- Check that textiles across the room share a connected color story
- Photograph the room at each major stage to track your progress
22. Rearrange Furniture Before Buying Anything for Awkward Layouts
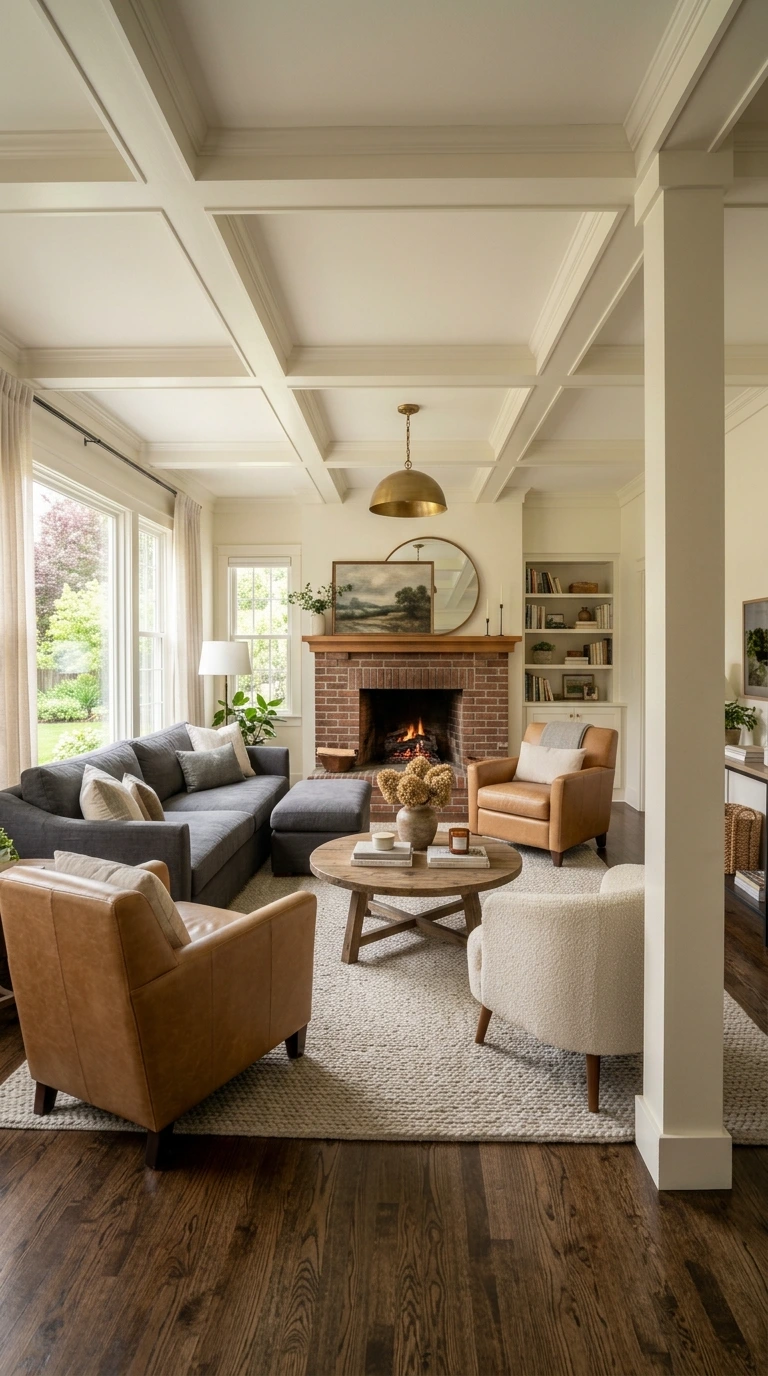
If your living room’s layout has always felt slightly off, experimenting with a new furniture arrangement costs nothing and sometimes solves problems you’d otherwise try to fix by buying new pieces. Pulling seating away from walls and angling it toward a natural focal point often improves a room’s flow more than any single purchase could.
This step works particularly well done after decluttering but before finalizing your shopping list, since a new layout might reveal you need fewer or different items than originally planned. Testing a few configurations over a weekend, rather than committing immediately, helps you find what actually works for how you use the space.
23. Add Wall Art That Reflects Your Actual Taste
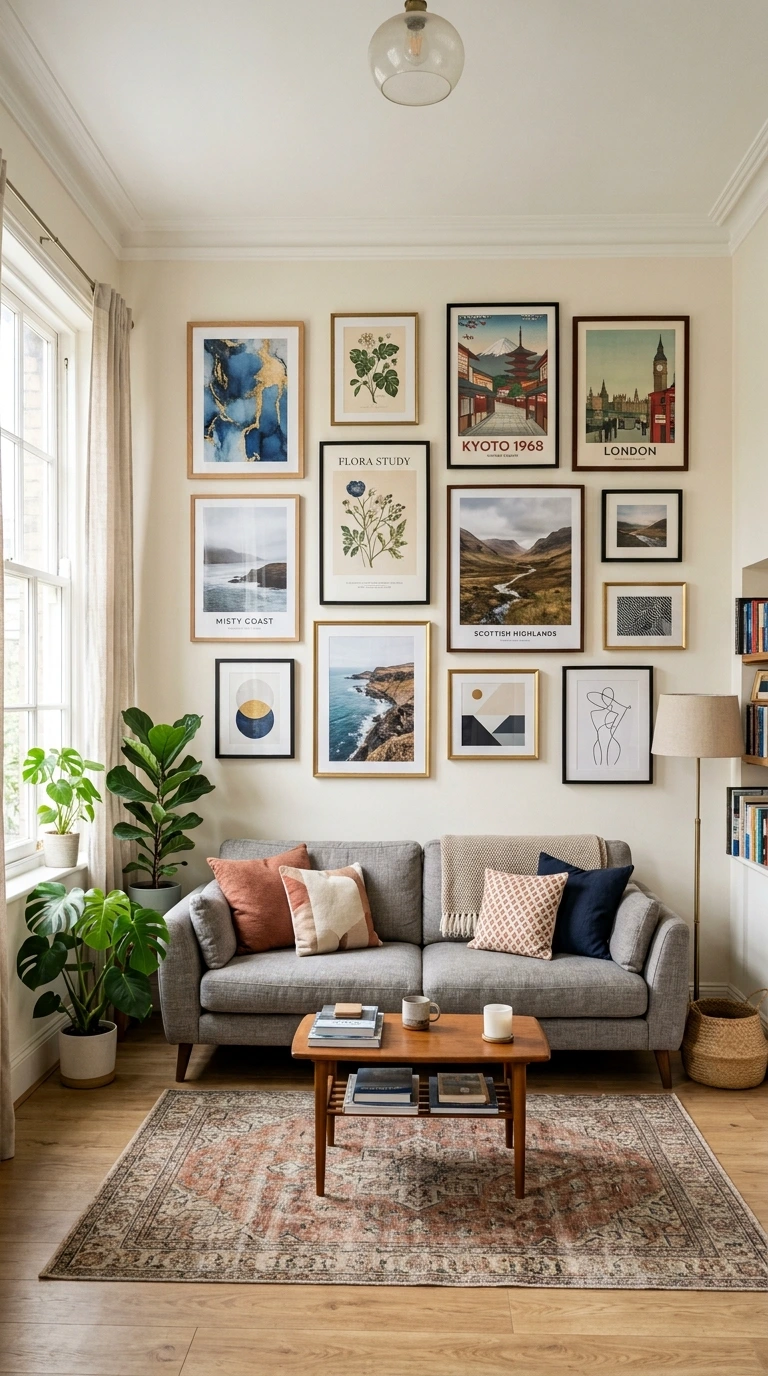
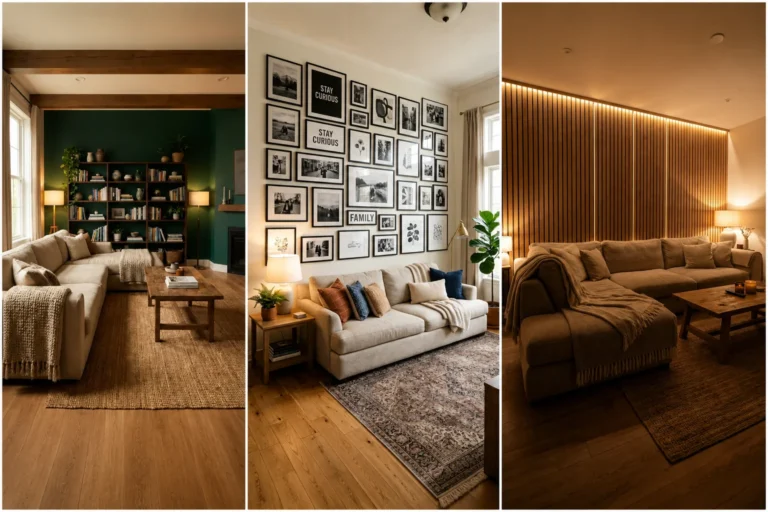
Swapping out generic or dated art for pieces that genuinely reflect your personal style, whether thrifted originals, budget prints, or your own DIY pieces, adds authenticity that store-bought decor often lacks. This doesn’t require an expensive original, since even a well-framed print can read as intentional when it’s something you actually love.
Grouping a few smaller pieces into a simple gallery arrangement, rather than one large piece, can also be more budget-friendly while still delivering meaningful wall impact. This category is worth saving for near the end of your process, once you can see what your walls and color scheme actually need.
24. Do a Final Walkthrough and Edit
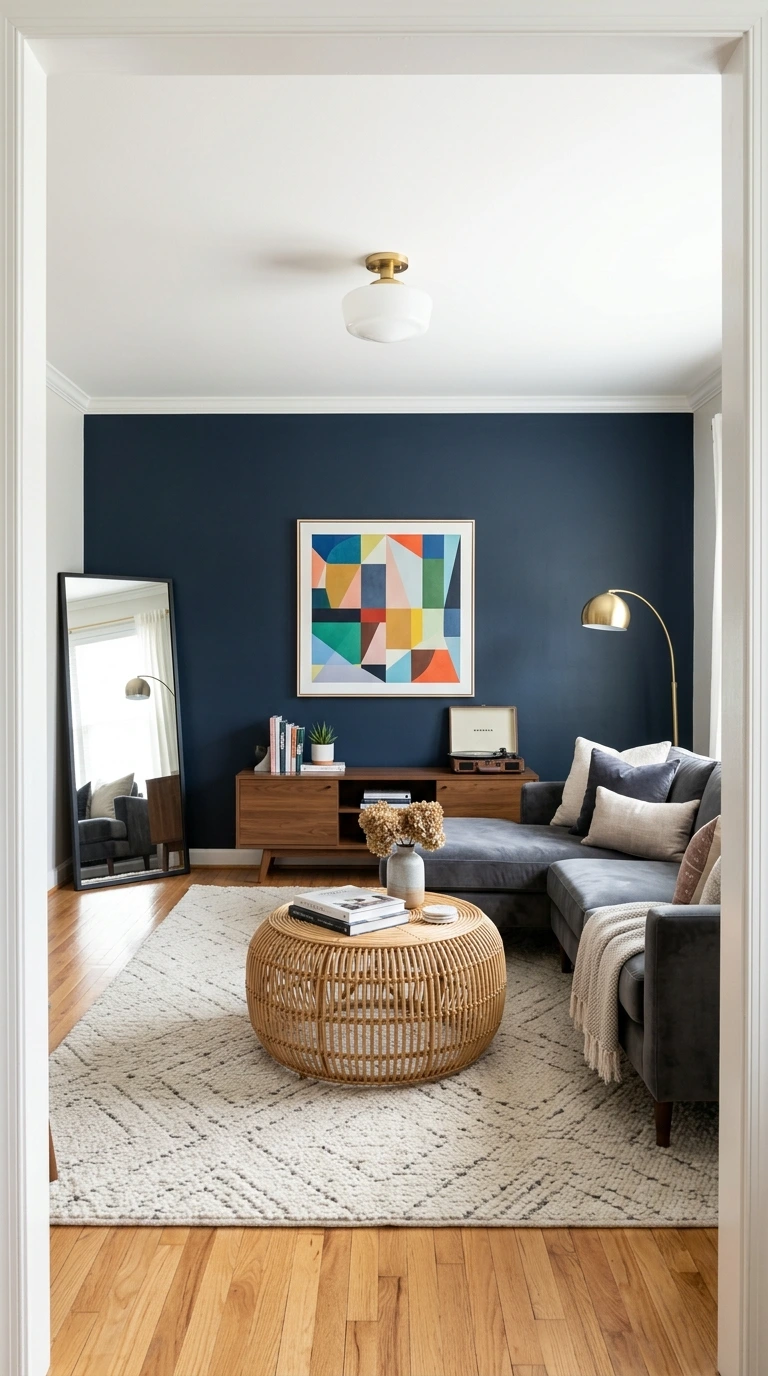
Once every planned change is in place, walk through the room as if you were seeing it for the first time, checking for any leftover clutter, mismatched elements, or spots that still feel unfinished. This final audit often reveals small, free adjustments, moving one object, removing another, that meaningfully improve the overall result.
This step costs nothing but time, yet it’s frequently what separates a good budget makeover from a genuinely great one. Give yourself a day or two living with the finished room before declaring it complete, since problems are often easier to spot once the initial excitement of finishing has settled.
25. Let the Room Reflect an Ongoing Practice, Not a Finished Destination
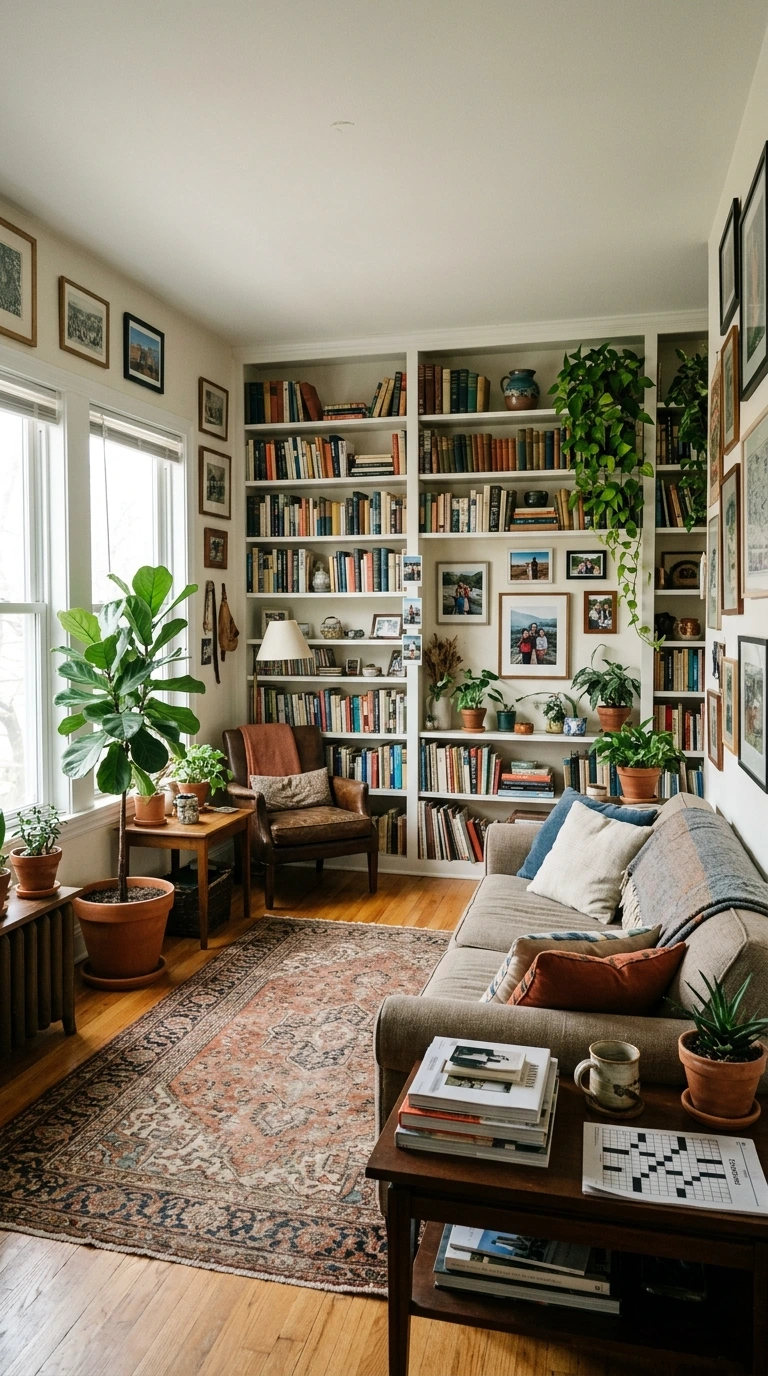
A truly successful $500 makeover rarely means every single detail is finished forever, since most people continue refining a space in phases as budget and inspiration allow. Treating this project as the first phase of an ongoing process, rather than a one-time fix, takes the pressure off getting everything perfect within this specific budget.
Notice how the changes you’ve made actually affect your daily experience in the room before deciding what, if anything, needs further attention. Coziness and good design are less a single destination and more a continuing practice of adjusting a space to genuinely work for how you live in it.
Frequently Asked Questions
1. What’s the single best place to spend money in a $500 living room makeover?
Paint and lighting consistently deliver the highest visual impact relative to their cost, since both affect how the entire room feels rather than just one small area. If you can only prioritize one category, start with whichever of these two bothers you most in your current space.
2. Is it better to buy new or secondhand furniture on this budget?
A mix usually works best, sourcing your biggest furniture pieces secondhand while choosing one or two smaller items new for a more current, put-together feel. Secondhand shopping stretches your budget considerably, but a single new item can keep the whole room from feeling entirely thrifted.
3. How do I avoid overspending on impulse buys during a budget makeover?
Setting rough category budgets before you start shopping, and tracking what you spend as you go, is the most effective way to avoid one exciting find derailing your entire plan. If you fall in love with something over budget, consider shifting funds from a lower-priority category rather than simply spending more overall.
4. Can I really transform a whole living room for $500?
Yes, especially if you prioritize high-impact, lower-cost changes like paint, textiles, and lighting over full furniture replacement. Many real-world examples show a complete, genuinely stylish transformation is possible within this budget when spending is strategic rather than scattered.
5. What should I do first if I only have a weekend to work on this?
Start with decluttering, since it costs nothing and delivers immediate visual improvement, then move to your accent wall or biggest textile swap if time allows. Even partial progress on this list, done in the right order, produces a noticeably improved room by Sunday evening.
6. How do I make thrifted and secondhand pieces look intentional rather than mismatched?
Stick to a consistent color palette or a shared material thread, like all wood tones in the same family, across your secondhand finds. This visual thread is what makes pieces from different sources look chosen together rather than randomly collected.
7. What’s a common mistake people make with a $500 makeover budget?
Spreading the budget too thin across every category, resulting in a room that’s technically all updated but doesn’t feel meaningfully different, is one of the most common regrets. Concentrating spending on your one or two biggest problem areas typically produces a more satisfying result than evenly distributing funds everywhere.
Conclusion
A genuine living room makeover on a $500 budget comes down to prioritization, spending strategically on paint, lighting, and one or two statement pieces rather than trying to touch everything equally. Decluttering, thrifting, and a bit of DIY effort stretch that budget considerably further than most people expect.
Work through these steps roughly in order, starting with planning and decluttering before moving into paint, furniture, and final styling. Your living room might just end up looking like it cost far more than $500, simply because every dollar was spent with real intention.